
How To Photograph Your Unused Home Items For A Quick, Clean Sale
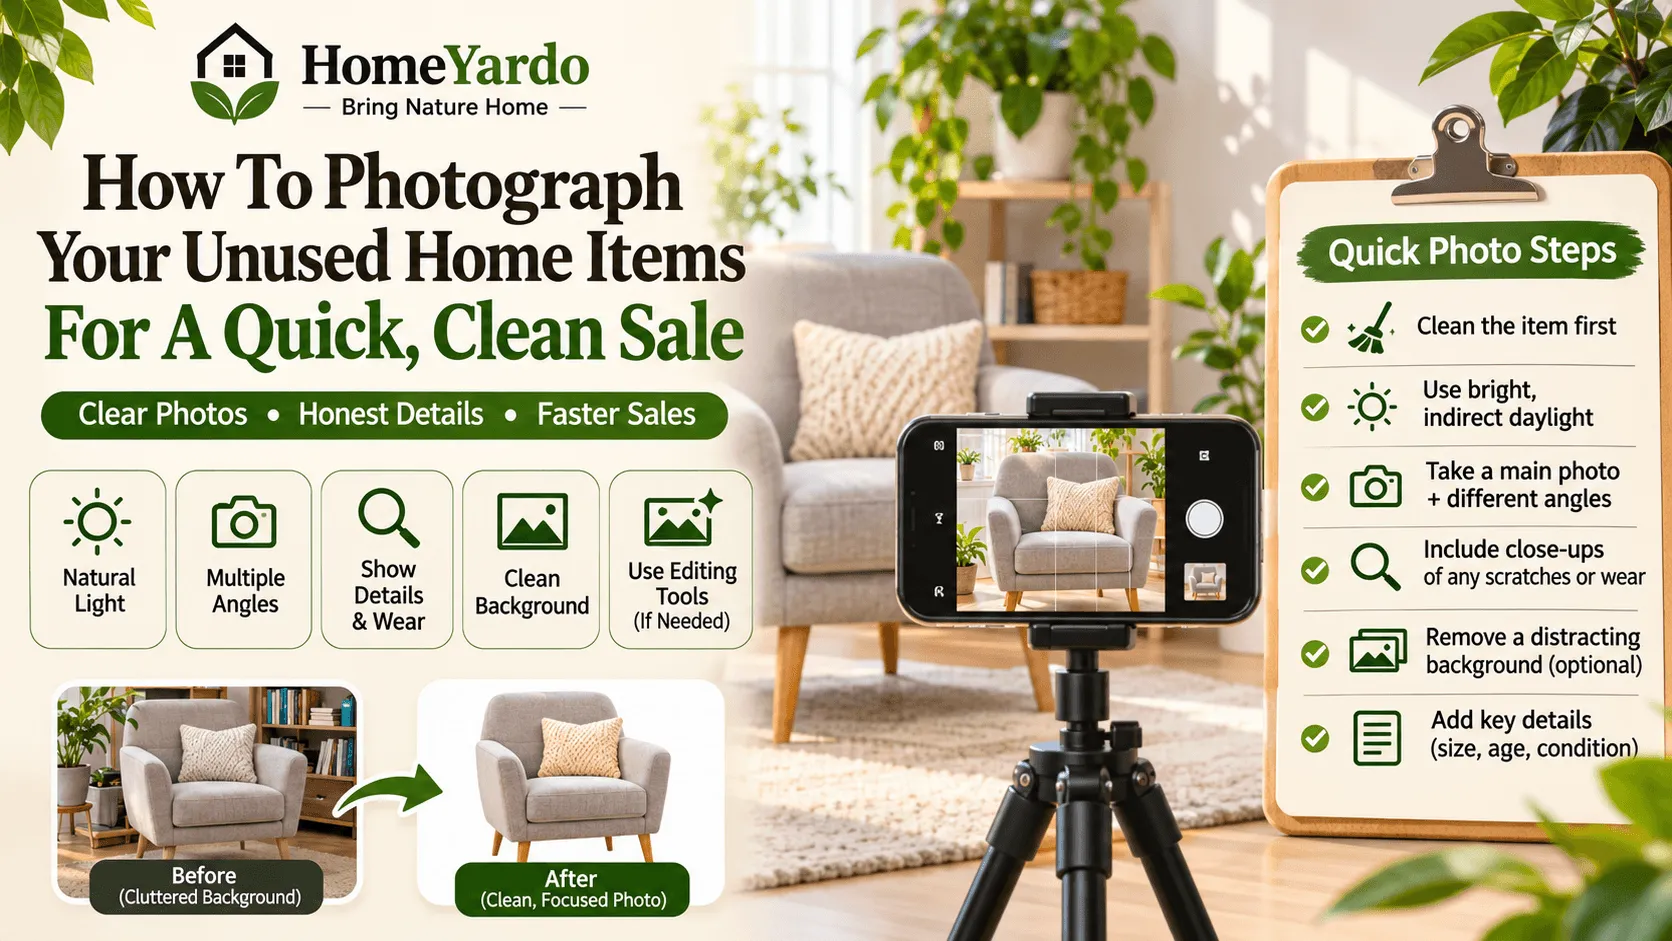
Every home collects things it no longer needs. A spare armchair from the guest room, a crib the youngest has outgrown, a bookshelf that never fit the new layout. Selling these items online is one of the easiest ways to clear space and recover some money, but the listings that sell fastest share one feature: clear photos that show the item and nothing else.
Most people photograph furniture where it stands. The result is a listing with a cluttered corner, a pile of laundry, or a family member walking through the frame. Buyers scroll past these quickly. A clean image tells them the seller is organised and the item is worth a closer look.
Quick Answer: How Should You Photograph Items For Sale?
Photograph the item in bright, indirect daylight against the cleanest background available. Take one clear main photo, several different angles, close-ups of important details, and honest pictures of scratches, stains, chips, or other wear.
Keep colors realistic and remove distracting objects from the frame. If the room itself is difficult to clear, background-removal tools can help create a cleaner main image, but it is useful to include at least one original photo as well.
Clean the Item Before Taking Photos
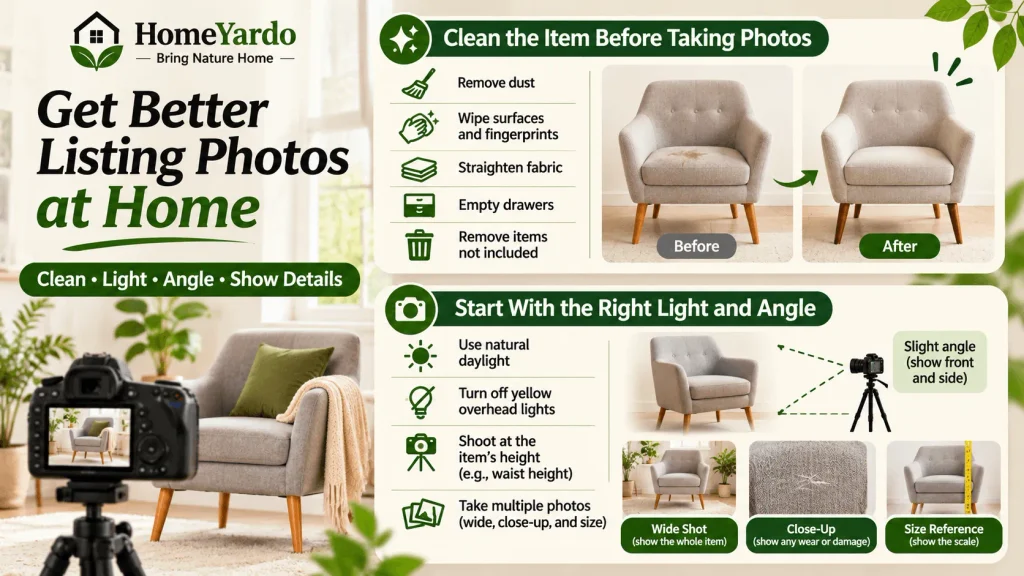
Before thinking about lighting or editing, clean the item itself.
Dust furniture, wipe hard surfaces, remove fingerprints, straighten fabric, empty drawers, and take away anything that is not included in the sale. Small improvements can make the condition much easier to assess.
Do not use cleaning or editing to disguise permanent damage. A buyer should be able to tell the difference between a removable mark and an actual scratch, stain, crack, or worn area.
If you are clearing several rooms rather than selling one object, sort unwanted possessions before photographing them. HomeYardo’s guide to storage tips for growing families recommends decluttering before buying more storage, particularly when dealing with outgrown children’s clothing, toys, and other belongings.
Start With the Right Light and Angle
Good listing photos begin before any editing. Natural daylight near a window gives the most accurate colour, so move the item close to the brightest room if you can. Turn off overhead bulbs that cast a yellow tone, and avoid direct midday sun that creates harsh shadows.
Shoot from a height that matches the item. A chair or table photographs best from roughly waist height, slightly angled so the buyer sees both the front and one side. For smaller items like lamps, toys, or kitchen appliances, a table covered with a plain sheet works well as a simple stage.
Take more photos than you think you need. Include a wide shot, a close view of any wear or damage, and a shot showing the size next to a familiar object. Honest detail builds trust and reduces the back and forth messages that slow down a sale.
Why the Background Matters More Than You Expect
A buyer decides within seconds whether to open a listing. Busy backgrounds pull attention away from the item and make it harder to judge its condition. A plain white or neutral backdrop keeps the focus where it belongs.
Not every home has a clear wall or spare space for a mini studio, especially in a busy family house. This is where editing tools help. An ai background remover can separate the item from its surroundings in seconds, leaving a clean cutout you can place on a white or light coloured background. Instead of rearranging a room, you take the photo where the item sits and let the tool handle the rest.
The method works well for furniture with simple outlines, but also for trickier items like plants, baskets, and toys with uneven edges. After processing, zoom in and check the edges. If anything looks rough, retake the photo with better light and try again.
A Simple Workflow for Multiple Items
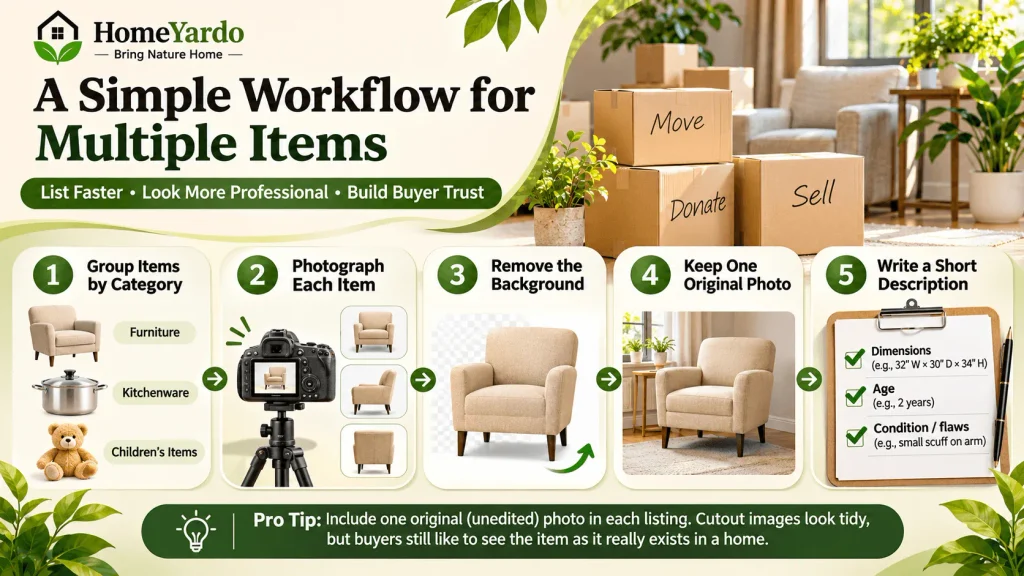
If you are clearing out a whole room before a move or a renovation, a repeatable routine saves time.
- Group items by category, such as furniture, kitchenware, and children’s items.
- Photograph each one in the best available light, with at least three angles.
- Run the main photo through a background removal tool and place it on a plain backdrop.
- Keep one unedited photo in each listing so buyers can see the real setting and condition.
- Write a short description with dimensions, age, and any flaws.
Including one original photo is worth the extra step. Cutout images make a listing look tidy, but buyers still like to see the item as it really exists in a home.
Common Mistakes To Avoid
The most frequent error is over-editing. Heavy filters, boosted saturation, and altered colours lead to disappointed buyers who feel the item looks different in person. Keep the edit limited to the background and light corrections.
Another mistake is ignoring shadows. When an item is placed on a new background, a soft shadow beneath it keeps the image natural. A product floating on pure white can look unreal and make buyers suspicious.
Finally, avoid including personal details in photos. Check the frame for family pictures, mail, house numbers, and children’s faces before you post anything publicly. Removing the background solves much of this by default, since the surroundings disappear entirely.
Turning a Cleared Room Into Something New
The benefit of selling unused items goes beyond the money. A room with fewer things becomes easier to clean, easier to reorganise, and easier to imagine in a new way. Many families find that once the excess furniture leaves, the space suggests its own next use: a reading corner, a homework area, or a proper play space.
Good photos make that process faster. A clear listing attracts serious buyers, shortens the time an item sits in the hallway waiting for pickup, and keeps the project moving.
Spend twenty minutes on light and angles, a few minutes on a clean background, and a bit of care on the description. The difference in response is usually noticeable within the first day, and the room you get back is worth the effort.
FAQs
Use bright, indirect daylight and keep the background simple. Photograph the whole item first, then add side views, detail shots, and close-ups of any damage. Keep colors and condition as close to reality as possible.
A clean white, beige, gray, or other neutral background usually works well because it does not compete with the item. You do not necessarily need a blank wall; a clean, uncluttered section of a room can work too.
You can remove a distracting background from the main image if it helps buyers see the item clearly. Check the edited edges carefully and consider keeping at least one original photo so buyers can also see the item without background replacement.
There is no single number that works for every item. Use enough photos to show the complete object, its important sides or features, and any visible defects. Complex furniture or appliances will generally need more views than a simple household object.