
How To Set Up A Functional Garage Workshop At Home
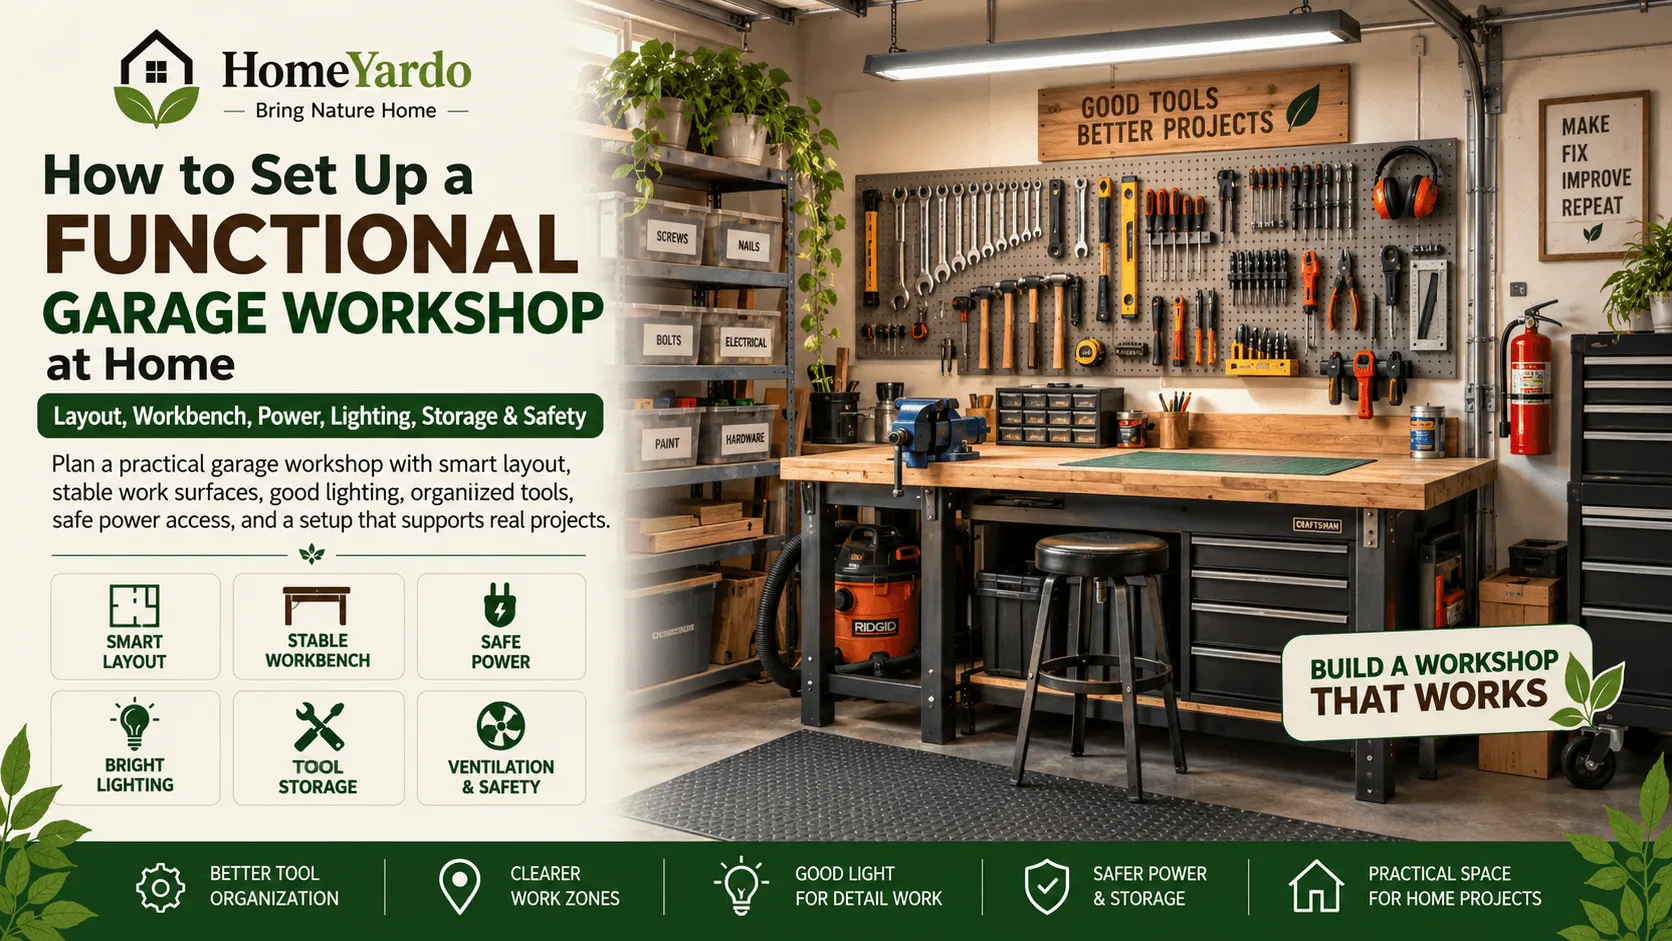
A functional garage workshop starts long before you buy another tool cabinet or mount pegboard on the wall.
The best setup is built around how you actually work. You need enough room to move materials, safe access to power, useful lighting, organized tool storage, a stable workbench, and a plan for controlling dust and fumes.
That matters even more when the garage still needs to accommodate a vehicle, bicycles, lawn equipment, or household storage.
Instead of filling the room first and trying to organize it afterward, plan the workshop as a working system. Decide where projects will happen, how tools and materials will move through the space, and which services need to be installed before cabinets and benches make them difficult to reach.
Start With A Garage Workshop Layout That Matches Your Work
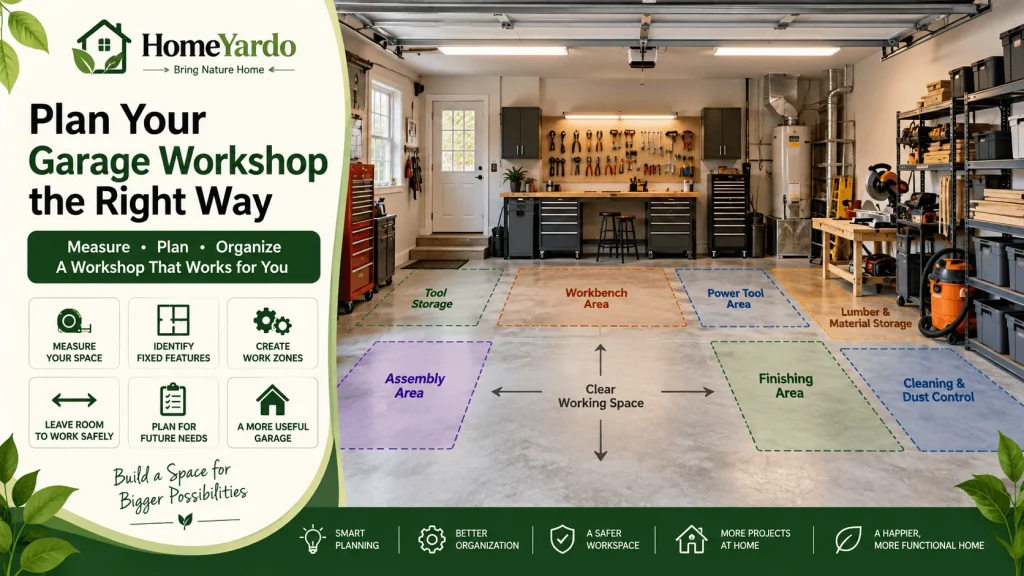
Begin by measuring the usable garage rather than relying only on its advertised dimensions.
Record the locations of:
- Garage doors and their tracks
- Entry doors
- Windows
- Electrical panels and outlets
- Plumbing fixtures
- Water heaters or HVAC equipment
- Structural posts
- Stairs and steps
- Floor drains
- Permanent shelving or cabinets
These fixed features determine where workstations, machines, storage, and electrical upgrades can realistically go.
If you have a two-car garage that still needs parking space, you’ll need a different plan than someone converting an entire detached garage into a workshop.
Divide The Garage Into Work Zones
Organizing the shop by activity usually works better than simply lining every available wall with cabinets.
A basic home garage workshop may include:
- A primary workbench area
- Power-tool or machine area
- Lumber or material storage
- Hand-tool storage
- Assembly area
- Finishing area
- Cleaning and dust-control station
Frequently used areas should be close together.
If you regularly move from a saw to an assembly bench, putting those stations at opposite ends of the garage creates unnecessary walking and material handling.
Dust-producing work is usually better positioned where effective dust collection and ventilation can be provided. Painting, finishing, welding, or other activities that produce fumes or sparks need additional consideration and should not share space carelessly with combustible materials.
Leave Room To Move Materials Safely
Do not size the layout around the machine itself.
A table saw, miter saw, workbench, or drill press also needs enough surrounding room for the material being handled.
Aim for comfortable walking clearance around primary work areas wherever the garage allows it. Around a central workbench, roughly 36 inches can be a useful planning target, although larger projects may require considerably more room.
Think about infeed and outfeed space as well. Someone cutting an eight-foot board needs a clear material path considerably longer than the footprint of the saw.
Marking proposed benches and machines on the floor with painter’s tape is an inexpensive way to test the arrangement before buying or mounting anything.
Plan The Electrical Setup Around Your Tools
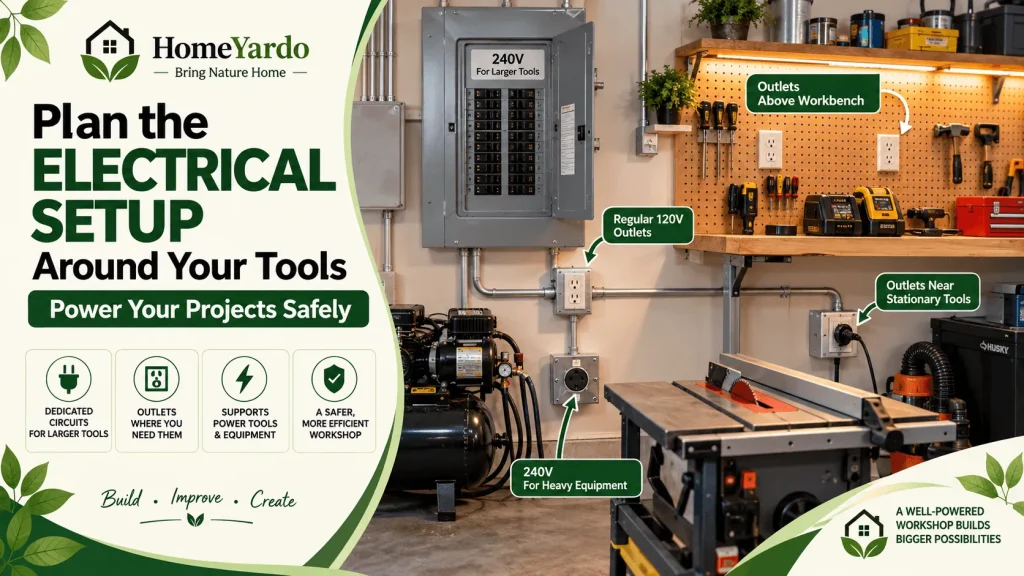
Power requirements should be considered early because adding circuits becomes more disruptive after walls, cabinets, and storage systems are finished.
Do not assume the existing garage circuit can support a workshop simply because several receptacles are already installed.
Table saws, compressors, dust collectors, heaters, welders, chargers, and other equipment can create substantial loads, particularly when multiple devices operate simultaneously.
Make a list of the tools you expect to use and check their manufacturer specifications for voltage and amperage requirements.
An electrician can then determine whether the existing service and branch circuits are suitable or whether the shop needs dedicated circuits.
A 20-amp circuit may make sense for some workshop tools, while larger stationary equipment may require a dedicated 240-volt supply. The correct arrangement depends on the equipment and local electrical requirements.
Electrical work involving new circuits, panel modifications, or higher-voltage equipment should be handled by a qualified electrician.
Put Outlets Where The Work Happens
Outlet placement affects both convenience and safety.
Relying heavily on extension cords can leave cables crossing walkways and work areas. A better layout puts receptacles near the equipment that will routinely use them.
Consider outlets:
- Above the workbench
- Near stationary tools
- Near battery-charging stations
- Around perimeter walls
- Near future equipment locations
Garage receptacles may also be subject to GFCI and other protection requirements depending on the electrical code adopted in your location. Have the electrical layout checked against current local requirements rather than using a generic workshop plan.
Use Layered Lighting Instead Of A Single Garage Fixture

A workshop needs more lighting than a garage used only for parking.
A single ceiling fixture may illuminate the room but still leave shadows directly over a workpiece.
A better approach combines general lighting with focused task lighting.
General Workshop Lighting
Use evenly distributed ceiling fixtures to illuminate the full workspace.
LED shop fixtures are popular because they can provide strong illumination with relatively low energy use. Instead of choosing fixtures solely by wattage or installing them at an arbitrary spacing, consider:
- Total lumen output
- Garage dimensions
- Ceiling height
- Fixture beam spread
- Wall and ceiling colors
- Placement of cabinets and machines
Position fixtures so your body is less likely to cast a shadow directly over the work area.
Task Lighting
Add focused lighting where accuracy matters.
Useful locations include:
- Above a workbench
- At a drill press
- Near a sharpening station
- At an electronics or soldering bench
- Around detailed assembly areas
An adjustable swing-arm or directional task light can make measuring, marking, inspection, and close work considerably easier.
Choose A Workbench That Fits The Projects You Actually Do
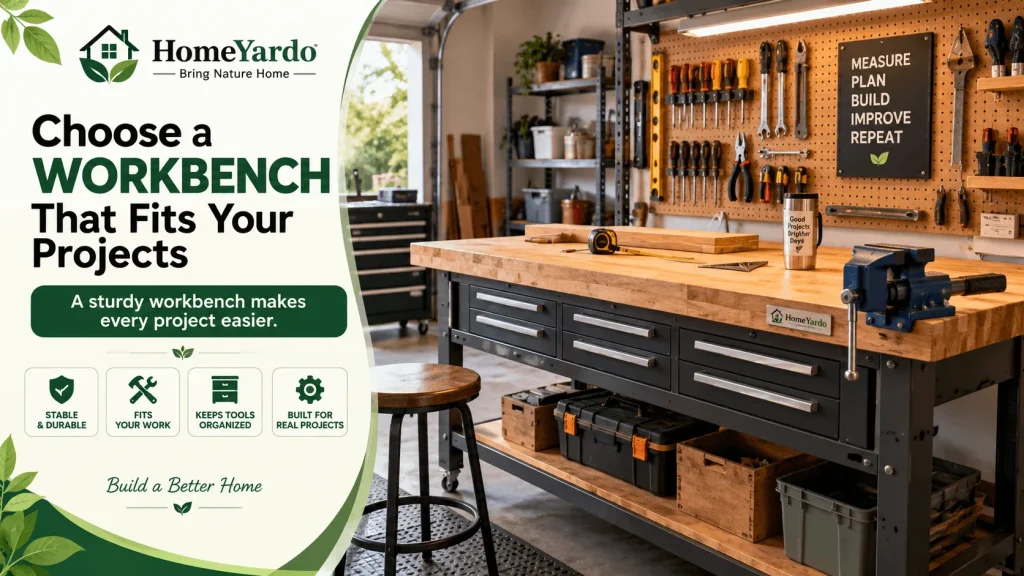
The workbench usually becomes the center of a home workshop, so choose it according to the work rather than appearance alone.
For general repair, woodworking, assembly, and maintenance, stability matters more than elaborate accessories.
A stationary bench with a solid wood or steel top works well where the garage is primarily a workshop. If the space is used for heavier projects, a heavy-duty shop workbench with drawers can combine a strong working surface with accessible tool storage.
Many general-purpose benches fall around 34 to 36 inches high, but there is no universal ideal height.
A taller surface may be comfortable for close assembly or detailed tasks. A somewhat lower bench can provide better leverage for hand-planing or other work that requires downward force.
The user’s height and primary type of work should determine the final choice.
Position The Vise And Bench Accessories Carefully
A vise is often more useful near the corner or end of the bench than in the middle.
That position allows long boards, pipes, or other material to extend beyond the bench without immediately hitting the legs.
Keep the central work surface relatively clear. Frequently used tools can go in drawers, on a nearby wall panel, or on a lower shelf rather than permanently occupying the top.
If the garage still needs to hold a vehicle, consider a mobile workbench with heavy-duty locking casters. It can provide a substantial work surface when needed and move against the wall afterward.
Organize Garage Workshop Storage By Frequency Of Use
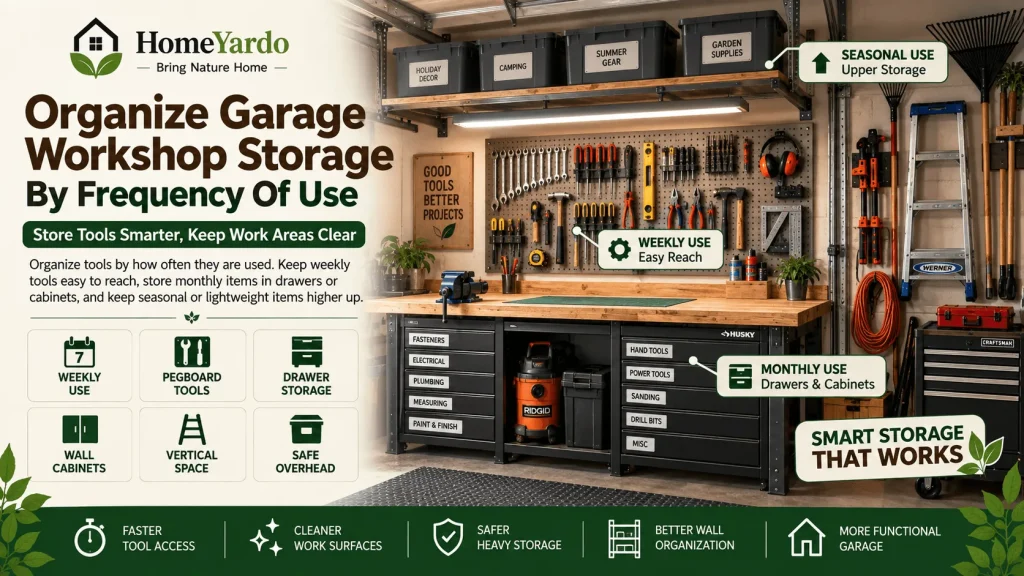
Good workshop storage reduces searching and keeps working surfaces clear.
Start with the tools you use most often.
Pegboard, slatwall, French cleats, wall cabinets, drawer units, and open shelving can all work. The correct choice depends on the size and weight of the tools being stored.
Keep Everyday Tools Within Easy Reach
Hand tools used every week should normally sit between roughly waist and shoulder height.
That may include:
- Screwdrivers
- Pliers
- Wrenches
- Measuring tools
- Hammers
- Frequently used drill bits
- Clamps
- Safety glasses
Pegboard or another open wall-storage system can work well for these tools because you can see what is available without opening multiple drawers.
Less frequently used equipment can go into labeled drawers, cabinets, or bins.
Use Vertical Space Without Creating A Hazard
Garage walls and ceilings provide valuable storage space, but overhead storage should be reserved for suitable items.
Wall-mounted racks can hold:
- Garden tools
- Clamps
- Extension cords
- Ladders
- Bicycles
- Long-handled equipment
Ceiling racks may work for lightweight or infrequently used items, provided they are installed according to their rated capacity and do not interfere with the garage door, lighting, vehicle clearance, or access to utilities.
Avoid placing very heavy objects overhead simply to save floor space.
A simple storage rule works well:
- Weekly use: easy reach
- Monthly use: drawers, cabinets, or higher shelving
- Seasonal use: labeled upper or overhead storage
Heavy items should generally stay low enough to retrieve without an awkward overhead lift.
Prepare the Garage Floor for Workshop Use

The floor is easy to overlook, but it affects cleaning, comfort, tool movement, and safety.
Before installing permanent benches or cabinets, inspect the concrete for:
- Large cracks
- Moisture
- Oil contamination
- Uneven areas
- Damaged joints
- Water entering around the garage door
Bare concrete can work perfectly well, but a suitable garage floor coating can make cleanup easier and improve the finished appearance.
If you are considering a coated surface, HomeYardo’s guide to epoxy resin flooring explains how slab condition, surface preparation, moisture, and finish selection affect performance.
Also check the garage-door perimeter before installing cabinets or sensitive equipment near the entrance. Worn garage door weather stripping can allow rain, dirt, and outside air to enter the workspace.
Control Dust and Ventilation at the Source

Opening the garage door can improve general airflow, but it should not be the only dust-control plan for equipment that generates significant dust.
Woodworking machines such as saws, sanders, and routers can produce fine airborne particles.
Where practical, connect dust-producing equipment to an appropriate source-collection system so material is captured close to where it is created.
A shop vacuum fitted with a HEPA filter can be useful for suitable cleanup applications. HEPA filtration is designed to capture very small particles, although the vacuum itself must still be appropriate for the material being collected.
Wood dust, fine metal particles, and combustible materials should not automatically be treated as interchangeable vacuuming jobs. Some dusts can present fire or explosion hazards and require equipment specifically approved for that application.
Do not use compressed air simply to blow accumulated fine dust around the shop.
Treat Fumes Separately From Dust
Paints, coatings, adhesives, solvents, welding, and similar processes can produce fumes or vapors that require a different ventilation strategy from sawdust.
A portable fan may improve general air movement, but it is not automatically suitable for hazardous or flammable vapors.
Check product safety instructions and use the ventilation method appropriate to the material and process.
Store flammable products according to their labels and applicable local fire requirements, away from ignition and heat sources.
Build Safety Into the Workshop From the Start
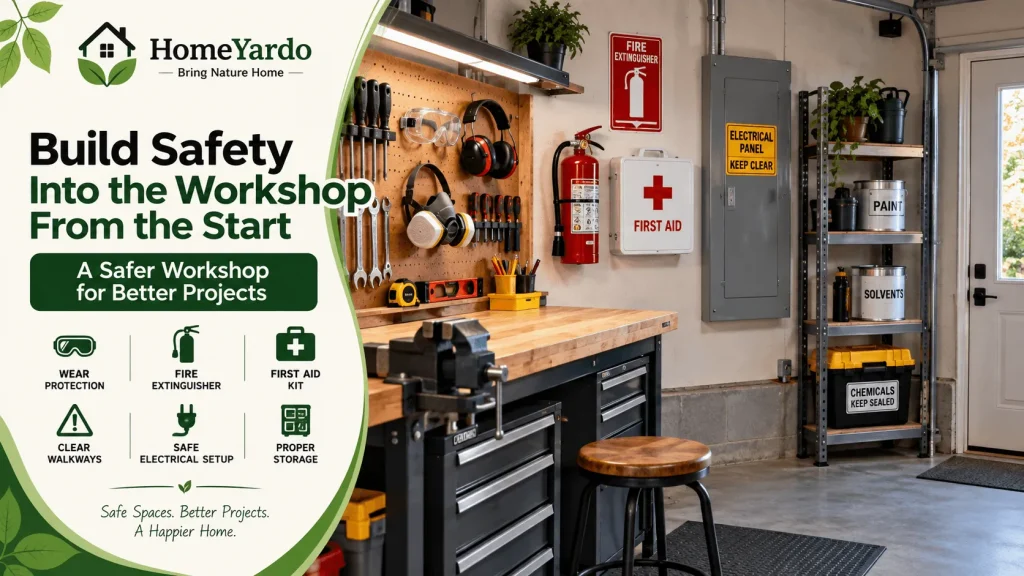
Safety equipment should be planned into the shop rather than added after an accident.
Keep appropriate eye, hearing, respiratory, and hand protection accessible near the work area.
A workshop should also have:
- A suitable fire extinguisher
- A stocked first-aid kit
- Clear access to exits
- Unobstructed electrical panels
- Adequate lighting
- Clean walking paths
- Safe storage for chemicals
- Manufacturer-recommended guards on machines
Choose the fire extinguisher based on the hazards present in the shop and local fire-safety recommendations rather than assuming one extinguisher type suits every workshop.
Mount it where it can be reached on the way out of the garage. Do not place the only extinguisher behind the equipment or materials most likely to catch fire.
If welding, grinding, cutting metal, or performing other spark-producing work, separate that activity from sawdust, lumber, fuels, solvents, finishes, and other combustible materials.
Leave Room for the Workshop to Change

Your first garage workshop layout probably will not be your last.
Tools change. Projects become larger. Storage fills up.
Leave some flexibility by using:
- Modular shelving
- Movable cabinets
- Mobile tool bases
- French-cleat storage
- Rolling workbenches
- Spare electrical capacity where appropriate
Avoid permanently filling every wall during the first setup.
A little unused space is easier to adapt than a workshop that has been built around every tool you currently own.
Garage Workshop Setup Checklist
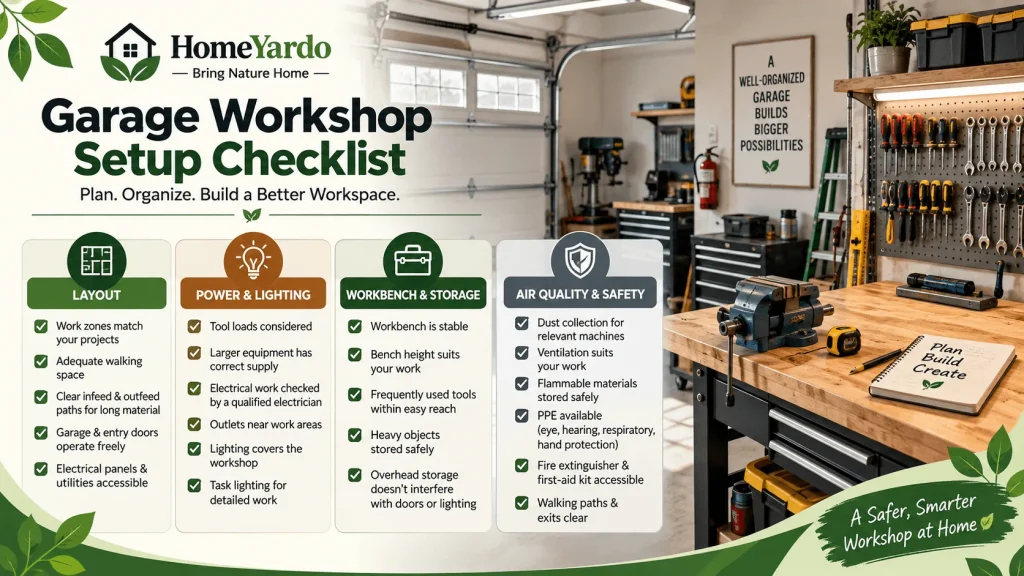
Before installing the final cabinet or starting the first major project, check the whole space.
Layout
- Work zones match the projects you perform.
- There is adequate walking space.
- Long material has clear infeed and outfeed paths.
- Garage doors and entry doors can operate freely.
- Electrical panels and utilities remain accessible.
Power and Lighting
- Tool loads have been considered.
- Larger equipment has the correct supply.
- New electrical work has been checked by a qualified electrician.
- Outlets are positioned near work areas.
- Lighting covers the whole workshop.
- Detailed work areas have task lighting.
Workbench and Storage
- The bench is stable.
- Bench height suits the main work.
- Frequently used tools are within easy reach.
- Heavy objects are stored safely.
- Overhead storage does not interfere with doors or lighting.
Air Quality and Safety
- Dust-producing machines have suitable collection where needed.
- Ventilation suits the work being performed.
- Flammable materials are stored away from ignition sources.
- Appropriate personal protective equipment is available.
- A suitable fire extinguisher and first-aid kit are accessible.
- Walking paths and exits remain clear.
A Functional Workshop Starts With Planning
A useful garage workshop is not defined by how many tools fit inside it.
What matters is whether you can move through the space easily, reach the tools you need, power equipment safely, see the work clearly, and control the dust, fumes, and other hazards created by your projects.
Plan the workflow first. Then build the electrical, lighting, workbench, storage, and safety systems around that workflow.
Doing that work before filling the garage with cabinets and equipment usually produces a workshop that is easier to use now and much easier to adapt later.
FAQs
A basic garage workshop normally needs a stable workbench, adequate lighting, safe electrical access, organized tool storage, clear working space, appropriate ventilation or dust collection, and basic safety equipment. Add specialized equipment only after deciding what types of projects you plan to do.
Start by mapping fixed features such as doors, electrical panels, plumbing, windows, and garage-door tracks. Then create zones for your main activities and keep frequently connected tasks close together. Allow space around machines for both the operator and the material being handled.
A wall location saves floor space and works well in garages that still hold vehicles. A central workbench can provide access from several sides when the garage is dedicated to workshop use. Keep the bench away from door travel, electrical panels, and congested walking routes.