Diy Garage Shelving: Double Your Storage In One Weekend
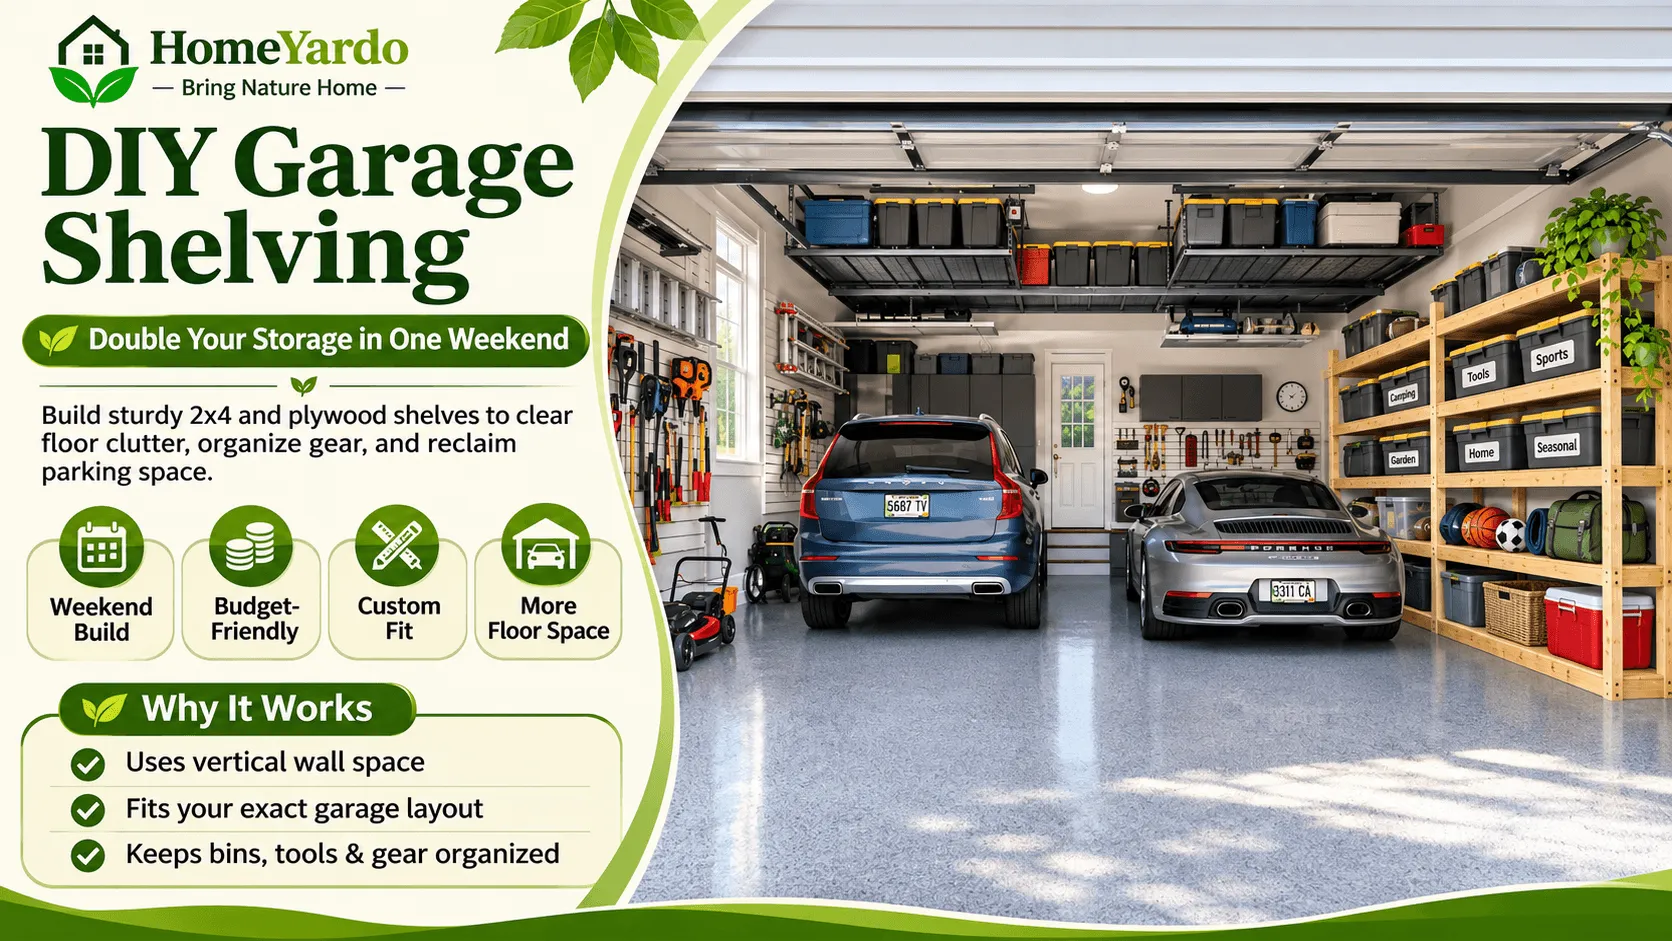
DIY garage shelving is one of the easiest ways to turn a cluttered garage into a more organized, functional space. With 2×4 lumber, plywood, basic tools, and a free weekend, you can build sturdy shelves that put unused wall space to work without taking up valuable parking room.
The trick is to build upward instead of outward. When boxes, sports equipment, and household supplies move off the floor, you create more room for parking, walking, and everyday projects.
You don’t need an expensive storage system to get started. This guide explains how to plan your shelves, choose suitable materials, build a practical shelving unit, and secure it safely. You’ll also learn how to work around garage door components and prevent common problems such as sagging, wobbling, and moisture damage.
Why DIY Garage Shelving Is Worth Your Weekend
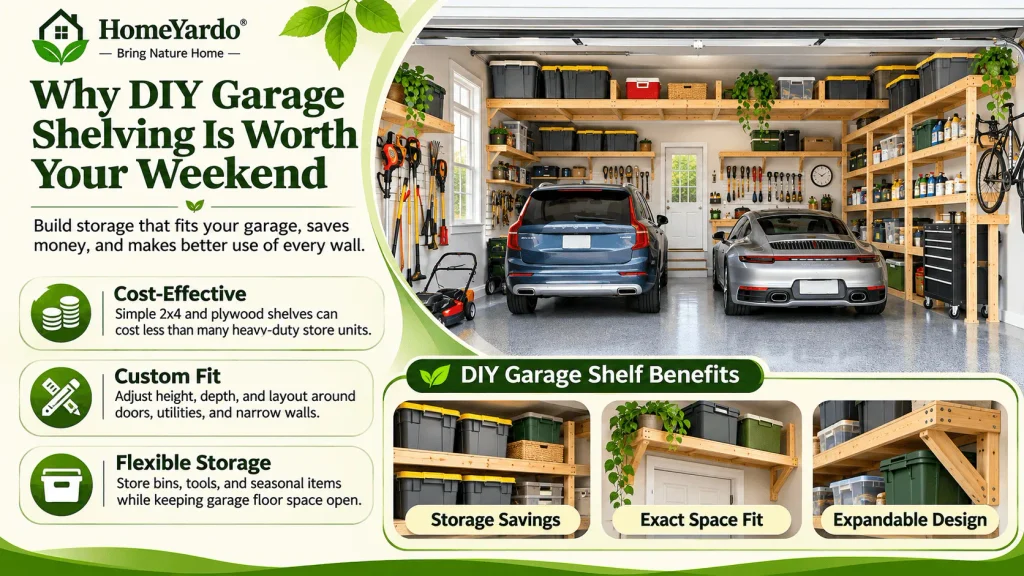
Building your own garage shelves allows you to create storage that fits the space you actually have.
Ready-made shelving can be convenient, but fixed dimensions don’t always work around garage doors, utility equipment, or narrow walls. A homemade unit gives you more control over shelf height, depth, and layout.
Garage Storage Savings Compared to Store-Bought Units
A simple wooden shelving project can be a cost-effective alternative to buying heavy-duty storage units, especially if you already own the necessary tools.
Using standard 2×4 boards and plywood helps keep the material list straightforward. Leftover lumber may also be useful, provided it is straight, dry, and structurally sound.
However, homemade shelving isn’t automatically stronger or cheaper than commercial shelving. Its performance depends on the design, materials, connections, and installation.
Custom Shelves That Fit Your Exact Space
The biggest benefit of building your own shelves is flexibility.
You can:
- Adjust shelf heights to accommodate different storage bins.
- Choose narrower shelves where parking space is limited.
- Build around corners or irregular wall sections.
- Leave clearance for outlets, doors, and utilities.
- Add another section when your storage needs change.
If you’re considering other ways to reclaim your garage floor, explore these garage storage ideas that free up floor space.
Planning a Garage Shelving Layout That Works

A little planning can prevent most installation problems. Before buying lumber, decide exactly where your shelves will go and what they need to hold.
Measuring Wall Space and Ceiling Clearance
Start by measuring the available wall width, ceiling height, and floor depth.
For many household storage projects, shelves around 16 to 24 inches deep offer a useful starting point. Choose the final depth based on your storage bins and available walking space.
Check the following before settling on a layout:
- Can you open your car doors comfortably?
- Will the shelves block entry doors or windows?
- Is there room to access electrical panels and utilities?
- Will the shelving interfere with garage door tracks, springs, cables, or the opener?
- Can you safely reach the upper shelves?
Use a stud finder to locate wall framing, then verify the stud positions before choosing mounting points. Stud spacing varies, so don’t assume every garage uses 16-inch centers.
Mapping Out What You Need to Store
Sort your belongings into categories before deciding how many shelves to build.
| Storage category | Recommended placement |
|---|---|
| Heavy toolboxes and equipment | Lowest supported shelves |
| Frequently used tools | Waist to shoulder height |
| Seasonal decorations | Upper shelves, within safe reach |
| Sports equipment | Accessible middle or lower shelves |
| Lightweight household supplies | Upper or middle shelves |
| Paints and chemicals | Suitable storage following product safety labels |
Avoid placing heavy objects overhead. Chemicals should not be stored on high open shelves simply to keep them away from children. Use secure, appropriate storage and follow the product manufacturer’s requirements.
Once you’ve sorted your belongings, sketch the shelving layout and record the required dimensions.
Picking the Best Type of Garage Shelves
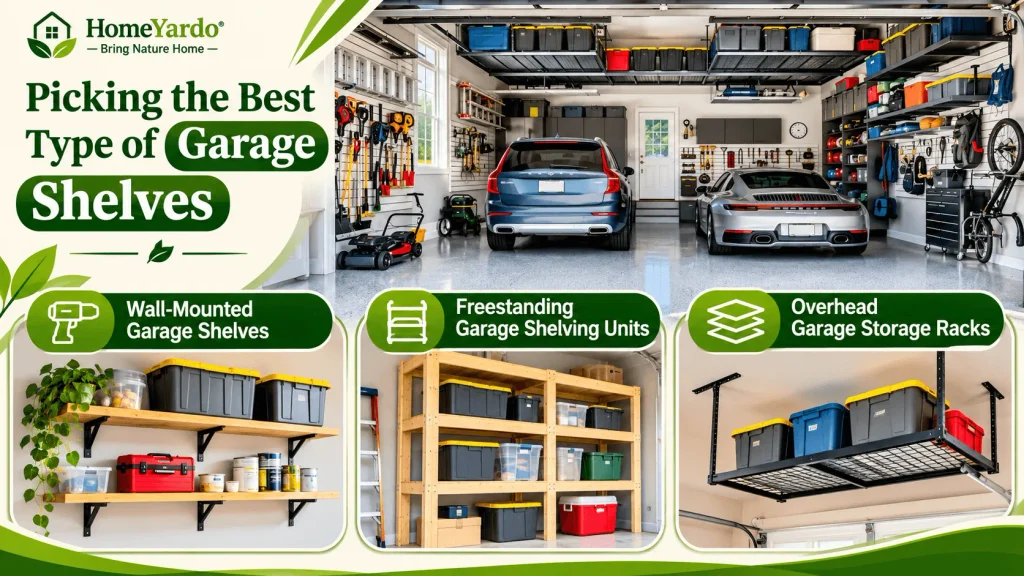
Not every garage needs the same shelving arrangement. The best design depends on available space, storage weight, wall construction, and your comfort with installation.
Wall-Mounted Garage Shelves
Wall-mounted shelves leave the floor open, making them particularly useful in smaller garages.
They work well for storage bins, lighter tools, and supplies when the brackets and connections are properly sized for the intended load.
Secure the supports into suitable structural framing using approved fasteners. Drywall alone cannot safely support heavy garage shelving.
Freestanding Garage Shelving Units
Freestanding wooden shelves are a practical option for a weekend project because you can assemble much of the frame on the floor before positioning it.
A typical design uses four vertical legs, horizontal 2×4 supports, and plywood shelf surfaces.
These units can accommodate substantial household storage when designed correctly, but their load capacity must be evaluated rather than assumed.
Tall freestanding units should be restrained against tipping using suitable wall anchors, even when the shelves appear stable.
Overhead Garage Storage Racks
Overhead storage makes use of ceiling space that might otherwise remain empty.
It is best suited to lightweight, infrequently used items, including suitable holiday decorations and camping supplies.
Ceiling-mounted racks require verified structural support and properly rated hardware. Where framing conditions or loading requirements are uncertain, seek professional installation advice.
If your current door system leaves little room overhead, some homeowners plan their storage around a Residential Garage Door Installation that uses a high-lift or low-headroom track arrangement to change the available clearance, where the building and door configuration permit it.
Never attach storage racks directly to garage door tracks, opener rails, or their support brackets.
Tools and Materials for a Sturdy Build
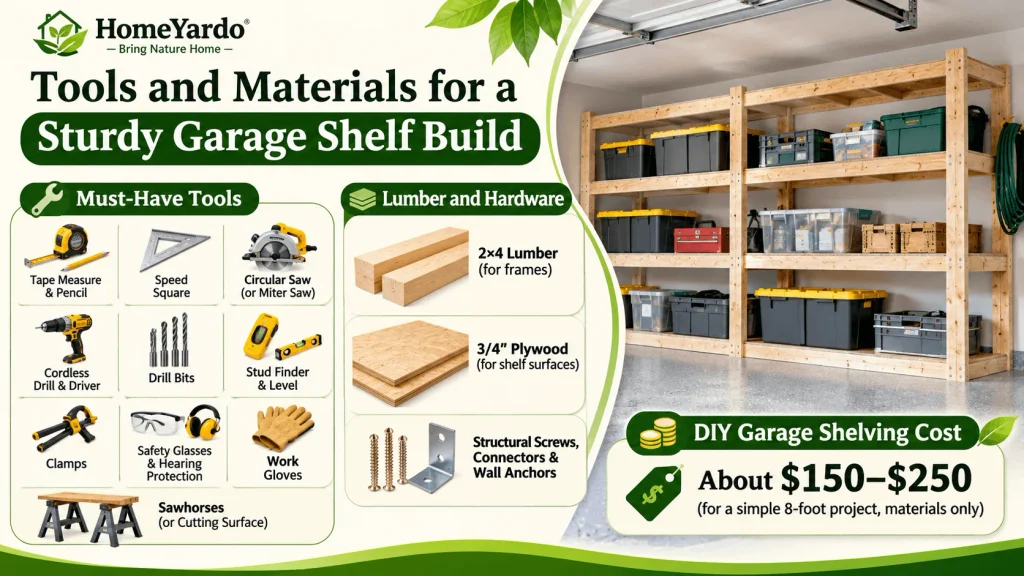
You don’t need a professional workshop to build basic garage shelves. Most of the work involves measuring, cutting, assembling, and fastening lumber.
Must-Have Tools for DIY Shelving
Gather these tools before starting:
- Tape measure, pencil, and speed square
- Circular saw or miter saw
- Cordless drill and driver
- Drill bits suitable for your fasteners
- Stud finder and level
- Clamps for holding lumber during assembly
- Safety glasses and hearing protection
- Suitable work gloves for material handling
- Sawhorses or another stable cutting surface
Use clamps and supports when cutting. Never hold a board in your hand while operating a power saw.
Choosing Lumber and Hardware
Standard 2×4 lumber is a common choice for basic garage shelving frames.
Select boards that are straight and free from major splits, severe warping, or other defects that could affect their performance.
For shelf surfaces, 3/4-inch plywood is often a useful starting material, although the required thickness and support spacing depend on the load and span.
Use structural screws, compatible connectors, and wall anchors suitable for the design. Ordinary drywall screws should not be used for structural framing connections.
Important: Plywood thickness, lumber dimensions, and screw size alone do not establish a safe load rating. Follow manufacturer guidance and use a properly designed support arrangement.
How Much Does DIY Garage Shelving Cost?
The total cost depends on lumber prices, shelf dimensions, plywood quality, fasteners, and whether you already own the necessary tools.
For preliminary budgeting, a simple 8-foot wooden shelving project might require roughly 150–250 in materials, but this is only a planning allowance, not a verified current quote.
Before purchasing, prepare a cut list and price the required materials at your local supplier. Include additional allowance for damaged boards, cutting waste, and suitable anchoring hardware.
Your Two-Day Garage Shelving Game Plan
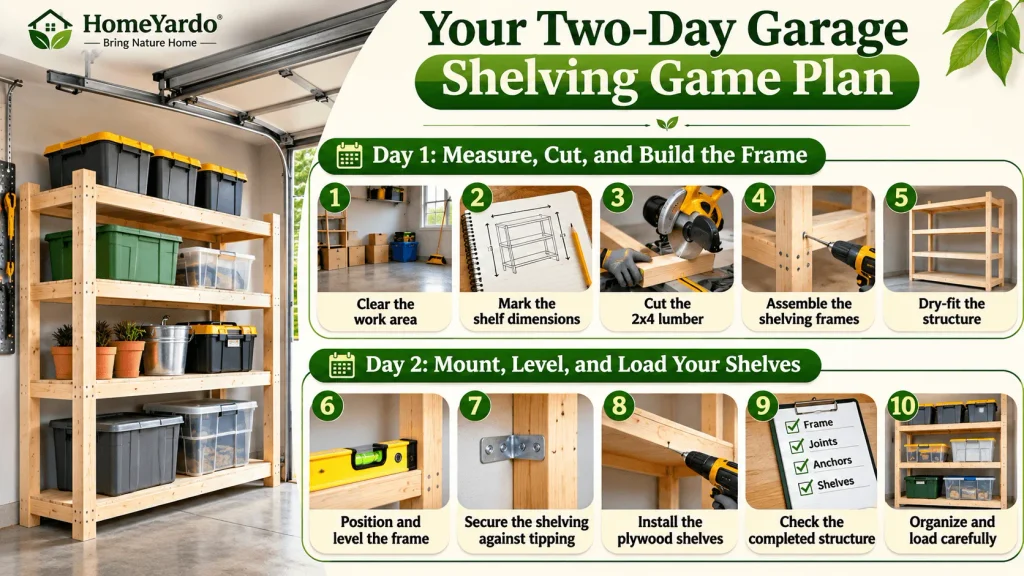
You can divide a basic shelving project into two manageable stages.
The example below focuses on a freestanding 2×4-and-plywood unit with vertical legs and supported plywood shelves. It is a workflow rather than an engineered construction plan; final member sizes, spans, joints, and load limits must be appropriate for your actual design.
Day 1: Measure, Cut, and Build the Frame
Step 1: Clear the work area
Move boxes, vehicles, and equipment away from the building location. Sweep the floor and make sure you have enough room to cut and assemble the frame safely.
Step 2: Mark the shelf dimensions
Use your sketch to identify the unit’s height, width, depth, and shelf positions.
Mark the cuts carefully, accounting for the actual dimensions of your lumber and how the frame members connect.
Step 3: Cut the 2×4 lumber
Cut the legs, horizontal supports, and any intermediate braces required by your design.
Check each measurement before cutting. Labeling the pieces can make assembly much easier.
Step 4: Assemble the shelving frames
Build the shelf-support assemblies on a level work surface using the connection details specified for your design.
Check for square corners and consistent dimensions. Add the necessary intermediate supports or bracing so the shelves don’t depend on unsupported plywood spans.
Step 5: Dry-fit the structure
Position the completed assemblies to check alignment and fit before installing the plywood.
The unit should be square, stable during assembly, and ready for its final bracing and anchoring.
Day 2: Mount, Level, and Load Your Shelves
Step 6: Position and level the frame
Move the shelving into its intended location with help from another person when needed.
Use a level to check the vertical legs and horizontal supports. Correct uneven contact with the floor using suitable methods for your design.
Step 7: Secure the shelving against tipping
Install appropriate anti-tip restraints into verified structural framing.
For wall-supported designs, use the required structural mounting connections rather than treating lightweight anti-tip hardware as a substitute.
Step 8: Install the plywood shelves
Cut the plywood to match the frame dimensions. Position the panels so their edges and intermediate areas receive adequate support.
Secure the panels using the recommended fastener type and spacing for the shelving design.
Step 9: Check the completed structure
Inspect the framing, joints, anchors, shelf surfaces, and braces. Look for movement, missing fasteners, or uneven bearing.
Do not use a push test as proof of load capacity, and never test shelving by suddenly placing excessive weight on it.
Step 10: Organize and load carefully
Once the construction and anchoring have been verified, place the heaviest appropriate belongings on the lowest shelves.
Distribute items evenly and keep access routes open.
How to Prevent Sagging and Overloaded Garage Shelves

Even a neatly built shelving unit can become unsafe if its supports are inadequate.
The most common problems involve excessive spans, unsuitable fasteners, poor connections, and loads that exceed what the frame can support.
What Causes Garage Shelves to Sag?
Plywood can bend when weight is concentrated between supports.
Potential contributing factors include:
- Excessive distance between structural supports
- Inadequate plywood thickness
- Heavy concentrated loads
- Missing intermediate braces
- Moisture-damaged lumber
- Poorly connected framing
Reducing spans and adding properly designed intermediate supports can help limit deflection.
How Much Weight Can DIY Garage Shelves Hold?
There is no universal weight rating for homemade 2×4 garage shelves.
Actual capacity depends on the complete load path: shelf decking, supports, framing members, joints, fasteners, wall anchors, and the supporting structure.
A freestanding unit and a wall-mounted shelf of the same dimensions may have very different capacities.
Never assume that a shelf can support a particular number of pounds based only on the use of 2×4 lumber or 3/4-inch plywood.
For heavy equipment, unusually long spans, or overhead installations, use a design with a documented load rating or consult a qualified professional.
Mistakes That Make Garage Shelves Fail
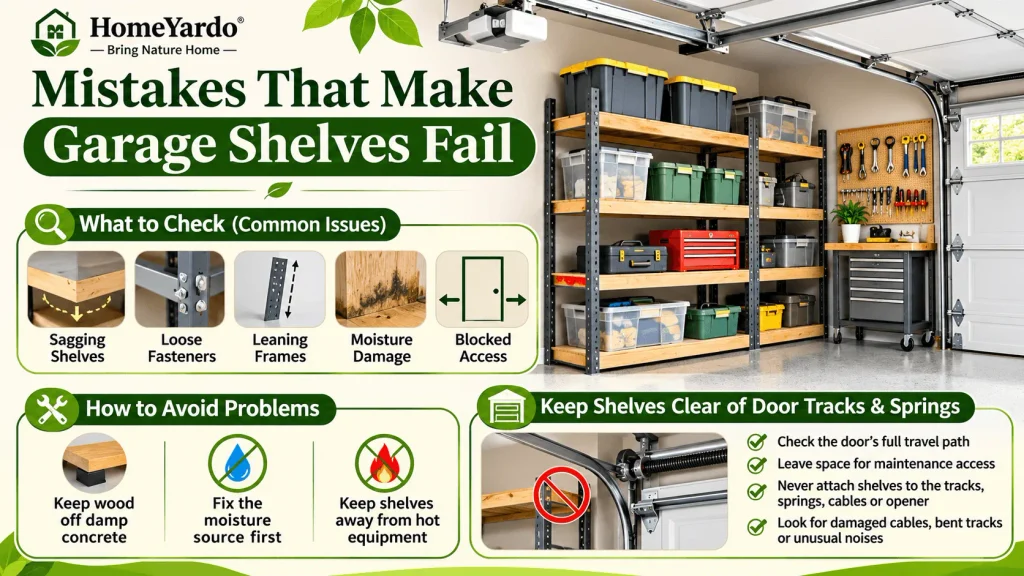
Many shelving problems start with small mistakes during planning or assembly.
Recognizing these early can save you from rebuilding the entire unit.
What to Check Before and After You Build
Sagging shelves: Check the span, decking, load distribution, and intermediate supports.
Loose fasteners: Stop using the affected shelf until the connection and surrounding material have been assessed.
Leaning frames: Check squareness, bracing, floor contact, and anti-tip restraints.
Moisture damage: Look for swelling, softened wood, mold, or corrosion near the bottom of the unit.
Blocked access: Make sure shelving doesn’t obstruct doors, electrical equipment, or utility access.
Never continue loading a shelf that shows obvious structural movement or damage.
How to Avoid Common Garage Storage Problems
Raise vulnerable wood components away from damp concrete using suitable protective or moisture-resistant construction details.
Don’t rely on paint or a sealant to correct an existing moisture problem. Address the source of water first.
Keep shelving away from hot equipment, ignition sources, and restricted service clearances.
Most importantly, don’t sacrifice accessibility or safety just to fit one more shelf into a narrow space.
Keep Garage Shelves Clear of Door Tracks and Springs
Garage doors have moving parts that require unobstructed clearance.
Before installing shelves, assess the door’s complete travel path and identify areas needed for maintenance access.
Never attach shelving to garage door tracks, springs, cables, opener rails, or door hardware.
While working near the door, watch for damaged cables, bent tracks, or unusual grinding noises. Spring and cable repairs involve dangerous stored energy and are best left to Expert Garage Door Repair technicians.
For routine visual checks, HomeYardo’s garage door maintenance checklist explains which warning signs homeowners can identify without attempting hazardous repairs.
Smart Ways to Organize Your New Shelves
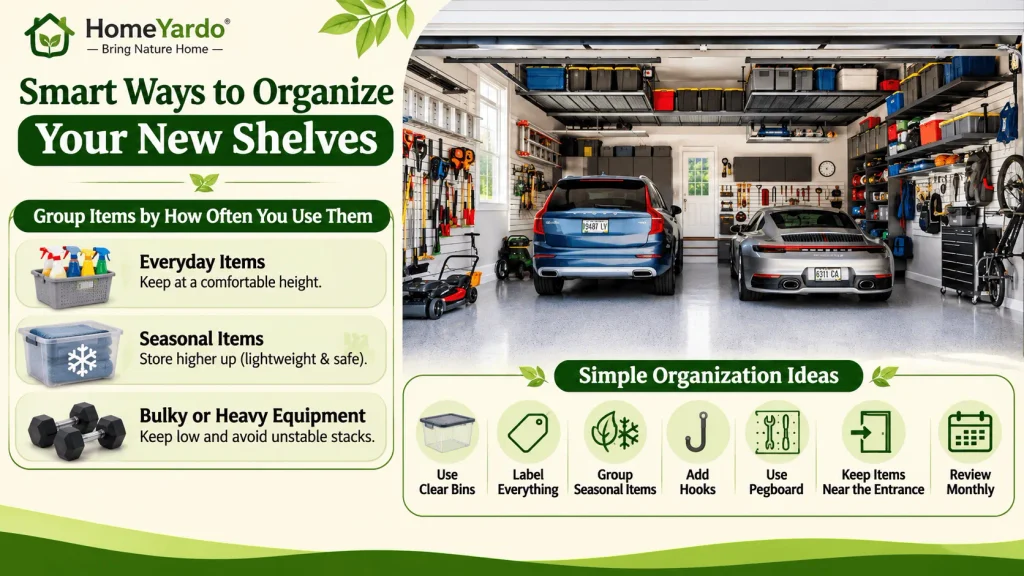
Building the shelves is only half the project. A practical organization system helps prevent clutter from returning.
Group Garage Items by How Often You Use Them
Place everyday items at a comfortable height where they can be reached without climbing.
Store seasonal items higher up, provided they are lightweight and can be retrieved safely.
Keep bulky or heavy equipment low, and avoid stacking unstable boxes.
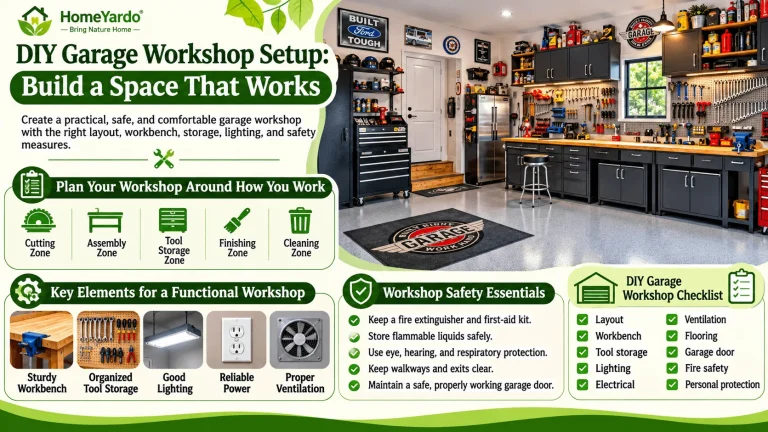
If your garage also serves as a workspace, this guide to setting up a functional garage workshop can help you plan separate storage and work areas.
Clear Bins, Labels, and Vertical Storage Ideas
Clear storage bins can make household supplies easier to identify while reducing exposure to dust.
Try these simple organization habits:
- Label every bin with its contents.
- Group seasonal belongings together.
- Add appropriately mounted hooks for lightweight accessories.
- Use pegboard for smaller hand tools.
- Keep frequently used items near the entrance.
- Review your storage arrangement once a month.
Avoid hanging heavy accessories from shelving ends unless those attachments and supporting members are designed for the extra forces.
Final Takeaway: Turn Your Garage Into Space You Actually Use
A weekend shelving project can make a noticeable difference in how your garage functions.
With careful measurements, suitable materials, a sound support design, and proper anchoring, you can move clutter off the floor and create storage tailored to your needs.
The best results come from building for the items you actually own rather than trying to fill every available inch of wall space.
Before starting, inspect the surrounding garage, including the door, tracks, opener, and nearby utilities. New shelving should never interfere with equipment that needs to operate or be serviced safely.
If anything about the garage door seems unusual, R&S Erection of Santa Rosa Inc. provides residential garage door inspection and repair services for homeowners in Santa Rosa and the surrounding North Bay area.
Then grab your tape measure, clear your work area, and start building a garage that is easier to organize and use.
FAQ’s
Yes. A straightforward shelving unit can often be completed in a weekend when the design, measurements, materials, and tools are ready beforehand. More complicated installations may take longer, especially if structural assessments or special mounting requirements are involved.
Standard 2×4 lumber is commonly used for shelf framing, while plywood provides a practical shelf surface. Material selection should account for moisture exposure, expected loads, support spacing, and the condition of the wood.
2×4 lumber can be suitable for many household shelving applications, but its capacity depends on member orientation, span, grade, connections, bracing, and the complete frame design. It does not have one universal shelving load rating.
Depths of approximately 16 to 24 inches work for many common storage bins. Measure your actual containers and check the available floor space before choosing a depth.
Three-quarter-inch plywood is generally stiffer than half-inch plywood of similar quality, making it a common choice for shelving. However, neither thickness guarantees adequate performance without suitable supports and load limits.
Use a suitable shelf design with appropriate decking thickness, spans, intermediate supports, and connections. Distribute stored weight and avoid exceeding the design’s rated capacity.
Tall freestanding units should generally be restrained against tipping. The anchoring method must suit the wall material, shelving design, and expected forces. An anti-tip restraint does not increase the unit’s vertical load capacity.
Costs vary by lumber prices, shelving dimensions, hardware, and tools. A preliminary material allowance of 150–250 may be useful for planning a basic project, but check local supplier quotes before setting your budget.
Yes, provided the shelving remains outside the door’s complete travel path and does not obstruct tracks, springs, cables, sensors, opener components, or maintenance access. Never attach storage directly to garage door hardware.
Wall-mounted shelves save floor space but depend on suitable structural wall attachments. Freestanding shelves provide layout flexibility but need adequate bracing and tipping protection. Choose according to the intended load, available space, and support conditions.