How To Winterize Outdoor Faucets And Sprinkler Systems
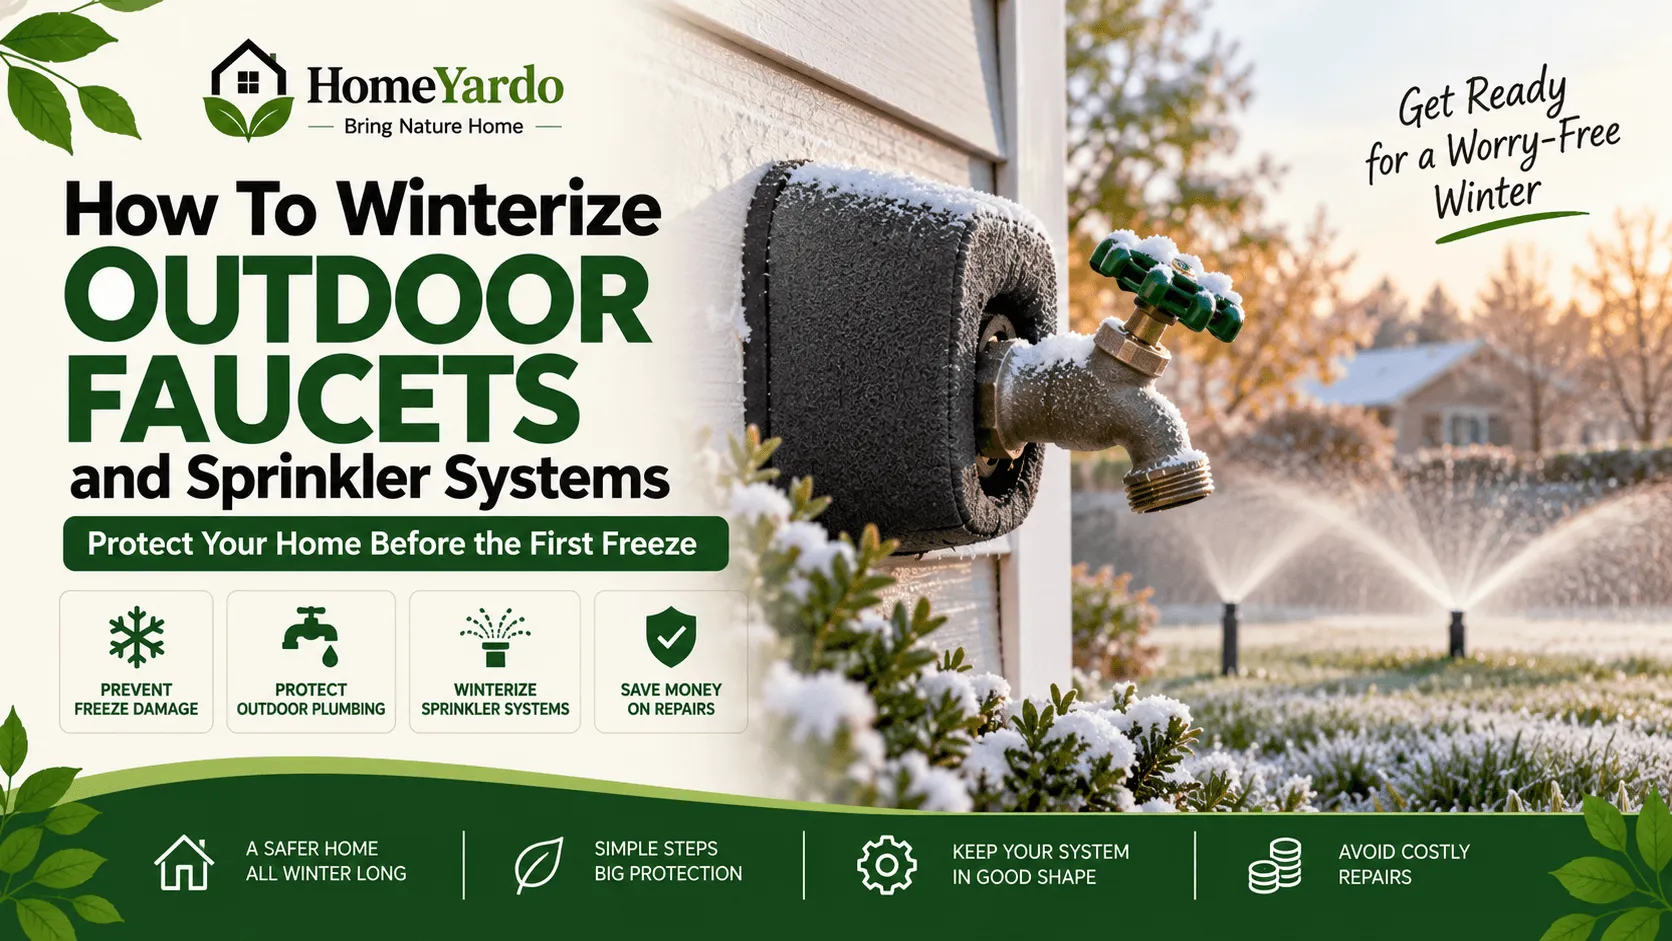
Water left inside an outdoor faucet, irrigation line, valve, or sprinkler component can become a problem when freezing weather arrives. As trapped water freezes and expands, the resulting pressure can damage fittings, valves, sprinkler heads, and plumbing.
The difficult part is that freeze damage is not always obvious when it happens. A cracked line may remain unnoticed until temperatures rise and water starts flowing again.
That is why winterizing outdoor faucets and sprinkler systems should be completed before the first expected freeze, not after cold weather has already arrived.
For most homeowners, the process means disconnecting hoses, shutting off and draining exterior water lines where possible, protecting exposed plumbing, and making sure the irrigation system is winterized according to its design.
When Should You Winterize Outdoor Faucets And Sprinklers?
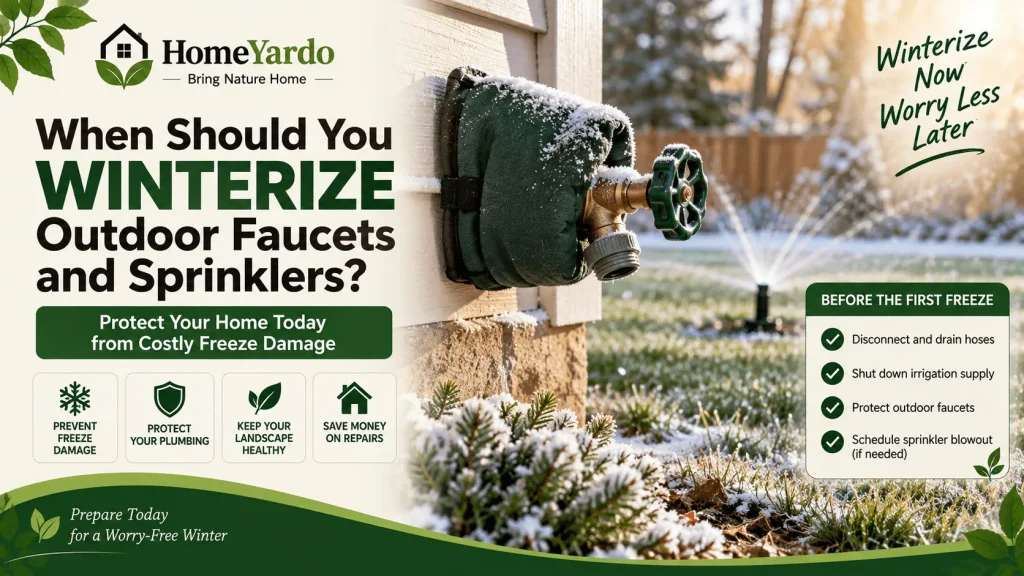
Winterize before temperatures are expected to reach freezing conditions.
Do not wait for visible frost. Water inside vulnerable plumbing and irrigation components can freeze when temperatures around those components remain cold enough, even if the lawn does not look heavily frosted.
The best timing depends on local climate. In colder regions, sprinkler winterization may become part of the regular fall maintenance schedule. Areas with occasional freezes require more attention to short-term weather forecasts.
Scheduling the work early also matters if your sprinkler system requires professional blowout service. Irrigation contractors and plumbers can become much busier once the first freeze warnings appear.
A Simple Pre-Freeze Checklist
Before cold weather arrives:
- Disconnect garden hoses from outdoor faucets.
- Drain hoses before storing them.
- Identify whether exterior faucets have interior shutoff valves.
- Drain exterior supply lines where the plumbing is designed for it.
- Identify whether faucets are standard or frost-free.
- Shut down the irrigation water supply correctly.
- Determine how the sprinkler system is designed to drain.
- Check exposed backflow-prevention equipment.
- Insulate vulnerable exterior plumbing where appropriate.
- Arrange professional sprinkler winterization if the system requires a compressed-air blowout.
These tasks address the parts of outdoor plumbing most likely to retain water.
Why Freeze Damage Can Go Unnoticed Until Spring
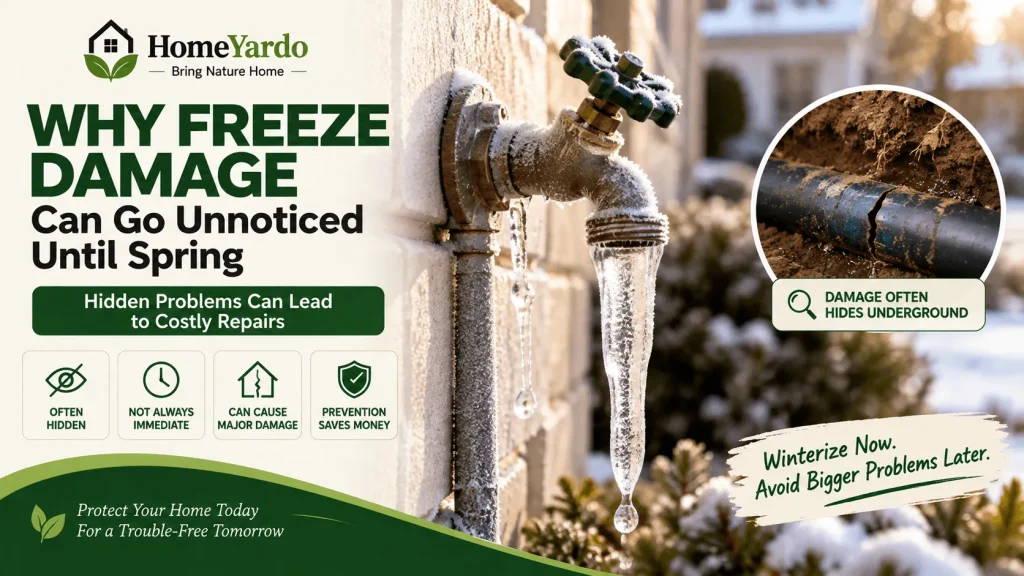
A frozen pipe does not always produce an immediate leak you can see.
A faucet supply pipe can crack during winter and remain hidden inside a wall. An underground irrigation fitting can split without creating an obvious surface problem while the irrigation supply is shut down.
The failure often becomes apparent only when temperatures rise or the system is turned back on.
Homeowners might then notice:
- damp drywall near an exterior faucet,
- unexplained meter movement,
- reduced sprinkler pressure,
- a sprinkler zone that will not pressurize,
- water pooling in the yard,
- leaking valves or fittings,
- damaged sprinkler heads, or
- water appearing around the backflow assembly.
The actual damage may have happened weeks or months earlier.
Preventive winterization is therefore much easier than trying to locate a hidden freeze-related leak after winter.
How to Winterize Outdoor Faucets
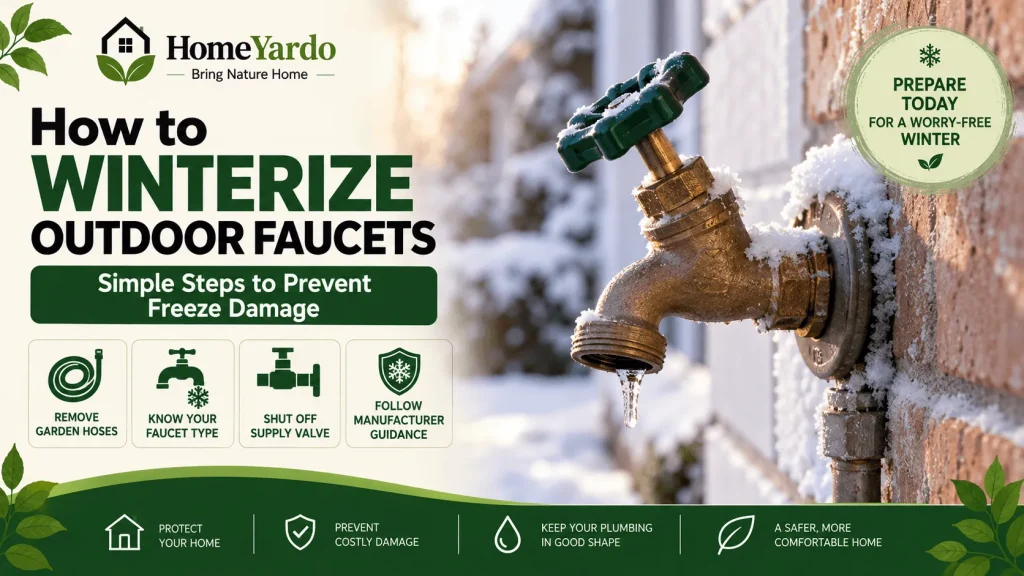
Start with the faucet itself and the pipe supplying it.
The correct procedure depends on how the exterior plumbing was installed, so not every house will have exactly the same setup.
1. Disconnect Every Garden Hose
Remove hoses, splitters, timers, spray nozzles, and other attachments from outdoor faucets.
This matters even when the house has frost-free sillcocks.
A connected hose can retain water at the outlet and prevent a frost-free faucet from draining as intended. Drain the hose separately before storing it.
2. Identify the Faucet Type
Standard outdoor faucets and frost-free sillcocks do not operate in exactly the same way.
A properly installed frost-free faucet places its shutoff mechanism farther inside the building, where temperatures are generally warmer. The exterior portion is intended to drain after the faucet is shut off.
However, that design depends on correct installation.
A frost-free sillcock that does not slope toward the exterior, has a hose attached, or otherwise holds water can still be vulnerable to freezing.
If you cannot determine which type of faucet you have, check the manufacturer’s information or ask a qualified plumber before changing valves or assuming the fixture requires no winter preparation.
3. Shut Off the Interior Supply Valve if Your System Has One
Some homes have a dedicated shutoff valve supplying each outdoor faucet. Others do not.
If a dedicated shutoff is present, close it before winter.
Then open the outdoor faucet to allow remaining water and pressure to drain from the downstream portion of the line.
Some shutoff valves also include a small bleeder or drain port. Where one is provided, follow the valve manufacturer’s procedure for draining the remaining water.
Do not force an old or corroded valve that will not move normally. A failing shutoff valve can create a larger plumbing problem.
4. Follow the Faucet Manufacturer’s Position for Winter
Whether an exterior faucet should remain open or closed after draining depends on the plumbing configuration and faucet design.
Some conventional arrangements are left open after the upstream supply has been shut off and drained. Frost-free fixtures may require a different position.
Follow the instructions for the installed fixture rather than applying one rule to every faucet.
Why Frost-Free Faucets Can Still Freeze
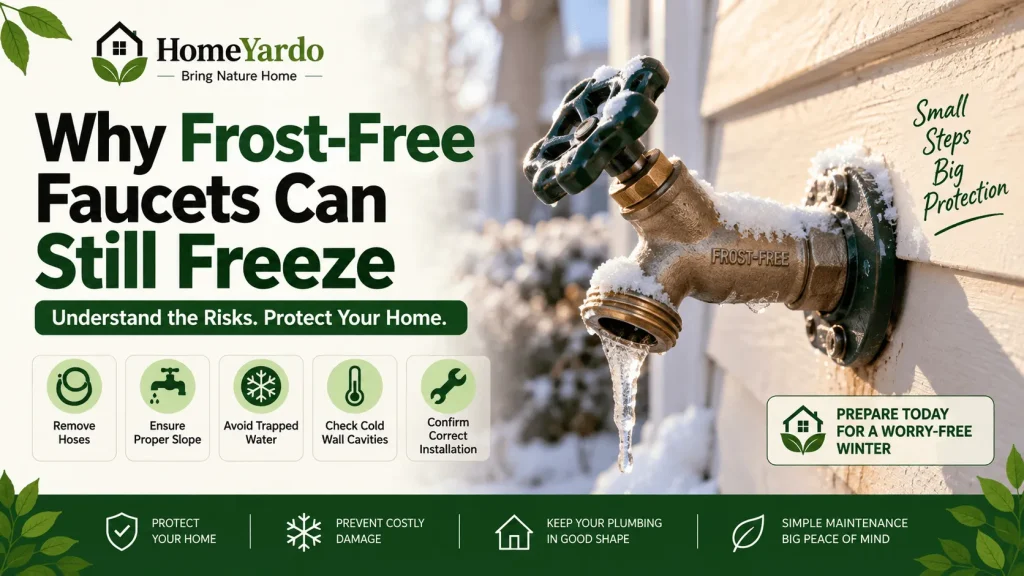
The term “frost-free” can make a faucet sound immune to freezing, but the design still depends on water being able to drain away.
Problems can occur when:
- a hose remains connected,
- the faucet slopes toward the house instead of outward,
- water is trapped within an attachment,
- the interior portion sits in an unusually cold wall cavity, or
- the fixture was installed incorrectly.
That is why removing hoses remains one of the simplest and most useful winter plumbing tasks.
Homeowners in places with long, hard winters know this routine has real stakes. In Arvada, Colorado, repeated freezing conditions can expose weak or improperly drained exterior plumbing. If you’re searching online for Plumber Arvada, schedule the inspection before the first hard freeze rather than waiting until something cracks.
How to Winterize a Sprinkler System
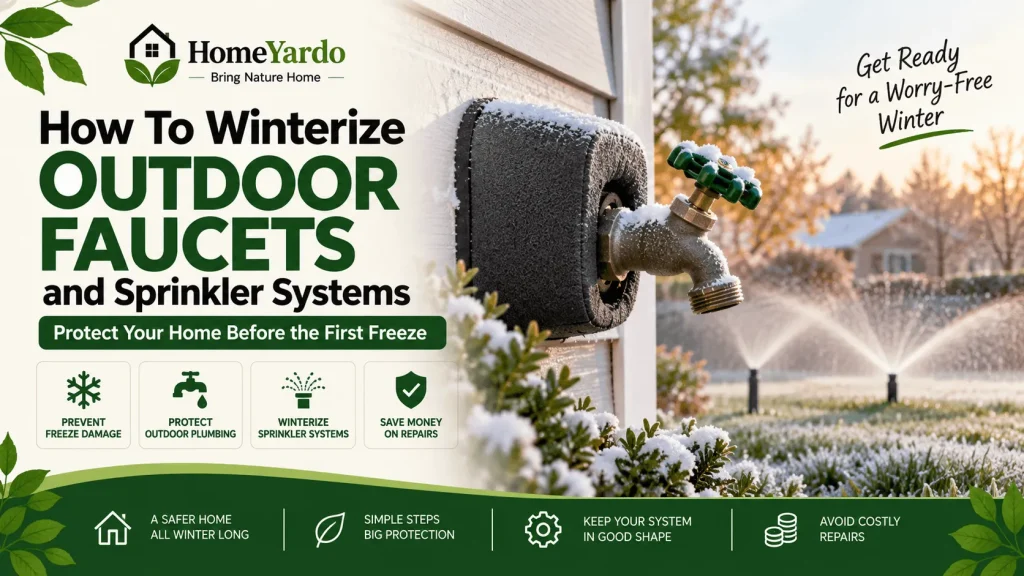
Sprinkler systems require more attention because water can remain in buried pipes, valves, risers, sprinkler heads, backflow equipment, and low sections of the system.
The correct winterization method depends on the irrigation design.
Common systems may use:
- manual drains,
- automatic drains,
- compressed-air blowout,
- or a combination of drainage methods.
Do not assume that opening one drain valve removes all water from every part of the system.
Start by Shutting Off the Irrigation Water Supply
Locate the shutoff that supplies the irrigation system and close it according to the system design.
The location can vary. It may be inside a basement, crawl space, utility area, valve box, or another protected location.
Make sure you know which valve controls irrigation before operating it.
This is also a useful time to label the valve if it is difficult to identify. Clear labeling makes spring startup and emergency shutdown much easier.
Why Sprinkler Drain Valves May Not Remove All the Water
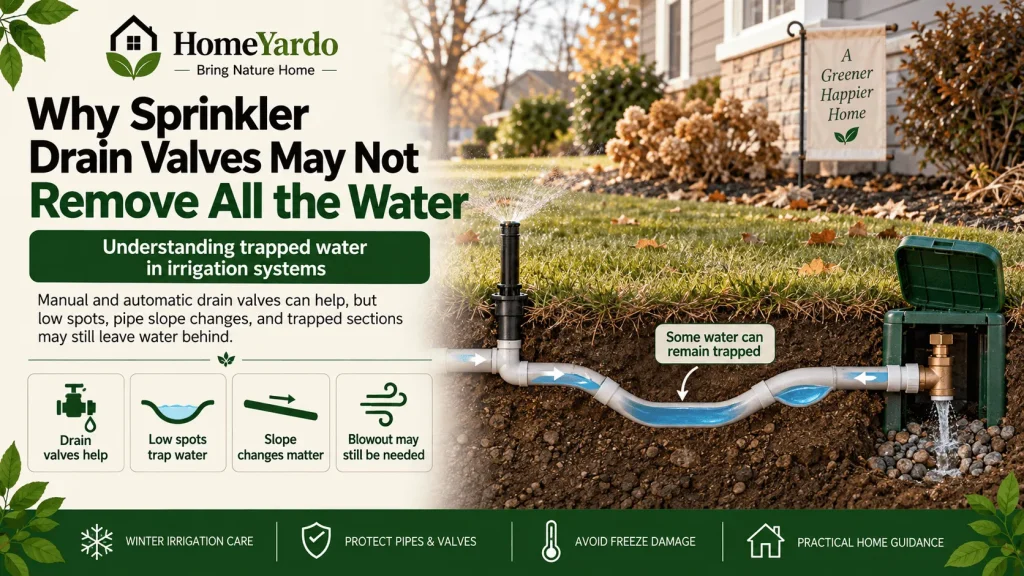
Manual and automatic drain valves can remove water from properly sloped sections of an irrigation system, but they cannot guarantee that every low point will empty.
Soil movement, installation layout, pipe elevation changes, and underground low spots can leave water behind.
Colorado State University Extension cautions against relying entirely on manual or automatic drain valves when complete winter drainage is required. Its guidance describes compressed-air blowout as a method for clearing water that otherwise remains trapped in irrigation systems.
That does not mean every homeowner should connect an air compressor and start blowing out lines.
Air volume, pressure, pipe material, system flow rate, valve configuration, and backflow equipment all matter.
Does a Sprinkler System Need a Blowout?
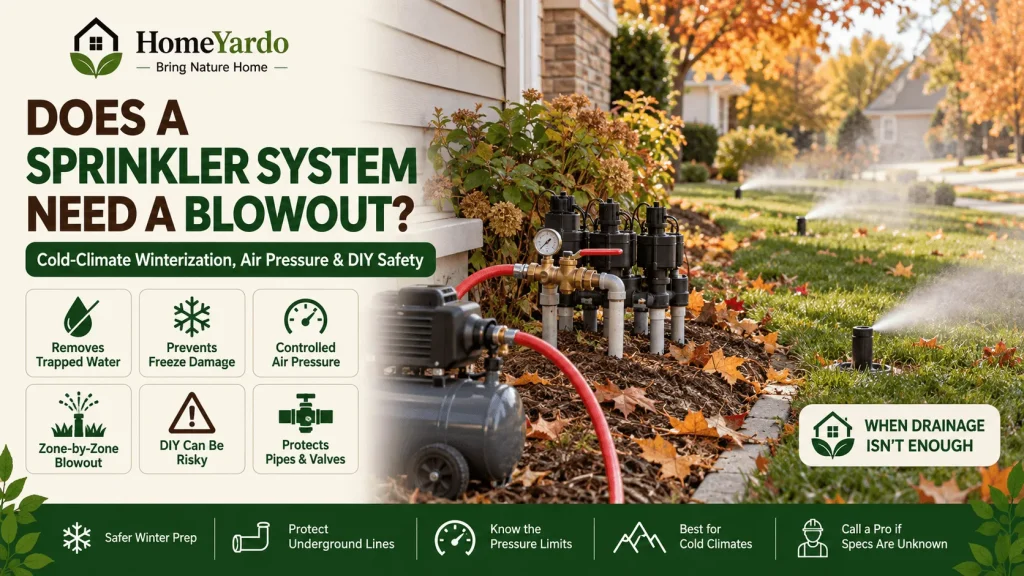
Many cold-climate irrigation systems are winterized using compressed air because drainage alone may leave water trapped underground.
Whether your particular system needs that method depends on its design, location, pipe material, and manufacturer or installer instructions.
A proper blowout clears zones individually using controlled pressure and adequate airflow.
Too little airflow may fail to remove the water. Excessive pressure can damage:
- PVC or polyethylene pipe,
- valves,
- fittings,
- sprinkler heads,
- seals, and
- other irrigation components.
This makes compressed-air winterization different from simply connecting whatever compressor happens to be available.
Why DIY Sprinkler Blowouts Can Be Risky
A homeowner would need to know, among other things:
- the irrigation pipe material,
- allowable operating pressure,
- required airflow,
- zone flow rates,
- correct compressor connection point,
- location and type of backflow preventer, and
- the correct sequence for the installed system.
Compressed air also creates physical hazards when sprinkler heads, fittings, or debris are pressurized.
If those specifications are unknown, professional winterization is the safer approach.
Do Not Blow Compressed Air Through the Wrong Backflow Device
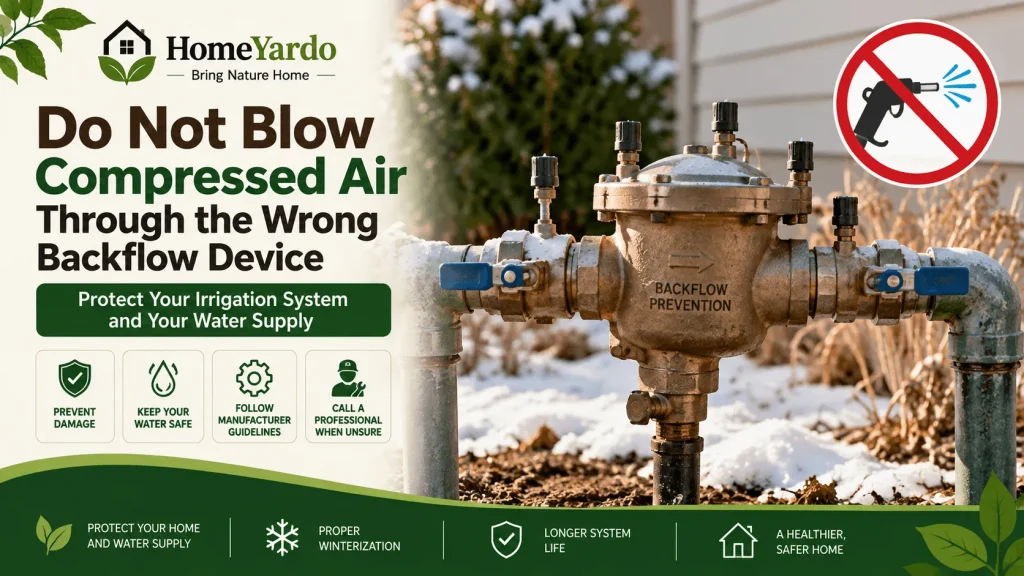
The backflow-prevention assembly needs separate attention.
Its job is to help prevent irrigation water from flowing backward into the potable water supply. The type installed affects how it should be winterized.
Atmospheric vacuum breakers, pressure vacuum breakers, and reduced-pressure assemblies do not all receive the same treatment.
In particular, compressed air should not simply be forced through a pressure vacuum breaker or reduced-pressure assemblies. Internal components can be damaged.
Specific valves and test cocks may also require particular winter positions depending on the assembly.
Do not use a generic internet diagram as a substitute for identifying the actual device installed at your property.
Follow the manufacturer’s winterization procedure or use a qualified irrigation professional when the assembly type or correct procedure is uncertain.
Protect the Backflow Preventer From Freezing
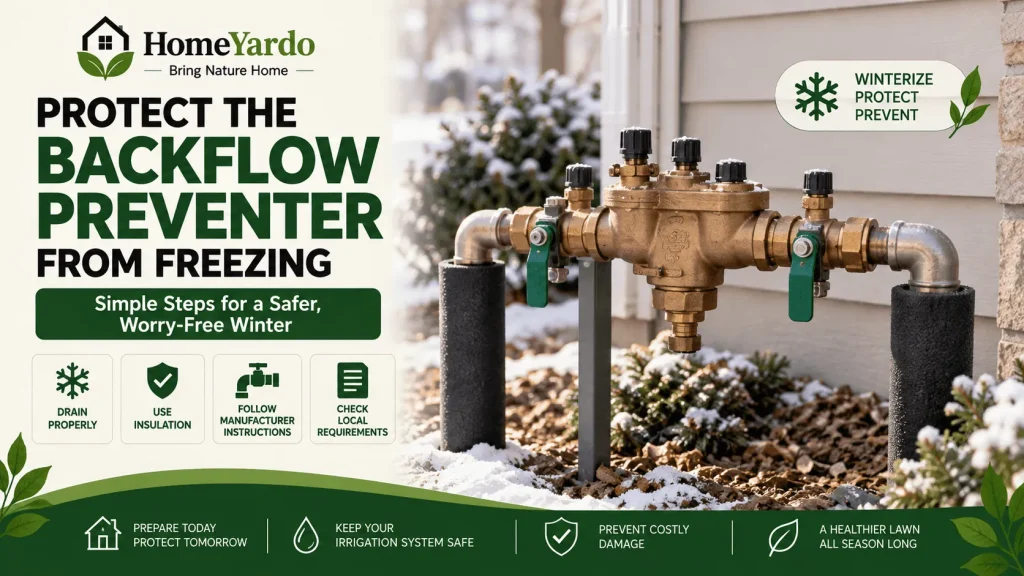
Backflow equipment is often more exposed than buried irrigation lines, making it particularly vulnerable during freezing weather.
Winterization may involve draining the assembly and positioning valves or test cocks according to the instructions for that specific device.
Insulation can provide extra protection in some installations, but insulation is not a substitute for draining equipment that is designed to be emptied for winter.
If an irrigation system is connected to potable water, backflow requirements can also be governed by local plumbing rules or the water provider. Requirements vary by jurisdiction, so homeowners should follow local requirements rather than assuming that the same assembly is approved everywhere.
Protect Exposed Faucets and Pipes
Once water has been removed where appropriate, check plumbing that remains exposed to cold air.
Foam faucet covers can offer another layer of protection for exterior fixtures. They are particularly useful where the faucet and surrounding wall are highly exposed to cold or wind.
Pipes in unheated garages, crawl spaces, utility spaces, or other cold locations may also benefit from suitable pipe insulation.
Check the wall penetration around the faucet as well. Gaps that allow outside air into the wall cavity can expose interior plumbing to colder temperatures.
University of Georgia Cooperative Extension recommends disconnecting garden hoses, shutting off water to exterior faucets where applicable, and draining the pipe. Its cold-weather guidance also discusses opening cabinets and allowing vulnerable indoor faucets to drip during freezing conditions.
That last measure applies to vulnerable indoor plumbing that remains supplied with water. It should not be confused with a properly shut-off and drained seasonal outdoor line.
What About Sprinkler Controllers?
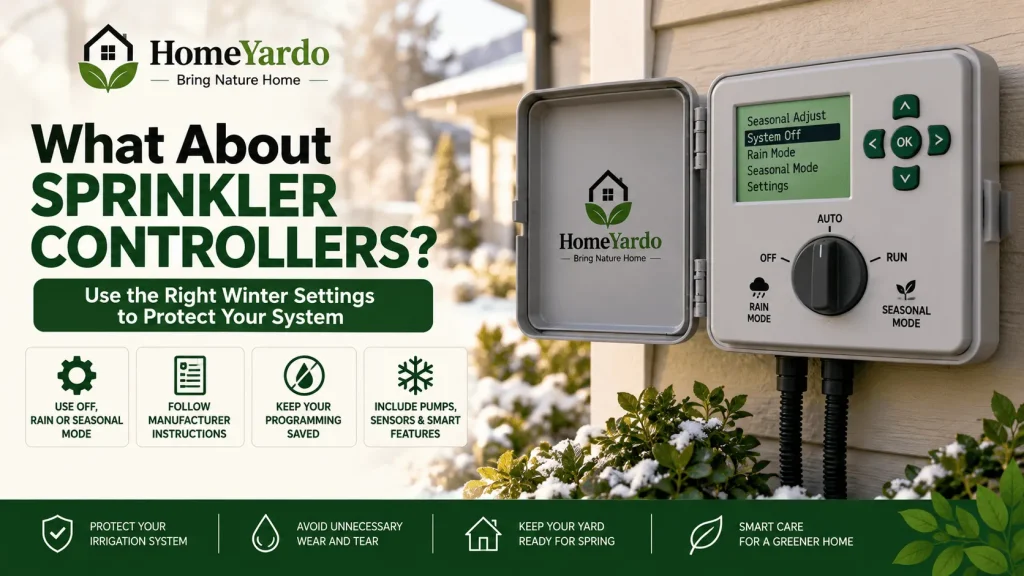
Do not automatically unplug the irrigation controller simply because watering has stopped.
Controller winter settings vary by equipment. Some systems have an off, rain, or seasonal mode that suspends watering while preserving programming.
Follow the controller manufacturer’s instructions.
If the system has pumps, sensors, smart controllers, or other specialized equipment, include those components in the winterization procedure rather than treating only the buried pipes.
Signs Your Outdoor Plumbing May Already Have Freeze Damage
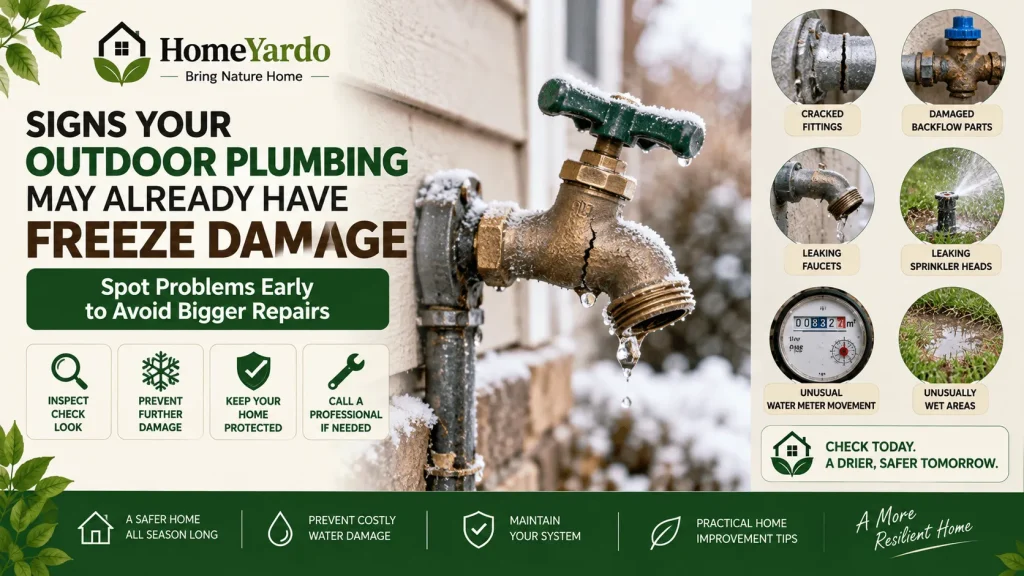
If freezing weather arrived before winterization was completed, inspect the system carefully rather than assuming everything survived.
Watch for:
- cracks in exposed fittings,
- distorted or leaking backflow components,
- damaged faucet bodies,
- faucets that no longer operate normally,
- unusual water-meter movement,
- dampness inside walls near exterior faucets,
- sprinkler heads leaking after startup,
- low irrigation pressure, or
- unusually wet areas of the lawn.
Do not attempt to thaw plumbing with an open flame.
If a concealed pipe appears frozen or damaged, or water begins entering the house, shut off the appropriate water supply and contact a qualified plumbing professional.
HomeYardo’s guide to checking a water meter for leaks can also help identify unexplained water use after a suspected plumbing problem.
When Should You Call a Professional?
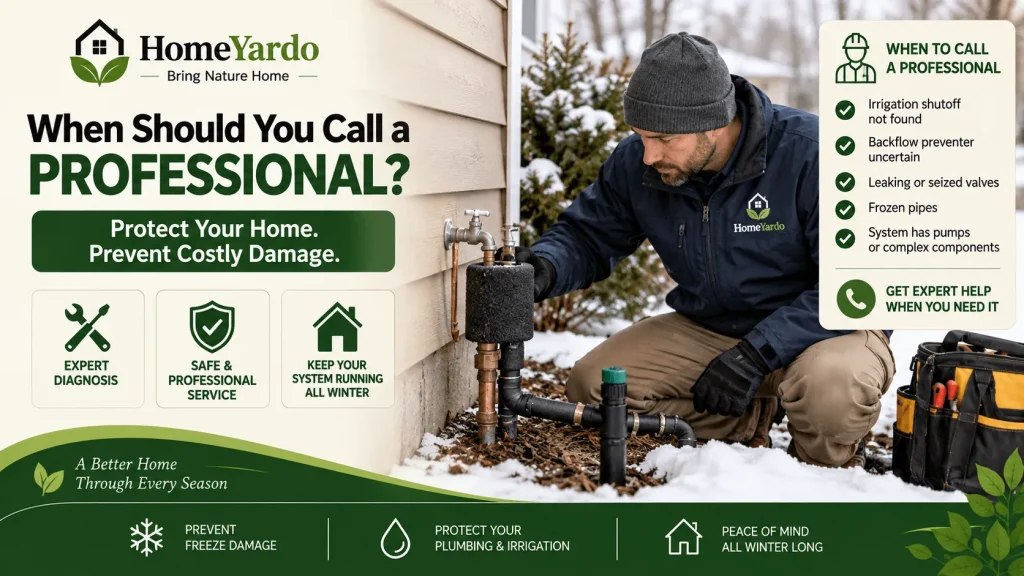
Many basic winter-preparation tasks are homeowner-friendly. Removing hoses and installing an insulated faucet cover usually require little specialized knowledge.
Professional help becomes more appropriate when:
- you cannot locate the irrigation shutoff,
- you cannot identify the backflow preventer,
- shutoff valves are seized or leaking,
- you do not know the irrigation pipe material,
- a compressor blowout is required,
- the sprinkler system has pumps or specialized components,
- a pipe may already be frozen,
- water is leaking inside a wall,
- the system has previously suffered freeze damage, or
- manufacturer instructions are unavailable or unclear.
Winterization should prevent damage, not create it.
Make Winterization Part of Fall Home Maintenance
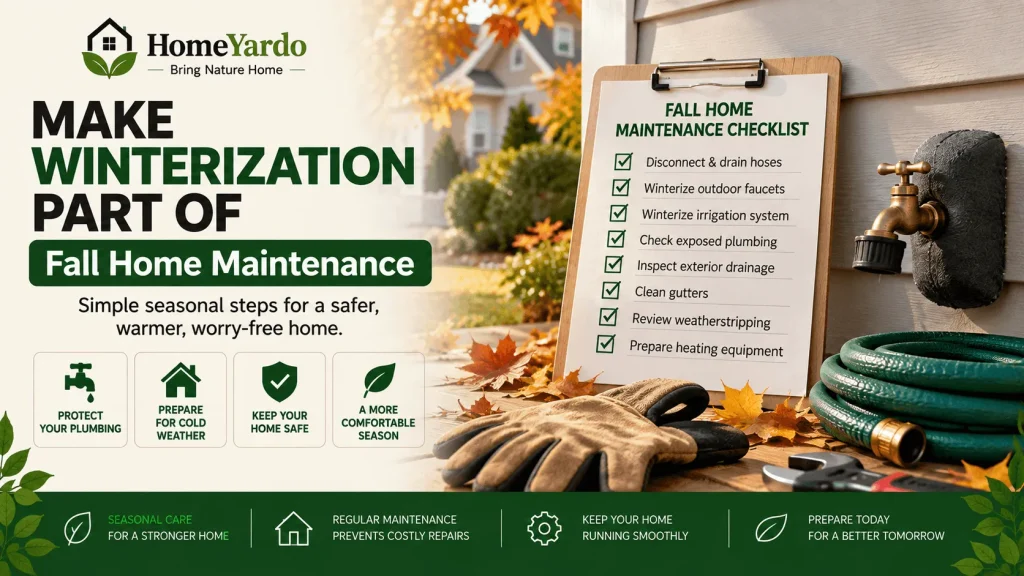
Outdoor plumbing preparation is easier to remember when it becomes part of the same fall maintenance routine every year.
A practical seasonal checklist can include:
- disconnecting and draining hoses,
- winterizing outdoor faucets,
- winterizing the irrigation system,
- checking exposed plumbing,
- inspecting exterior drainage,
- cleaning gutters,
- reviewing weatherstripping, and
- preparing heating equipment.
Timing this alongside other cold-weather prep, the same way you’d plan ahead for seasonal HVAC maintenance, makes it much less likely to be forgotten when temperatures suddenly drop.
The important part is doing the work before freezing weather makes it urgent.
Check The System Again In Spring
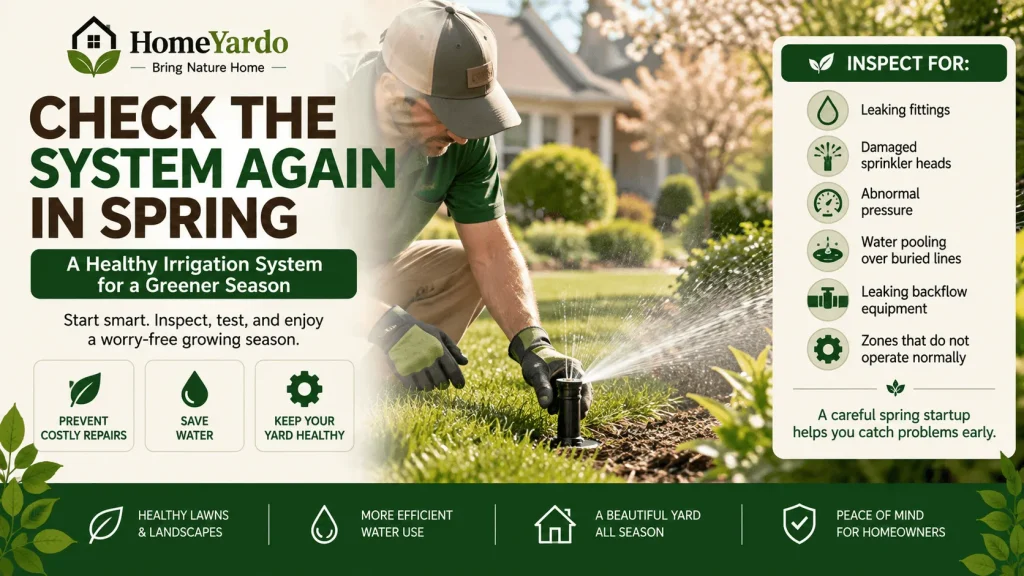
Winterization is only half of the seasonal cycle.
When temperatures are safely above freezing and the irrigation system is being returned to service, restore water gradually and inspect the system before assuming everything is ready.
Look for:
- leaking fittings,
- damaged sprinkler heads,
- abnormal pressure,
- water pooling over buried lines,
- leaking backflow equipment, and
- irrigation zones that do not operate normally.
A slow, controlled spring startup can reveal damage before a small underground leak becomes a large water-loss problem.
Final Takeaway
Winterizing outdoor faucets and sprinkler systems comes down to one principle: do not leave vulnerable water trapped where freezing temperatures can reach it.
Disconnect hoses. Drain exterior faucet lines where the plumbing allows it. Identify how the irrigation system is designed to be winterized. Give backflow equipment separate attention, and do not improvise a compressed-air blowout when you do not know the system specifications.
Taking care of those tasks before the first freeze can help prevent damaged faucets, split irrigation components, underground leaks, and unpleasant surprises when spring arrives.
FAQs
Do not wait until a specific overnight temperature has already arrived. Complete winterization before the first forecast freeze in your area so the plumbing is prepared before water inside vulnerable components can freeze.
Disconnect attached hoses and accessories first. If the faucet has a dedicated interior shutoff, close it and drain the downstream line according to the plumbing design. Follow the manufacturer’s instructions for frost-free faucets because the correct final valve position can vary.
They still need basic preparation. Remove attached hoses and make sure the faucet can drain properly. Frost-free designs can still freeze when water remains trapped because of an attached hose, incorrect pitch, installation problems, or unusually cold conditions around the interior portion.
It depends on the faucet and plumbing configuration. Some conventional lines with an upstream shutoff are left open after draining, while frost-free fixtures may require the exterior handle to remain closed. Follow the instructions for the installed faucet.