
How To Build A Backyard Workshop From The Ground Up
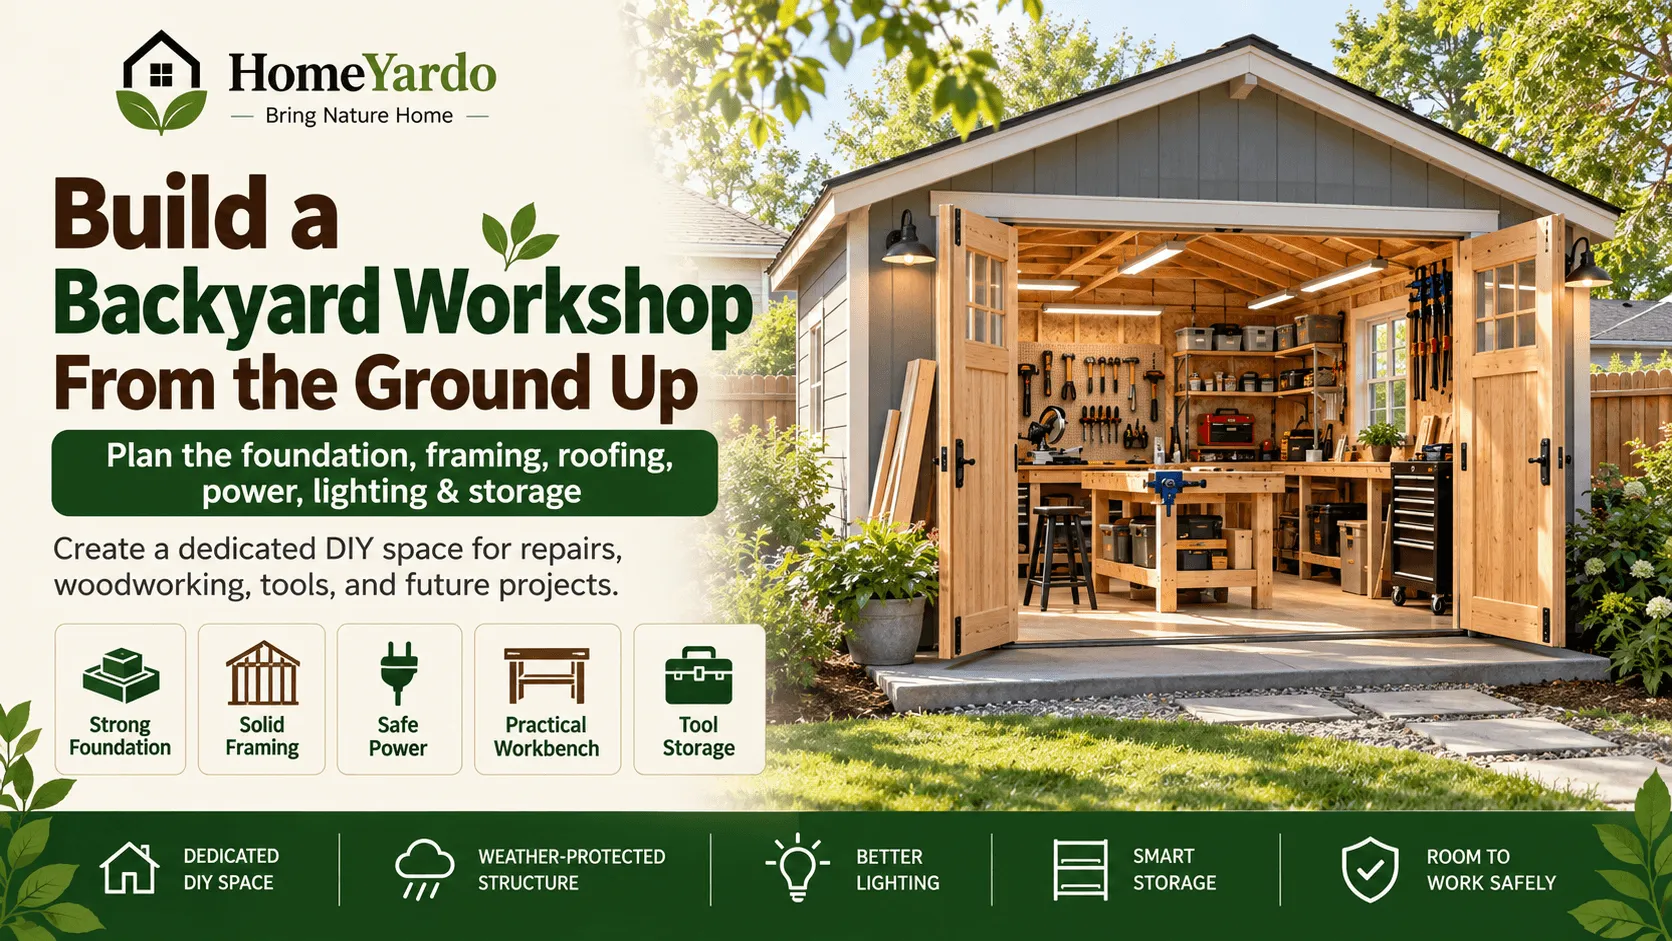
Building a backyard workshop can give you a dedicated space for carpentry, home repairs, tool storage, and future DIY projects. Unlike a basic garden shed, a workshop may involve foundations, structural framing, roofing, electrical work, insulation, and interior finishing. During construction, workers should assess the hazards associated with each stage and use appropriate protective equipment, which may include construction hard hats, eye protection, gloves, hearing protection, suitable footwear, and other task-specific equipment.
Decide How You Will Use the Workshop
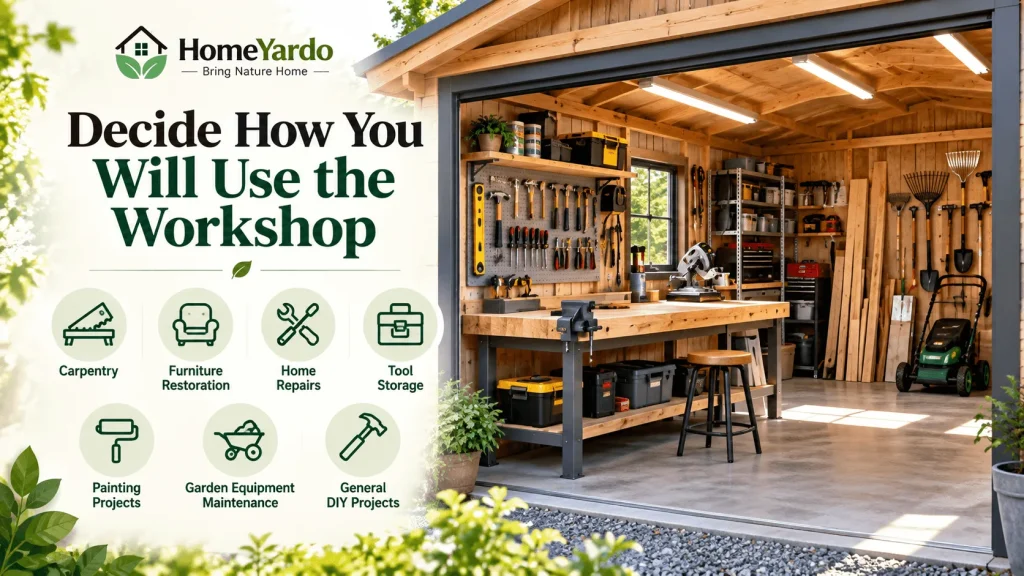
Start by defining the main purpose of the building.
You might use the workshop for:
- Carpentry
- Furniture restoration
- Home repairs
- Tool storage
- Painting projects
- Garden equipment maintenance
- General DIY projects
Knowing what work will happen inside helps determine the size and layout. Knowing what work will happen inside helps determine the size and layout. If you are still planning how the finished workspace should function, our garage workshop setup guide covers workbench placement, equipment clearance, lighting, electrical access, and tool storage.
Choose the Right Location

Look for an area of the backyard that provides enough space without interfering with patios, gardens, pathways, or other outdoor areas. If the workshop will become part of a larger outdoor redesign, start by designing the backyard around activity, garden, relaxation, and utility areas so the new structure fits naturally into the space.
Consider:
- Access from the house
- Drainage
- Sun exposure
- Nearby trees
- Property boundaries
- Underground utilities
- Access for construction materials
Think about how easily large pieces of timber or equipment can be moved into the workshop once it is complete. Pay particular attention to drainage. If rainwater already pools in the proposed building area, address the yard drainage problem before installing a permanent foundation.
Check Building Requirements
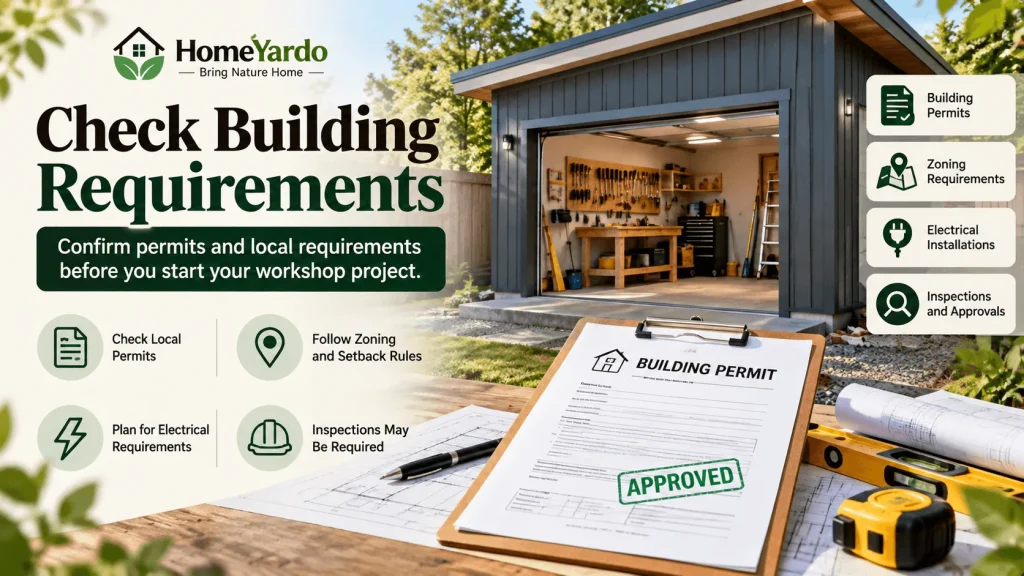
Depending on the workshop’s dimensions, construction method, utilities, and location, local permits or approvals may be required.
Check applicable requirements before ordering materials or beginning excavation.
Electrical installations and larger structural projects may also require inspections or qualified professionals.
Prepare the Site
Clear vegetation, old paving, debris, and other obstacles from the proposed construction area.
Check for underground utilities before excavation.
The ground may also need grading to provide a stable base and prevent water from collecting around the finished structure.
Build a Strong Foundation
The correct foundation depends on the workshop design and local ground conditions.
Possible approaches may include concrete slabs or other suitable foundation systems.
A level, stable foundation is important because errors at this stage can affect framing, doors, windows, and roofing later.
Frame the Structure
Once the foundation is ready, construction can move to the walls and roof structure.
Follow an appropriate design and regularly check that the structure remains level, square, and correctly aligned.
Openings for doors and windows should be incorporated according to the plans.
Structural work beyond your experience should be handled by appropriately qualified professionals.
Install The Roof
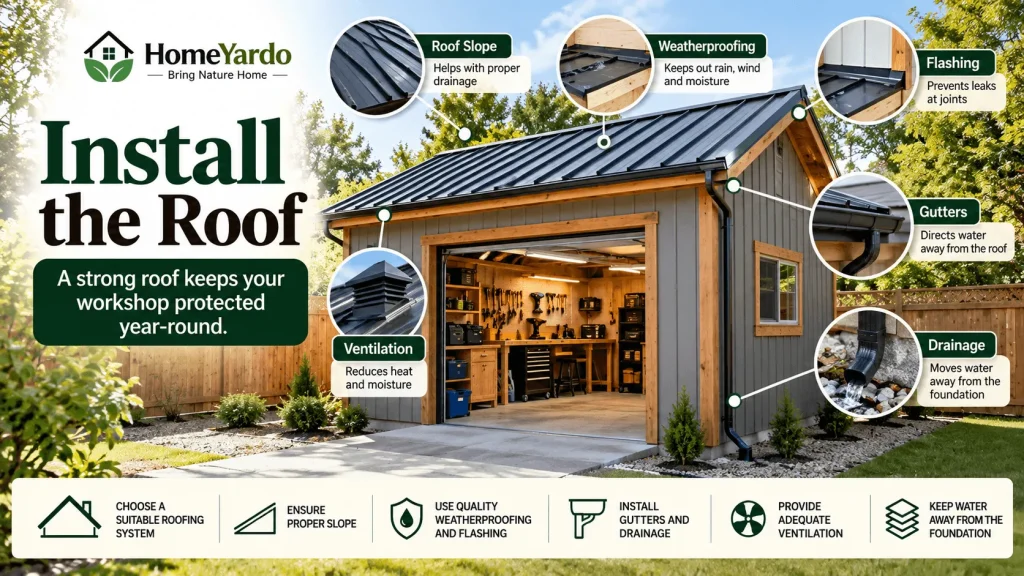
The workshop roof needs to protect tools and materials from weather throughout the year.
Choose a roofing system suitable for the structure and local conditions.
Pay attention to:
- Roof slope
- Weatherproofing
- Flashing
- Gutters
- Drainage
- Ventilation
Water should be directed away from the building rather than collecting around the foundation.
Plan Electrical Requirements
A useful workshop will probably need more than one outlet and a ceiling light.
Think about the tools and equipment you’ll use.
You may need power for:
- Saws
- Drills
- Sanders
- Chargers
- Task lighting
- Heating or ventilation equipment
Electrical work should meet applicable requirements and be completed by qualified professionals where required.
Create Good Lighting
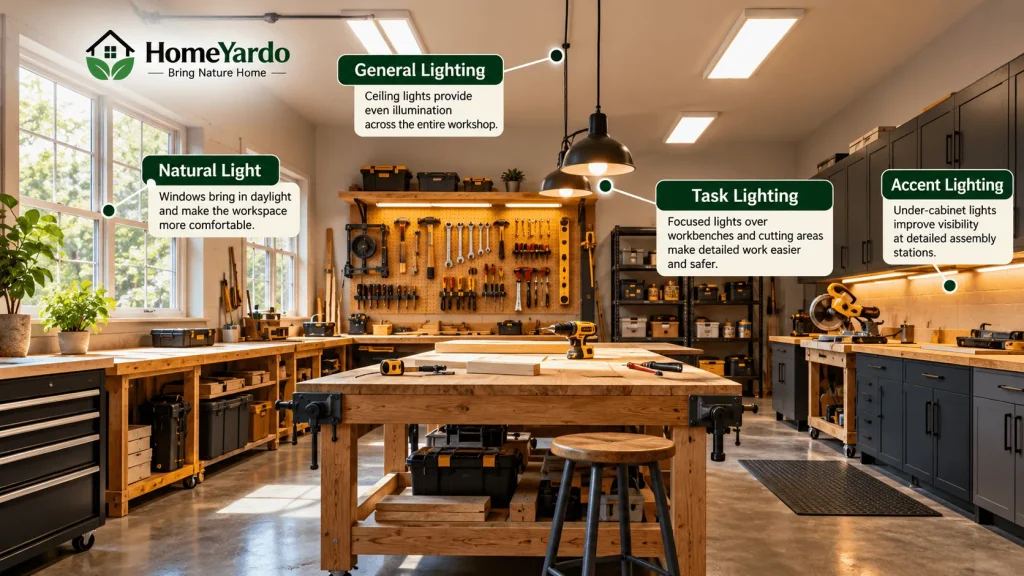
Combine general lighting with focused task lighting.
Workbenches, cutting areas, and detailed assembly stations benefit from dedicated illumination.
Natural light can also make the workshop more comfortable, so consider windows when planning the structure.
Build a Practical Workbench
The workbench will probably become the center of the workshop.
Make sure it provides enough surface area for the projects you regularly complete.
Position it where you have good lighting and convenient access to tools and electrical outlets.
Plan Tool Storage
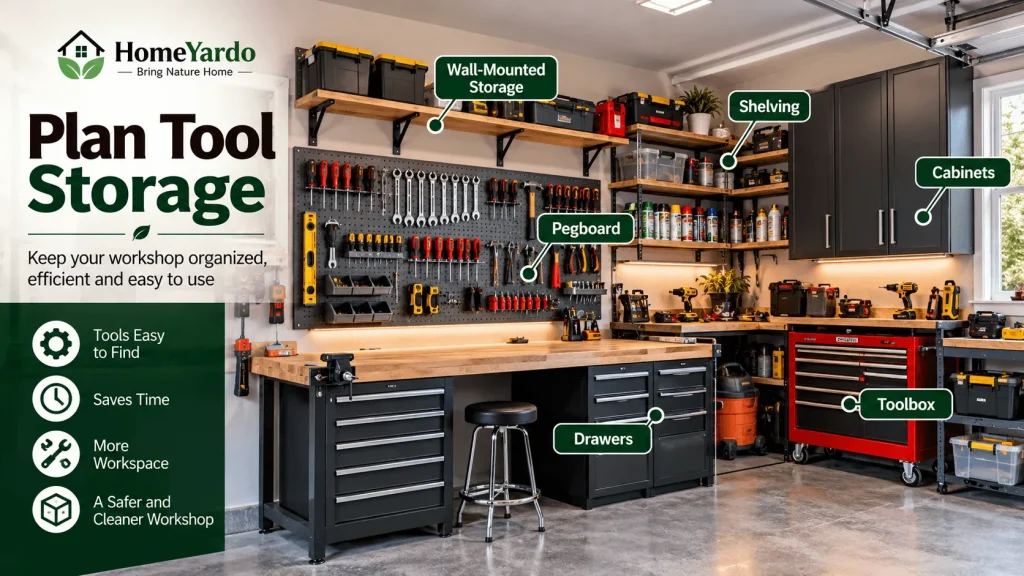
Good storage keeps the workshop usable.
Consider a combination of:
- Wall-mounted storage
- Shelving
- Cabinets
- Drawers
- Toolboxes
- Pegboards
Frequently used tools should be easy to reach without covering your main work surface.
Leave Enough Working Space
Avoid filling every available wall and floor area with equipment. You need room to move safely around projects and handle larger materials.
Maintain clear pathways between the entrance, workbench, storage, and major equipment.
Think About Ventilation

Sanding, painting, finishing, and other workshop activities can generate dust, fumes, or airborne particles.
Plan appropriate ventilation and dust management for the work you intend to perform.
Task-specific respiratory protection or other controls may also be necessary depending on the materials and processes involved.
Final Thoughts
A backyard workshop can become one of the most useful additions to a home, particularly if you regularly complete repairs, woodworking, gardening, or DIY projects.
Plan the foundation, structure, roofing, electrical system, lighting, storage, and ventilation together rather than treating them as separate projects. A thoughtful layout will give you a workspace that remains practical as your projects become more ambitious.
FAQs
The required size depends on what you plan to do inside. A workshop used mainly for hand tools and repairs can be smaller than one containing stationary woodworking machines, sheet materials, storage cabinets, and assembly areas. Plan around working clearance as well as equipment dimensions.
Requirements vary by location, structure size, height, setbacks, foundation type, and installed utilities. Check with the local authority before ordering materials or starting excavation.
There is no single foundation that suits every workshop. The appropriate system depends on the structure, soil, climate, loads, local construction requirements, and intended use. Concrete slabs are one option for some workshop designs.
Not every workshop requires permanent electrical service, but power is useful for tools, chargers, lighting, ventilation, heating, and other equipment. Fixed electrical work should meet applicable requirements and be completed by qualified professionals where required.