Managing Household Waste During Home Improvement Projects
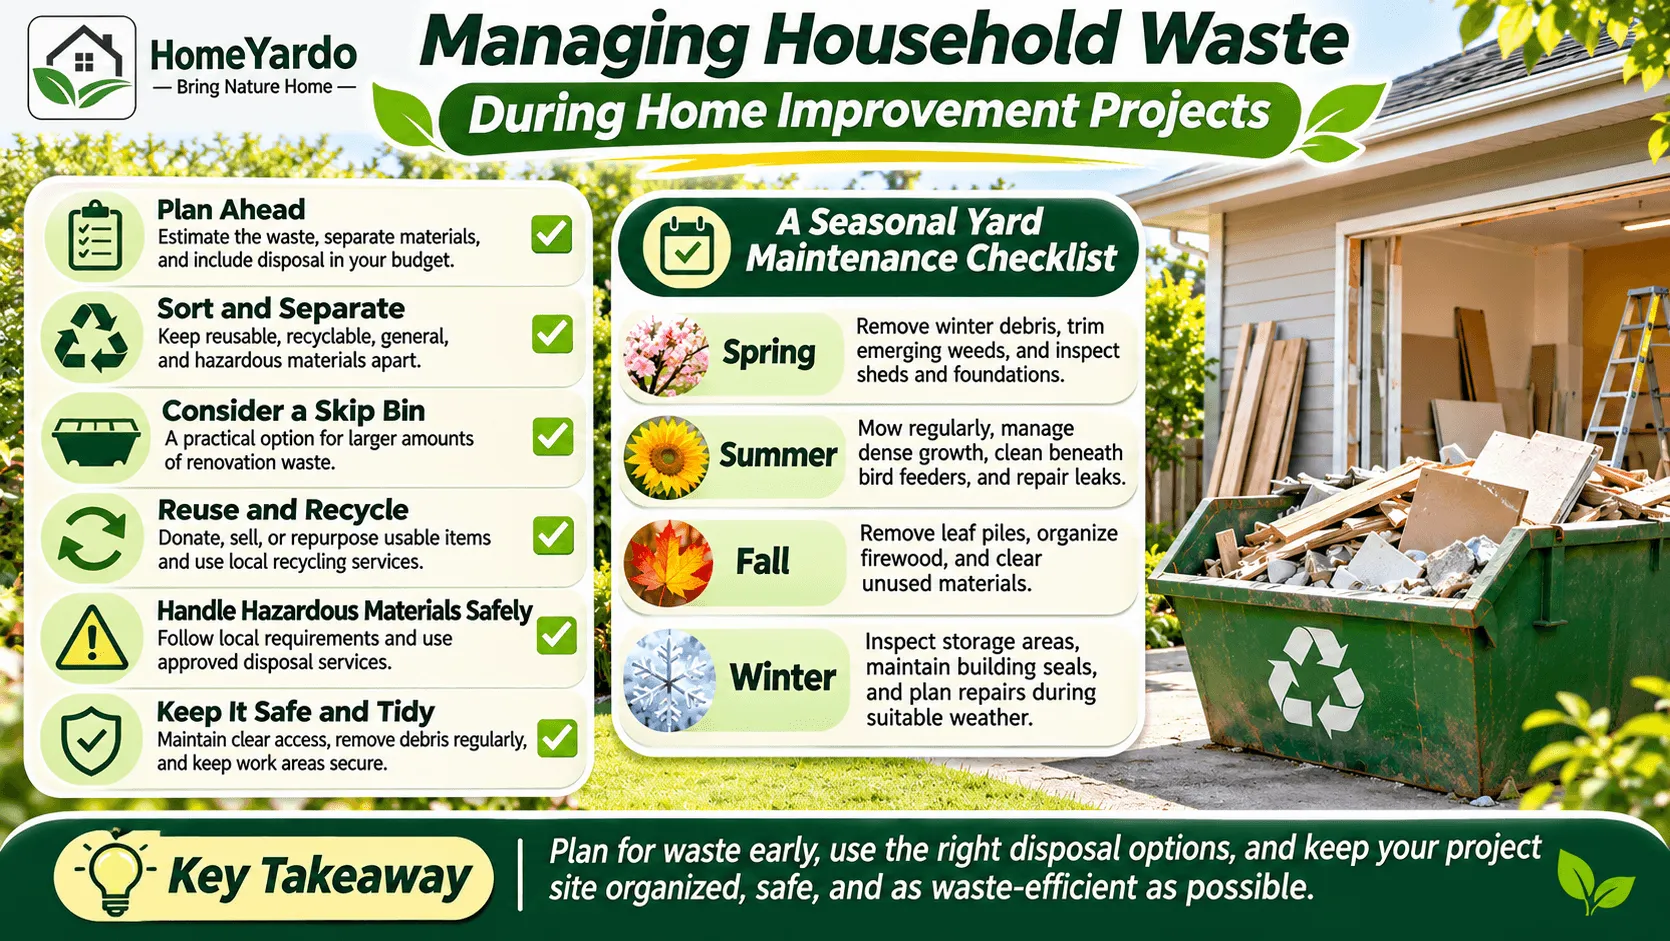
Home improvement projects can make your property more comfortable, functional, and attractive. Whether you’re renovating a kitchen, upgrading your bathroom, clearing out a garage, or refreshing your garden, there’s one part of the process that’s easy to underestimate: the amount of rubbish you’ll generate.
Old furniture, broken fixtures, packaging, timber offcuts, and building debris can accumulate surprisingly quickly. Without a waste management plan, these materials can take up valuable space, create safety hazards, and add unexpected costs.
The good news? Managing household waste during home improvement projects doesn’t have to be complicated. With early planning, suitable disposal arrangements, and a little organization, you can keep your property tidy while reducing unnecessary waste.
How Do You Manage Waste During a Home Improvement Project?
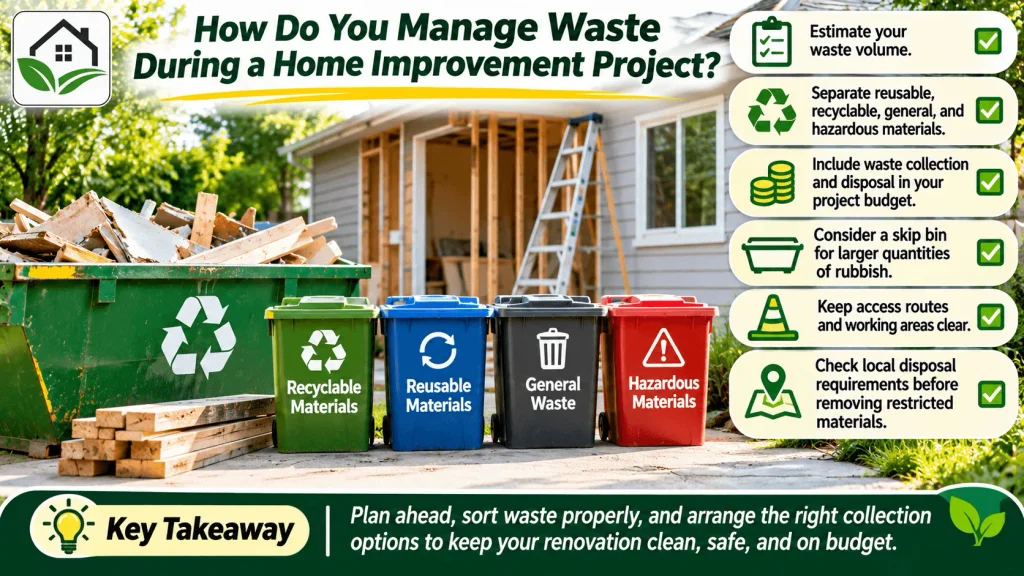
The best way to manage renovation waste is to identify what you’ll be removing, separate reusable and recyclable materials, arrange suitable waste collection, and keep disposal areas organized throughout the project.
Start with these practical steps:
- Estimate how much household and renovation waste you’ll generate.
- Separate reusable, recyclable, general, and potentially hazardous materials.
- Include waste collection and disposal in your project budget.
- Consider a skip bin for larger quantities of rubbish.
- Keep access routes and working areas clear.
- Check local disposal requirements before removing restricted materials.
These simple preparations can prevent a small home improvement project from becoming a much larger clean-up job.
Start With a Clear Waste Management Plan
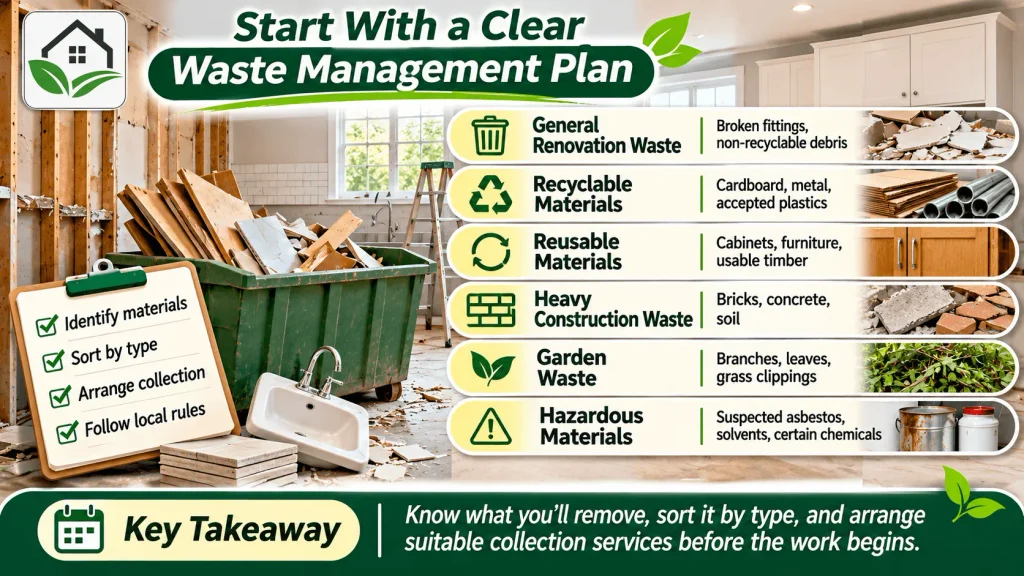
Before beginning any major household project, consider which materials you’ll remove and how you’ll dispose of them.
A kitchen renovation, for example, might involve old cabinets, benchtops, tiles, flooring, damaged fittings, and packaging from replacement appliances.
A bathroom upgrade can produce broken tiles, plasterboard, old fixtures, and other construction debris.
If you’re still deciding how much work your bathroom needs, HomeYardo’s bathroom remodeling guide can help you consider the project scope before demolition begins.
Estimating the amount of waste beforehand allows you to arrange suitable collection services and avoid unnecessary clutter around your property.
Identify the Types of Waste Your Project Will Generate
Not all household waste should be handled in the same way. Understanding the different material categories makes it easier to organize disposal arrangements.
| Waste type | Common examples | Suitable approach |
|---|---|---|
| General renovation waste | Broken fittings, non-recyclable debris | Approved waste collection |
| Recyclable materials | Cardboard, metal, accepted plastics | Local recycling facilities |
| Reusable materials | Cabinets, furniture, usable timber | Reuse, sell, or donate |
| Heavy construction waste | Bricks, concrete, soil | Approved heavy-waste collection |
| Garden waste | Branches, leaves, grass clippings | Green-waste collection or suitable composting |
| Hazardous materials | Suspected asbestos, solvents, certain chemicals | Approved specialist disposal |
Note: Accepted materials depend on local regulations, recycling facilities, and waste collection providers.
Sorting materials before work begins can reduce unnecessary handling and make disposal easier as the project progresses.
Make Waste Removal Part of Your Project Budget
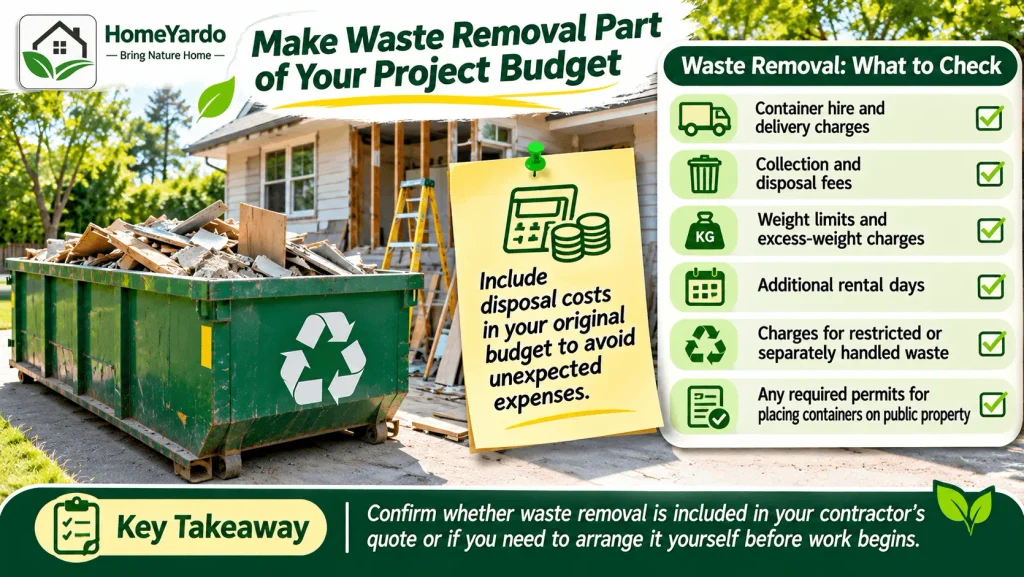
Homeowners often spend considerable time comparing building materials, contractor quotes, fixtures, and decorative finishes. Waste removal, however, is sometimes forgotten until rubbish starts accumulating.
Including disposal costs in your original budget can help prevent unexpected expenses.
Consider whether your project will require a larger waste container, repeated collection services, specialised removal, or separate arrangements for recyclable materials.
When comparing waste removal options, check:
- Container hire and delivery charges
- Collection and disposal fees
- Weight limits and excess-weight charges
- Additional rental days
- Charges for restricted or separately handled waste
- Any required permits for placing containers on public property
Some renovation contractors include debris removal in their quoted price, while others expect homeowners to arrange it independently.
Confirming these responsibilities before work begins can prevent confusion later.
Consider Hiring a Skip Bin
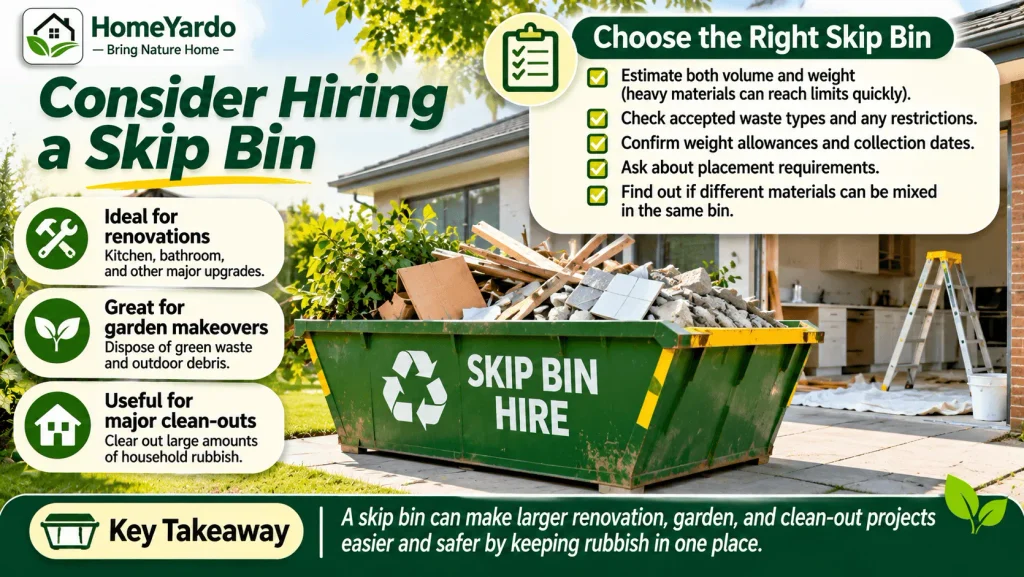
For projects generating substantial amounts of rubbish, residential skip bin hire can be a practical and convenient solution.
A dedicated waste container delivered to your property can reduce repeated trips to disposal facilities and provide one designated location for accepted rubbish.
Skip bins are particularly useful for kitchen renovations, bathroom upgrades, garden makeovers, and major household clean-outs.
Having a collection container available throughout the project also helps prevent loose materials from accumulating around pathways, driveways, and working areas.
However, not every project requires a skip bin. Smaller clean-ups may be manageable through local council collections, recycling facilities, or other approved disposal services.
Choose the Right Skip Bin Size and Waste Type
Selecting a suitable container involves more than estimating the physical volume of your rubbish.
Heavy materials such as concrete, bricks, tiles, and soil can reach a container’s weight limit before the bin appears full.
Before arranging delivery, ask the provider about accepted waste categories, loading restrictions, weight allowances, collection dates, and placement requirements.
You should also check whether different materials can be mixed in the same bin.
Some providers require separate containers for particular waste types, while hazardous materials are commonly excluded from general waste services.
Choosing the correct container from the beginning can help avoid collection problems and additional charges.
Separate Items Worth Keeping
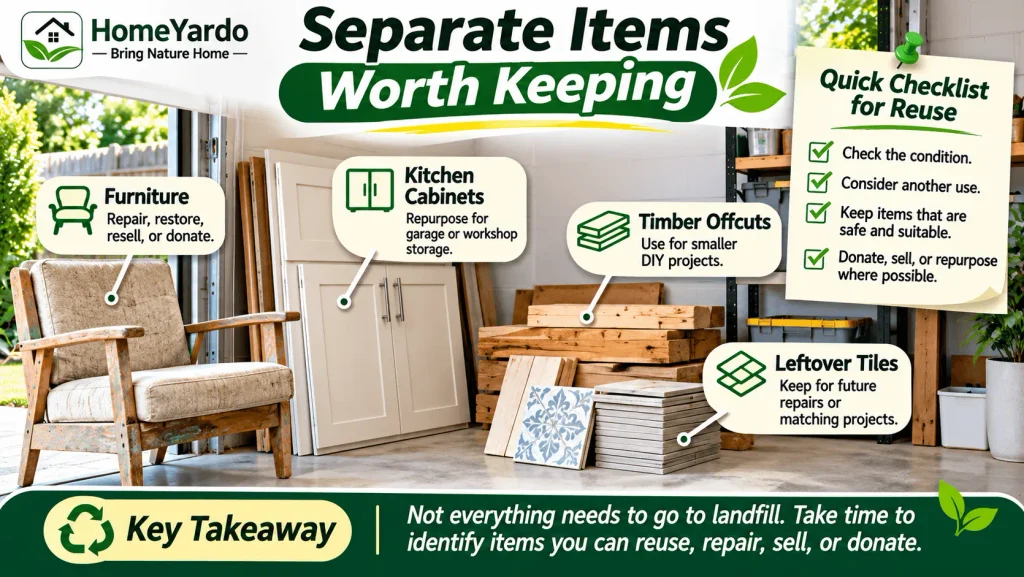
Not everything removed during a home improvement project belongs in landfill.
Some unwanted household materials can be reused, repaired, sold, or donated, depending on their condition.
Old furniture may be suitable for restoration, while kitchen cabinets can sometimes be repurposed for garage storage.
Timber offcuts may be useful for smaller DIY projects, and leftover tiles can be kept for future repairs.
If your kitchen cabinets remain structurally sound, you may not need to replace them completely. HomeYardo’s guide to replacing kitchen cabinet doors explains when retaining existing cabinetry can be a practical alternative.
Before discarding materials, set aside anything that could serve another purpose.
Only reuse materials that are safe and suitable for their intended application. Damaged electrical equipment, contaminated timber, or unidentified older building products should not be repurposed without appropriate assessment.
Taking a little extra time to identify reusable items can reduce waste and potentially save money.
Take Advantage of Local Recycling Services

Recycling is another useful part of household waste management, particularly when renovation projects generate substantial amounts of packaging and building materials.
Metal fixtures, cardboard, certain plastics, clean untreated timber, and some construction materials may be accepted by local recycling services.
However, recycling requirements differ between councils, facilities, and collection providers.
Check which materials are accepted and whether they need to be separated before collection.
Keeping recyclable items free from unsuitable waste can help prevent contamination.
Some materials may require dedicated recycling facilities rather than ordinary household recycling bins.
You can also reduce waste by choosing materials with established recovery or recycling options.
For example, reclaimed wood may be suitable for decorative indoor applications when its condition and previous treatment have been assessed. HomeYardo’s article on reclaimed barn wood paneling discusses practical considerations when reusing older timber.
The aim is to recover useful materials wherever practical rather than sending everything to general disposal.
Pay Attention to Hazardous Household Materials
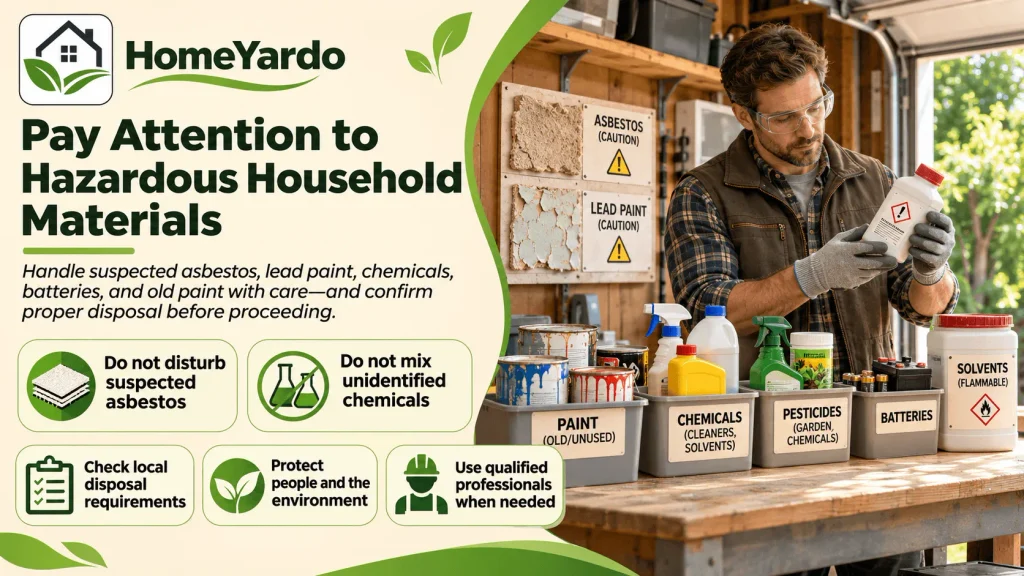
Some home improvement projects uncover materials that require special handling.
Older properties may contain asbestos-containing products, lead-based paint, or other potentially hazardous substances.
Garages and garden sheds may also contain old chemicals, solvents, pesticides, batteries, and partially used paint containers.
These materials should not be mixed with ordinary household rubbish without confirming the applicable disposal requirements.
If you suspect asbestos or another hazardous building material, avoid disturbing it. Do not cut, drill, sand, or break the suspected material. Arrange an assessment by an appropriately qualified professional before continuing affected work.
Similarly, avoid mixing unidentified chemicals or pouring unwanted substances into drains or onto the ground.
Local waste authorities can advise where household hazardous waste may be accepted.
Proper handling protects household members, contractors, collection workers, and the surrounding environment.
Keep Your Property Safe and Accessible
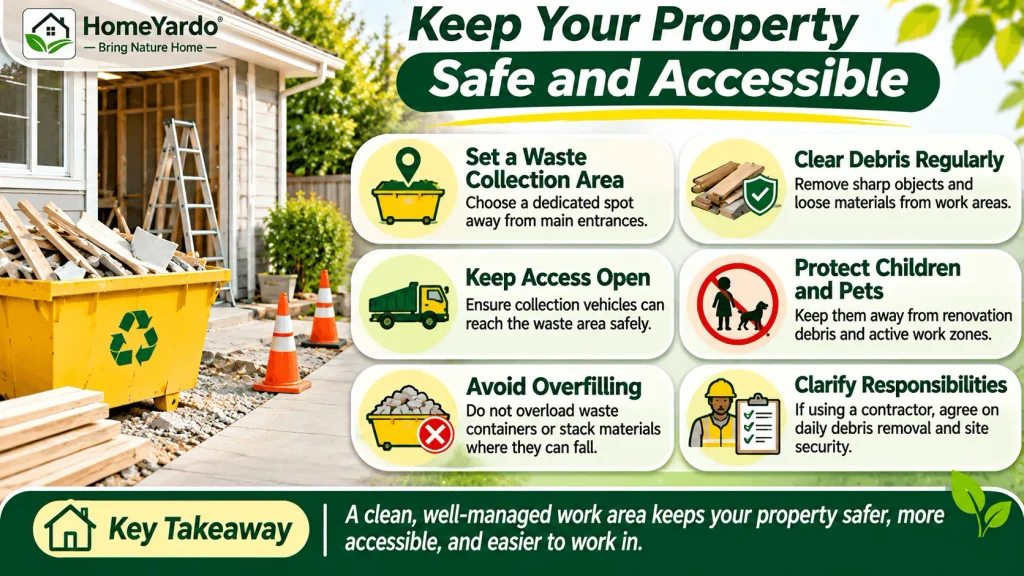
Large clean-up projects can create cluttered working conditions surprisingly quickly.
Loose timber, broken tiles, discarded fittings, and overflowing rubbish piles may obstruct pathways or increase the risk of slips, trips, and cuts.
Establish a designated waste collection area before beginning work.
Keep the area away from frequently used entrances, and make sure collection vehicles can access it safely where necessary.
Remove sharp objects and loose debris from active work areas regularly.
If children or pets are present, keep them away from renovation debris, waste containers, and areas where demolition or construction work is taking place.
Avoid overfilling waste containers or leaving materials stacked where they might fall.
If you’re working with a contractor, discuss who is responsible for daily debris removal and how the site will be secured outside working hours.
A clean, accessible property makes it easier to move tools, materials, and equipment while reducing avoidable hazards.
Choose Products That Create Less Waste
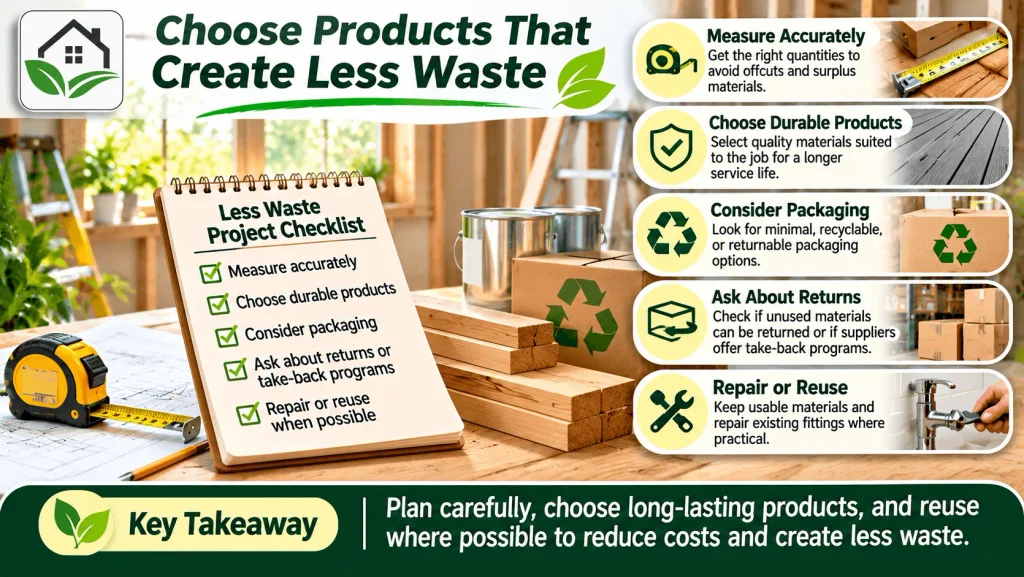
Effective waste management isn’t only about disposing of unwanted materials. It also involves reducing the amount of rubbish created in the first place.
Start by measuring spaces carefully before ordering building supplies.
Accurate measurements can reduce unnecessary offcuts, unsuitable purchases, and surplus materials.
Where practical, choose durable products suited to their intended use and consider packaging requirements when comparing suppliers.
You can also ask whether unused materials can be returned or whether suppliers offer take-back arrangements for suitable packaging.
Repairing existing fittings or retaining usable materials may be another way to reduce unnecessary disposal.
The most economical approach isn’t always the product with the lowest initial price. Durability, repairability, maintenance requirements, and expected service life all deserve consideration.
Reducing unnecessary purchases can lower project costs while leaving less material to manage when the work is complete.
Final Takeaway
Managing household waste during home improvement projects is much easier when disposal becomes part of the original project plan.
Identify the materials you’re likely to remove, include waste collection in your budget, separate reusable and recyclable items, and arrange suitable disposal for larger quantities of rubbish.
Pay particular attention to hazardous materials and keep work areas organized throughout the project.
Whether you’re preparing your property for sale, renovating a room, or clearing years of accumulated belongings, a practical waste management plan can save time, reduce avoidable costs, and make the process safer.
With the clean-up under control, you’ll have more time to focus on completing your improvements and enjoying your refreshed home.
Frequently Asked Questions
Start by estimating the materials your project will generate. Separate reusable, recyclable, general, and hazardous waste, then arrange suitable collection services. Keep disposal areas organized throughout the renovation.
Not always. Small projects may be manageable using approved household collections or local disposal facilities. A skip bin can be useful when renovations generate large amounts of accepted rubbish or repeated disposal trips would be inconvenient.
Accepted materials depend on the provider and bin type. Some containers accept general renovation debris, timber, tiles, and other building waste, while others have restrictions. Always confirm accepted materials before loading.
Measure materials accurately, reuse suitable existing fixtures, repair items where practical, donate usable belongings, and recycle accepted materials. Planning purchases carefully can also reduce packaging and unused supplies.
Some construction materials, including certain metals, concrete, cardboard, and clean timber, may be recyclable. Acceptance depends on local facilities, material condition, and contamination levels.
Follow local hazardous waste requirements and use approved collection or disposal services. Suspected asbestos and other potentially hazardous building materials may require assessment and removal by qualified professionals.
Costs vary according to waste volume, material type, location, container size, weight limits, collection frequency, and disposal requirements. Request an itemized quote and check for additional charges before booking.
Designate a waste collection area, keep walkways clear, remove loose debris regularly, and separate children and pets from work zones. Secure sharp materials and follow the collection provider’s loading requirements.