Fire Pit Area Ideas: How To Build A Safe Gravel Base
A backyard fire pit seems like a simple project. You buy a ring or a steel bowl, pick a spot, and light a fire. The trouble is that a fire is only as safe as the ground around it. Sparks jump. Embers roll. Hot ash falls out when you clean up. If the surface around the pit can catch fire, melt, or dry out, a pleasant evening can turn into a scorched lawn, a burnt deck, or something worse.
Most fire pit plans focus on the pit itself and treat the surrounding space as an afterthought. That gets the order backward. The ground, the layout, and the materials decide whether the area is safe. They also decide whether it looks good years from now. Get the base right and the rest gets much easier.
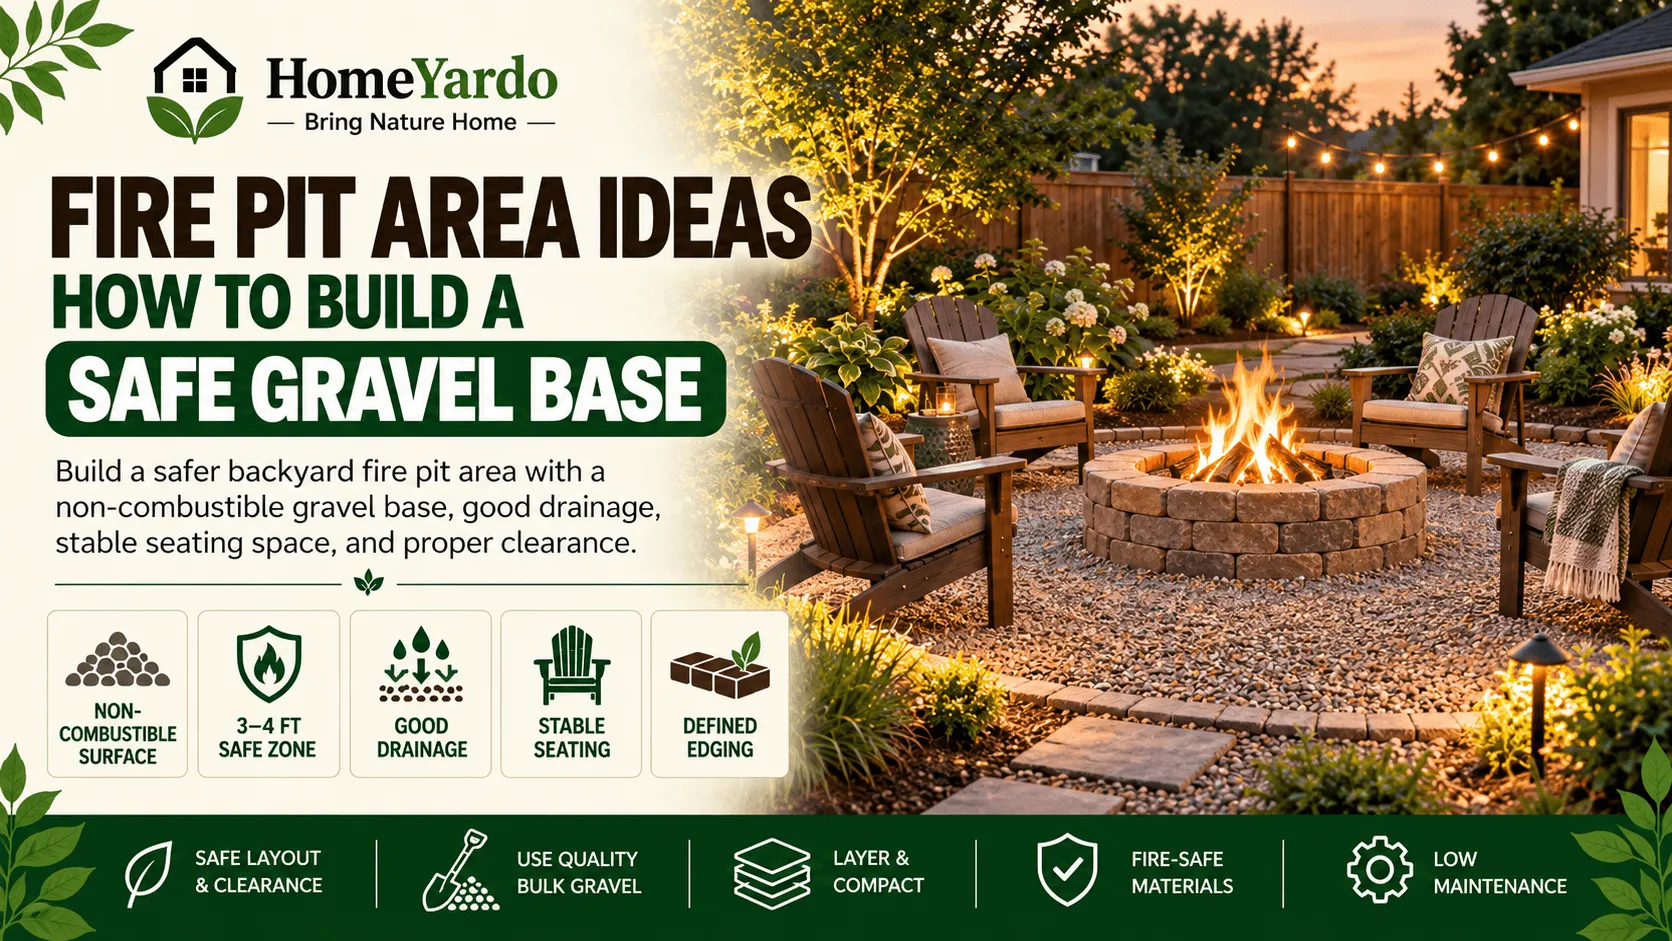
Quick answer: A practical fire pit area starts with a non-combustible surface, adequate clearance from anything that can burn, stable seating space, good drainage, and a layout that follows the fire pit manufacturer’s instructions and local fire rules. Gravel can work well for the surrounding area because it is non-combustible, drains readily, and can create an attractive informal seating zone.
Start With The Ground, Not The Fire Pit
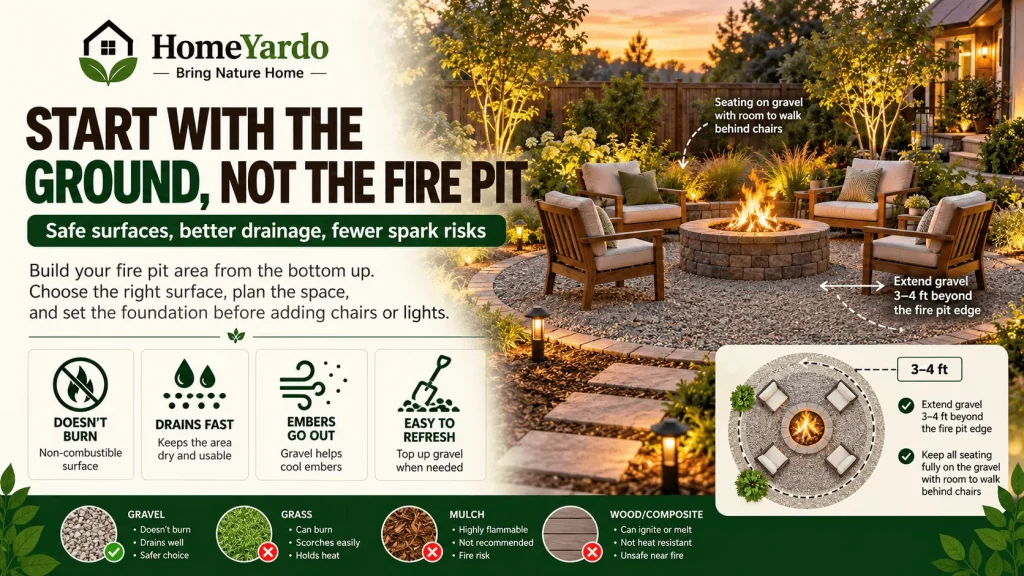
The best fire pit areas are built from the bottom up. Before you choose chairs or lights, decide what the fire will sit on and what will surround it.
Why Gravel Beats Grass, Mulch and Wood
Grass dries out near heat and turns brown in a ring around the pit. Wood chips and bark mulch are worse, because they can smolder unseen for hours after the fire is out. Composite and wooden decking can scorch, warp, or ignite from a single stray ember.
Gravel has none of these problems. It doesn’t burn. It drains rainwater quickly, so you won’t be standing in mud after a storm. A spark that lands on it simply goes out. It’s also forgiving. If a section gets stained with ash or soot, you can rake it over or top it up with a fresh layer.
Gravel can also fit into broader low-maintenance backyard landscaping ideas, especially when defined edging, durable pathways, drainage, and simple planting areas are planned together.
How Wide the Safe Zone Should Be
A good rule is to extend the gravel at least three to four feet beyond the edge of the pit in every direction. That covers the zone where sparks and dropped embers usually land. If you plan to put seating on the gravel too, make the circle large enough that chair legs sit fully on the stone and people can walk behind the chairs without stepping onto grass.
Plan The Layout Before You Dig
With the base material settled, the next question is where the whole area should go. Placement affects safety as much as the surface does.
Distance From the House and Trees
Keep the fire pit at least 10 feet away from your house, garage, fences, and sheds. Many local codes ask for more, so check with your town or fire department before you build. Look up as well as around. Low tree branches, overhanging gutters, and string lights strung too close can all catch sparks that rise with the heat. The U.S. Fire Administration publishes general outdoor fire safety guidance that is worth reading before you commit to a spot.
Wind, Smoke and Seating
Think about which way the wind usually blows in your yard. You don’t want smoke drifting into an open kitchen window or across a neighbor’s patio every evening. Place the pit where the usual breeze carries smoke away from the house, and arrange seating so guests can move if the wind shifts. Burning only dry, seasoned wood also cuts down on smoke, a point the EPA’s Burn Wise program makes clear.
Why Bulk Materials Make the Project Work
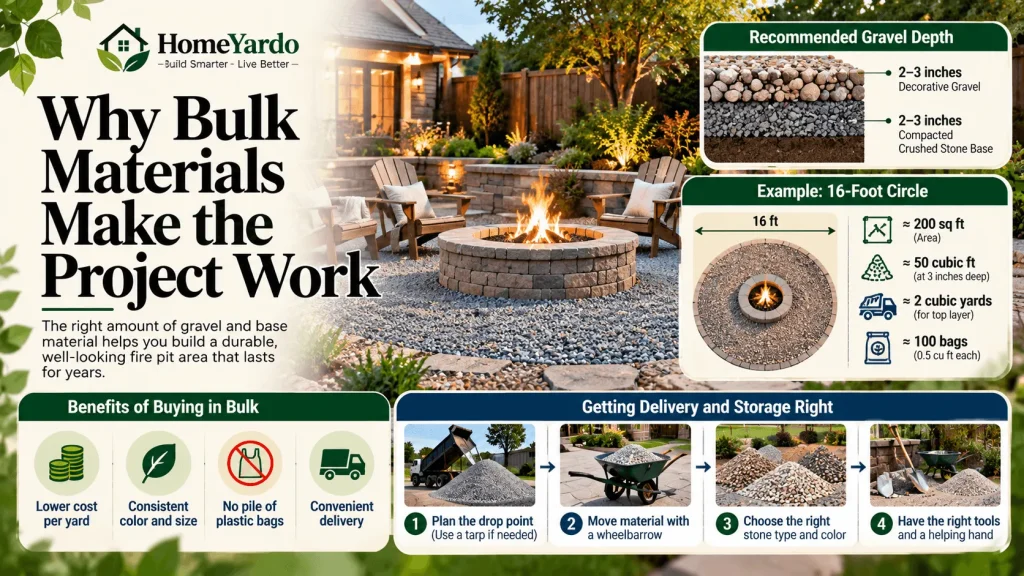
Once the layout is set, you need enough material to build it properly. This is where many DIY fire pit projects fall short.
Homeowners who prefer a firm paved surface can also compare gravel with residential concrete for patios and outdoor seating areas before deciding which base best suits the yard.
Buying Enough to Do It Right
A thin layer of gravel looks fine on day one. Within a season, though, it shifts, sinks into the soil, and leaves bare patches right where you need protection most. A proper base needs real depth: about two to three inches of compacted crushed stone underneath, topped with two to three inches of decorative gravel.
That adds up fast. A 16-foot circle covers about 200 square feet. At three inches deep, that’s roughly 50 cubic feet, or almost two cubic yards, for the top layer alone. In half-cubic-foot bags, you’d be hauling around 100 of them. Buying in bulk makes far more sense. It usually costs less per yard, there’s no pile of plastic bags to throw away, and the color and size stay consistent from one end of the circle to the other.
The base matters more than the bowl, and the simplest way to make sure you have enough of it is to buy bulk gravel online and have it delivered straight to your property. Ordering online also lets you compare stone types, sizes, and colors side by side before you commit. To work out your order, multiply the length by the width in feet, multiply that by the depth in feet, and divide by 27 to get cubic yards. Add about 10 percent for settling and spillage.
Getting Delivery And Storage Right
Bulk gravel usually arrives by dump truck, so plan where it will be dropped. A tarp on the driveway keeps stones out of the cracks and makes cleanup easy. Measure the distance from the drop point to the fire pit site, too. A wheelbarrow and a good shovel will save your back, and a friend will save your afternoon.
Building The Base Step By Step
With the material on site, the actual build is straightforward. It takes a weekend for most people.
Clear, Level and Edge
Mark the circle with a stake and string, then remove the grass and topsoil to a depth of five to six inches. Level the soil and tamp it firm. Lay landscape fabric across the bottom to keep weeds from pushing through. Then install an edging of steel, stone, or brick around the outer ring. Edging is easy to skip, but it’s what stops gravel from spreading into the lawn over time.
Layer and Compact
Spread the crushed stone first and compact it with a hand tamper or a rented plate compactor. This layer gives you a firm, stable surface for chairs and the pit itself. Next, set the fire pit in place and make sure it sits level. Finally, add the decorative top layer. Pea gravel is comfortable underfoot and looks soft and natural. Crushed granite packs down tighter, which helps if you want chairs that don’t wobble.
Inside the pit, use materials made for fire, such as fire brick or a steel liner. Avoid filling the bowl with river rock, because stones that trap moisture can crack or burst when they heat up.
Style Ideas That Stay Safe
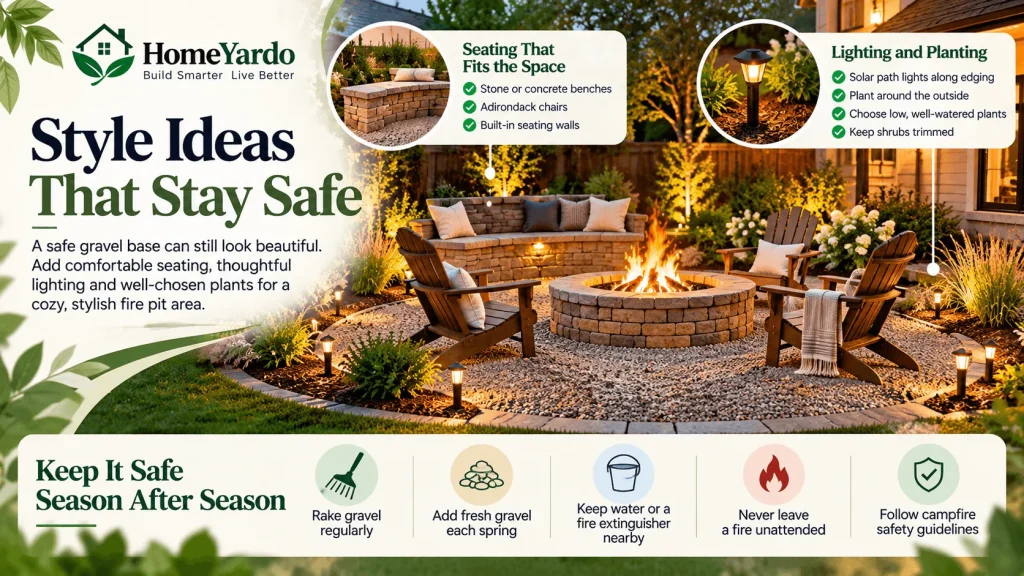
A safe base doesn’t have to look plain. The gravel circle gives you a clean, finished canvas to build on.
Seating That Fits the Space
Heavy stone or concrete benches look solid and won’t blow over in the wind. Adirondack chairs bring a relaxed, cabin feel. If you want something built in, a low curved wall of stacked stone along one side can double as seating and as a windbreak.
Lighting and Planting
Solar path lights along the edging mark the boundary after dark, so nobody trips. Plant around the outside of the gravel ring, not inside it, and pick low, green, well-watered plants over dry ornamental grasses. Keep shrubs trimmed so nothing leans toward the fire as it grows.
For the wider yard, a coordinated home exterior design can use pathway and landscape lighting to improve nighttime visibility without relying on one overly bright fixture around the seating area.
Keep It Safe Season After Season
A well-built area stays safe with a little routine care. Rake the gravel every few weeks to level it out and cover worn spots. Add a fresh layer each spring if the depth has thinned. Keep a bucket of water, a hose, or a fire extinguisher within reach every time you light a fire, and never leave it burning unattended. The Smokey Bear campfire safety guide offers a simple routine for putting a fire out completely, and the same steps apply in a backyard.
Final Thoughts
A fire pit area works best when safety and style come from the same choices. A solid, non-flammable base, careful placement, and enough material to do the job properly set the foundation for everything else. Once those pieces are in place, the space becomes easy to enjoy and easy to maintain. It’s ready for many quiet evenings without worry about what the next spark might land on.
FAQ’s
A non-combustible, stable surface that complies with the fire pit manufacturer’s requirements is the safest starting point. Gravel, pavers, masonry, or concrete may be suitable depending on the fire-pit design, site conditions, drainage, and local requirements.
Gravel is non-combustible and can work well around many fire pit areas. It does not eliminate the need for manufacturer-required clearances, local fire regulations, supervision, or removal of nearby combustible debris.
Crushed gravel and crushed granite tend to provide a firmer surface for chairs because their angular particles interlock. Pea gravel has a smoother appearance and feel but may shift more under furniture.
The required depth depends on the aggregate, soil, drainage, expected traffic, sub-base, and installation design. A compacted aggregate base with a separate decorative surface is often more stable than placing a thin layer of gravel directly over soil.