Choosing And Installing Sod: A Guide To A Healthy Lawn
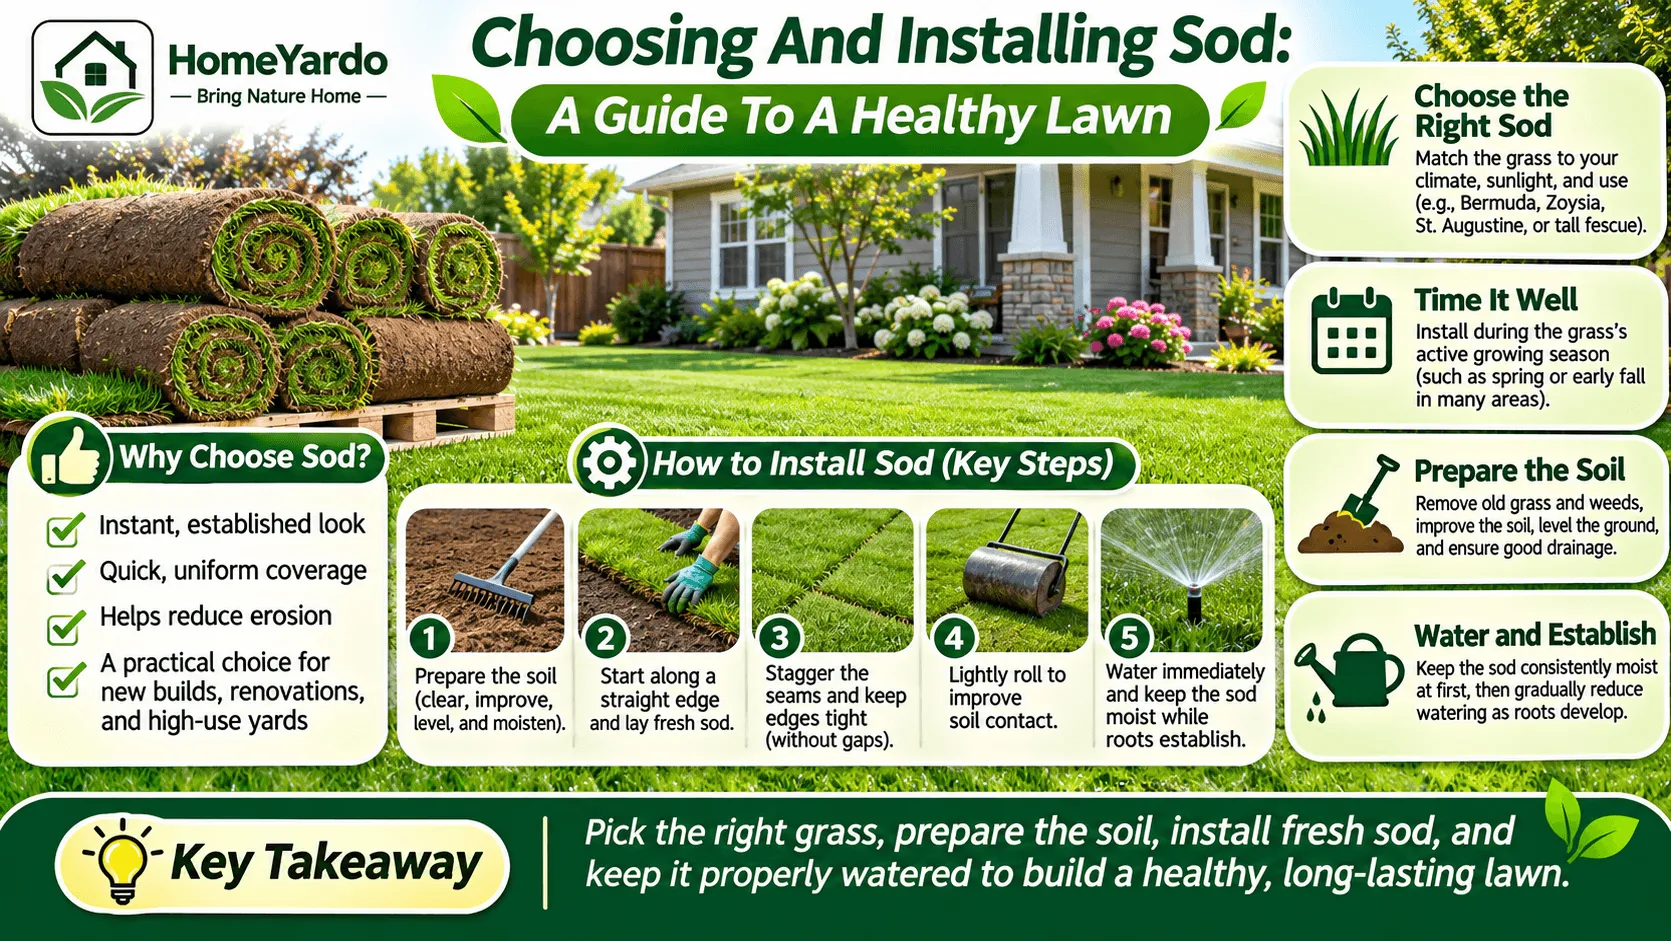
Picture a patch of packed dirt left behind by a new build, or a lawn that thinned out after a fence repair and a hot summer. The front yard is usually the first part of a home that needs attention and the last one to get it, and it is the first thing a visitor sees from the curb. Sod is the fastest way to turn that bare ground into a finished lawn. It comes as strips of mature grass, grown on a farm, cut with a thin layer of soil and roots attached, and rolled up for delivery.
When you lay it matters as much as what you lay. In warm parts of Southern California, many homeowners schedule Cerritos sod delivery and installation for spring or early fall so new roots can settle before the hottest weeks of summer. The same rule holds almost anywhere: put sod down while the grass is actively growing, not as it heads into heat stress or dormancy.
The best results come from choosing grass suited to your climate, preparing the soil properly, laying fresh sod, and keeping it watered during establishment.
Why Many Homeowners Choose Sod Instead of Grass Seed
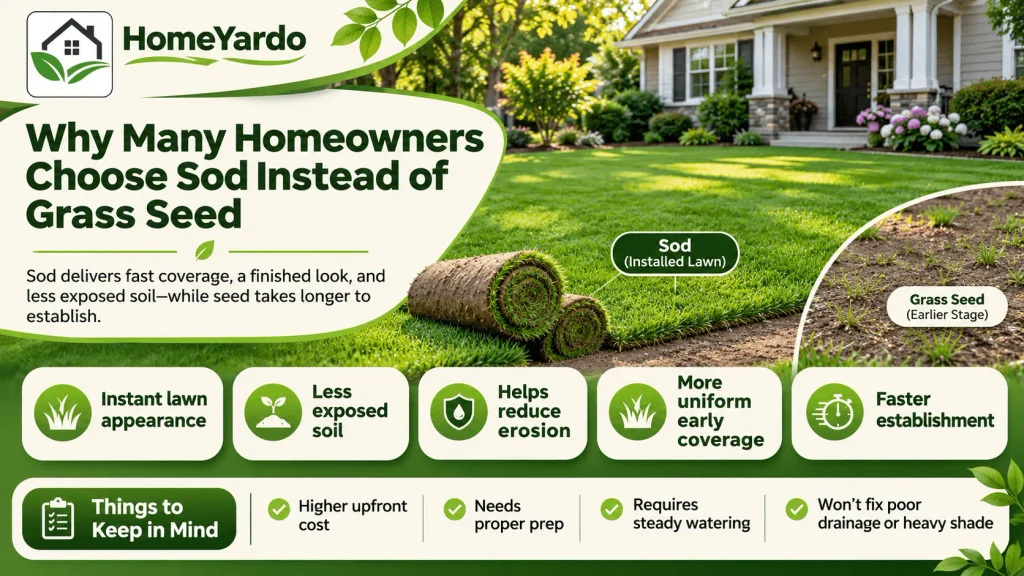
Grass seed costs less upfront, but it needs time to germinate, spread, and develop enough coverage to handle regular use. During that period, exposed soil may be vulnerable to weeds, erosion, and damage from heavy rain.
Sod provides nearly complete ground coverage on installation day. This makes it useful for newly built homes, lawn renovations, sloped yards, and properties where appearance matters immediately.
Benefits and Drawbacks of Installing Sod
Sod offers several practical advantages:
- Creates an established-looking lawn immediately.
- Reduces the amount of exposed soil.
- Helps limit erosion on suitable slopes.
- Provides more uniform early coverage than scattered seed.
- Can establish faster than growing an entire lawn from seed.
There are trade-offs, too. Sod is usually more expensive than seed, requires substantial preparation, and needs consistent moisture while its roots establish.
It also cannot correct an unsuitable growing environment. A lawn with poor drainage, excessive shade, or seriously compacted soil may continue struggling after new grass is installed.
How to Choose the Right Sod for Your Lawn
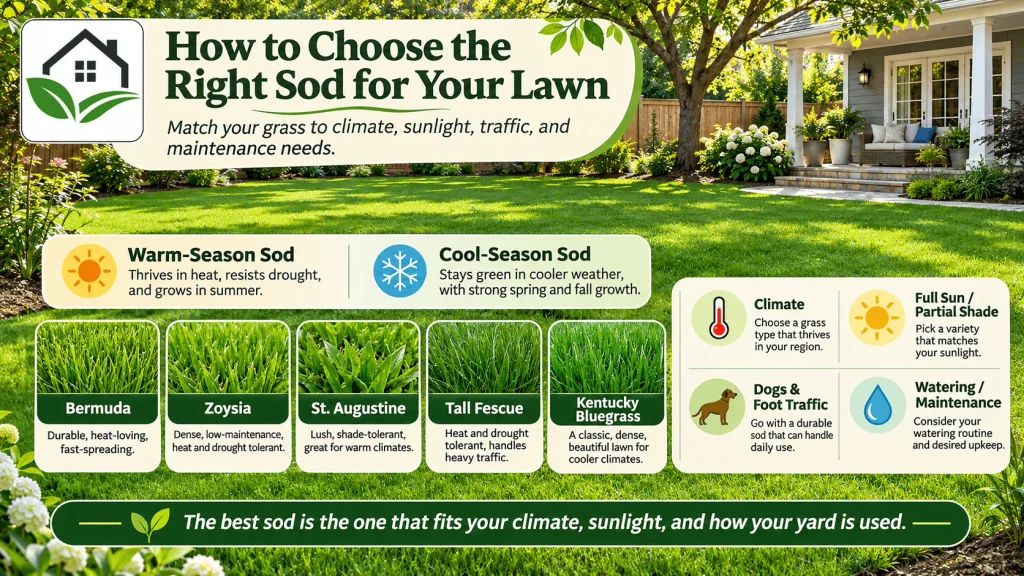
The best sod depends on where you live, how much sunlight reaches your yard, and how you plan to use the space. Choosing grass based only on its appearance can lead to thinning, water stress, or unnecessary maintenance.
Start with your local climate and then narrow your choices according to sunlight, foot traffic, soil conditions, and watering requirements.
Warm-Season vs. Cool-Season Sod
Warm-season grasses grow most actively during warmer weather. Popular options include Bermuda, Zoysia, and St. Augustine. Many become brown or dormant when temperatures fall.
Cool-season grasses, including tall fescue and Kentucky bluegrass, grow best in cooler conditions. They can maintain attractive green growth during mild winters but may need additional care during prolonged summer heat.
| Grass type | Growing conditions | Main considerations |
|---|---|---|
| Bermuda | Warm climates, full sun | Good wear tolerance; limited shade tolerance |
| Zoysia | Warm climates, sun to partial shade | Dense turf; relatively slow lateral recovery |
| St. Augustine | Warm climates, suitable sun or partial shade | Broad blades; shade tolerance varies by cultivar |
| Tall fescue | Cool and transition-zone climates | Useful heat tolerance among cool-season grasses |
| Kentucky bluegrass | Cooler climates | Attractive dense turf; may need summer irrigation |
Grass performance varies by cultivar, soil, and local weather. Before ordering, ask a local turf supplier or Cooperative Extension office which varieties perform reliably in your area.
How Much Sun Does Your Yard Receive?
Sunlight is one of the biggest factors in choosing a successful lawn.
Bermuda generally performs best with abundant direct sunlight. St. Augustine and certain Zoysia cultivars tolerate partial shade, although none can grow successfully in complete darkness.
Observe your yard throughout the day. Make a note of areas shaded by trees, fences, garages, and neighboring buildings.
If part of the property receives very little sunlight, a shade-adapted groundcover or mulched planting area may be more practical than sod.
Which Sod Works Best for Dogs and Foot Traffic?
If children play outside or dogs regularly use the yard, wear tolerance deserves attention.
Bermuda is popular for active, sunny lawns because it can recover relatively quickly during its growing season. Many Zoysia varieties also handle moderate traffic well, although recovery can be slower.
St. Augustine creates a lush appearance but generally tolerates concentrated foot traffic less effectively.
For a closer comparison of warm-season options, the guide to zoysia sod vs st augustine explains differences in texture, shade tolerance, and maintenance.
When Is the Best Time To Install Sod?
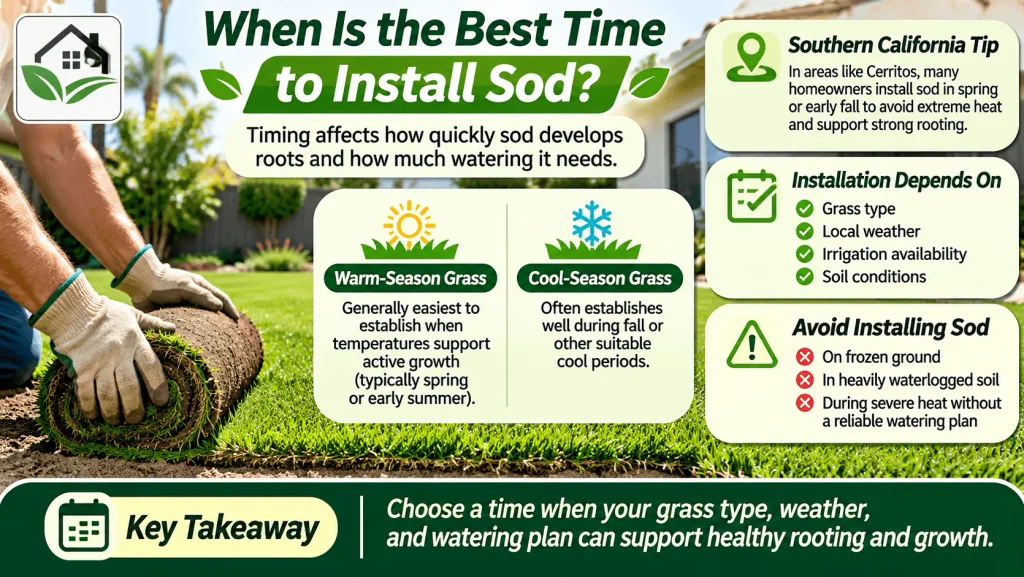
Timing affects how quickly sod develops roots and how much watering it needs.
Warm-season grass is generally easiest to establish when temperatures support active growth. Cool-season grass often establishes well during fall or other suitable cool periods.
In warmer parts of Southern California, homeowners may schedule Cerritos sod delivery and installation during spring or early fall to avoid periods of extreme heat while providing favorable conditions for rooting.
However, installation timing depends on grass type, local weather, irrigation availability, and soil conditions. Some sod can be installed while dormant, although rooting may be delayed.
Avoid laying sod on frozen ground, heavily waterlogged soil, or during severe heat without a reliable watering plan.
How Much Sod Should You Order?
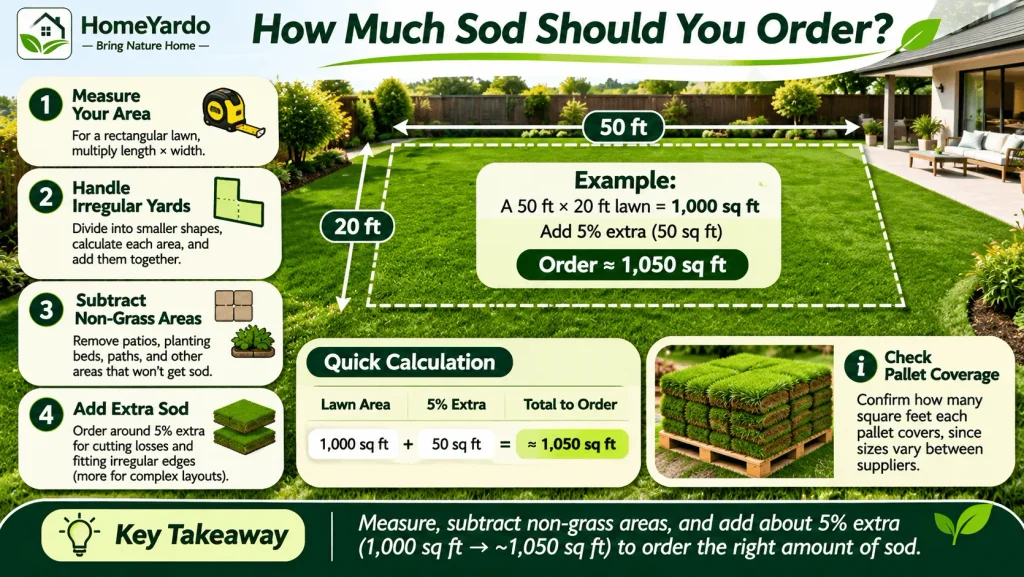
Before scheduling delivery, measure the total area you intend to cover.
For a rectangular lawn, multiply the length by the width. Divide irregular yards into smaller shapes, calculate their areas, and add the results together.
Subtract patios, planting beds, paths, and other areas that will not receive grass.
Ordering around 5% extra sod is a useful starting point for small cutting losses and fitting irregular edges. Complicated layouts may require more.
For example, a lawn measuring 1,000 square feet would require approximately 1,050 square feet with a 5% allowance.
Confirm how many square feet each pallet covers, since pallet sizes vary between suppliers.
How To Prepare Soil Before Installing Sod
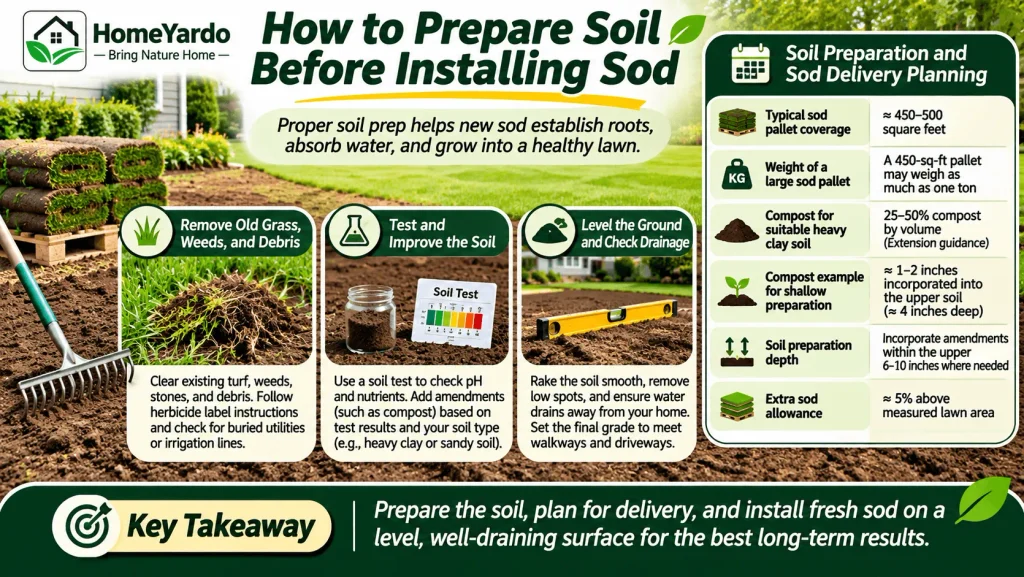
Good soil preparation helps new grass develop roots and absorb water and nutrients.
Putting fresh sod over weeds, compacted construction soil, or standing water may create an attractive surface temporarily, but it does not solve the underlying problems.
Complete soil preparation before delivery so the sod can be installed while fresh.
Remove Old Grass, Weeds, and Debris
Begin by removing unwanted vegetation, stones, roots, and construction debris.
Existing turf and persistent weeds should be controlled before installation. Avoid disturbing buried utilities, sprinkler lines, or drainage systems while working.
If you use a lawn herbicide, follow its label requirements and observe any waiting period before planting new grass.
Check for buried irrigation components before tilling or grading.
Test and Improve the Soil
A soil test can identify pH problems and nutrient deficiencies that may affect grass growth.
Local Cooperative Extension offices and commercial testing laboratories can provide recommendations for suitable amendments.
Heavy clay soils may benefit from properly incorporated, mature compost, while sandy soils may require a different approach to improving moisture retention.
Avoid adding lime, sulfur, or fertilizer simply because they are commonly recommended. Apply them according to soil test results and the needs of the selected grass.
Soil Preparation and Sod Delivery Planning
Use the following figures as planning references rather than universal requirements.
| Planning factor | Recommended guidance |
|---|---|
| Typical sod pallet coverage | Often approximately 450–500 square feet |
| Weight of a large sod pallet | A 450-square-foot pallet may weigh as much as one ton |
| Compost for suitable heavy clay soil | Extension guidance describes 25–50% compost by volume in the amended layer |
| Compost example for shallow preparation | Approximately 1–2 inches incorporated into the upper soil to create an amended layer around 4 inches deep |
| Soil preparation depth | Amendments may be incorporated within the upper 6–10 inches where needed |
| Extra sod allowance | Start with approximately 5% above measured lawn area |
These figures are consistent with Mississippi State University Extension guidance, but the amount of amendment needed depends on existing soil conditions.
Do not automatically add large quantities of compost to every lawn. Excessive or poorly incorporated amendments can create uneven soil conditions and drainage problems.
A large sod pallet is also extremely heavy. Arrange delivery to a stable, accessible location and confirm that vehicles and equipment can safely handle the load.
Level the Ground and Check Drainage
After clearing and improving the soil, rake the surface smooth and remove low spots.
The ground should generally drain away from the home rather than directing runoff toward foundations, doors, or neighboring properties.
Set the final soil level so installed sod meets sidewalks and driveways without leaving raised edges that interfere with mowing.
Lightly moisten dry soil before installation. It should be damp enough to support root contact without turning muddy.
How To Install Sod Step by Step
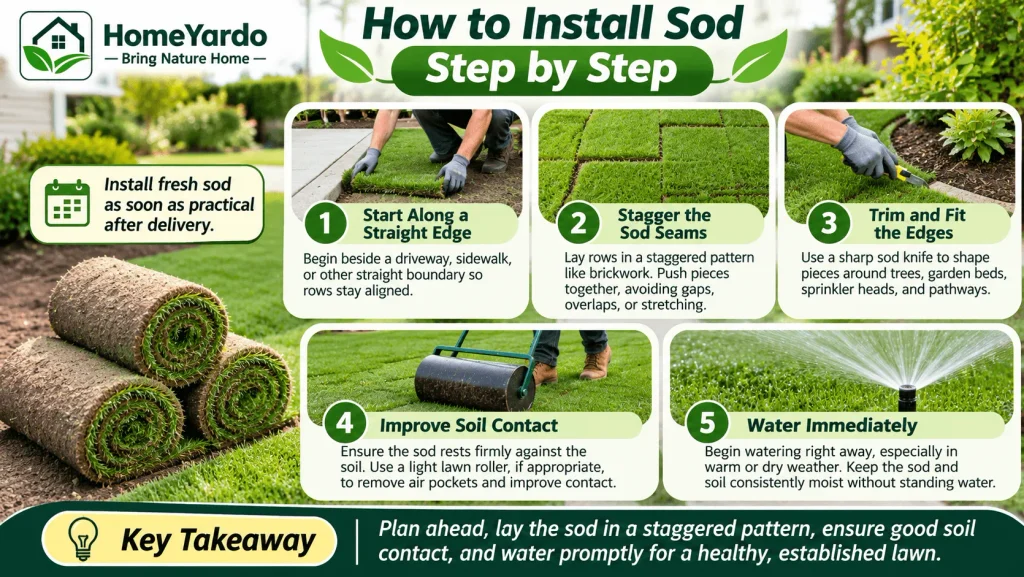
Fresh sod should be installed as soon as practical after delivery. Rolled grass can deteriorate quickly when heat accumulates inside stacked pallets.
Plan the work before delivery, especially when covering a large yard.
Step 1: Start Along a Straight Edge
Begin beside a driveway, sidewalk, or another straight boundary.
Lay the first strip carefully so subsequent rows stay aligned.
Keep the grass side facing upward and the soil and root layer in contact with the prepared ground.
Step 2: Stagger the Sod Seams
Place subsequent rows in a staggered pattern, similar to brickwork.
Push neighboring pieces together so their edges meet without leaving gaps.
Avoid overlapping, stretching, or pulling the sod apart. These mistakes can create uneven growth and exposed soil.
On slopes, follow appropriate erosion-control installation practices and secure sections where necessary.
Step 3: Trim and Fit the Edges
Use a sharp sod knife or suitable cutting tool to shape pieces around trees, garden beds, sprinkler heads, and pathways.
Avoid leaving narrow pieces in exposed locations when larger, more stable sections can be used.
Work carefully around irrigation equipment so sprinkler heads remain accessible and properly positioned.
Step 4: Improve Soil Contact
Check that the newly laid sod rests firmly against the soil.
For appropriate sites, a light lawn roller can help remove air pockets and improve contact between the sod’s root layer and the prepared ground.
Avoid heavy rolling or working on saturated soil, which can cause compaction.
Step 5: Water Immediately
Begin watering newly installed sections promptly, particularly during warm or dry weather.
Do not wait until the entire property is finished if earlier sections are already drying.
Water enough to moisten the sod and the soil beneath it, then check several locations to make sure irrigation reaches the edges.
The goal is consistent moisture without standing water or runoff.
How to Water New Sod During the First Month
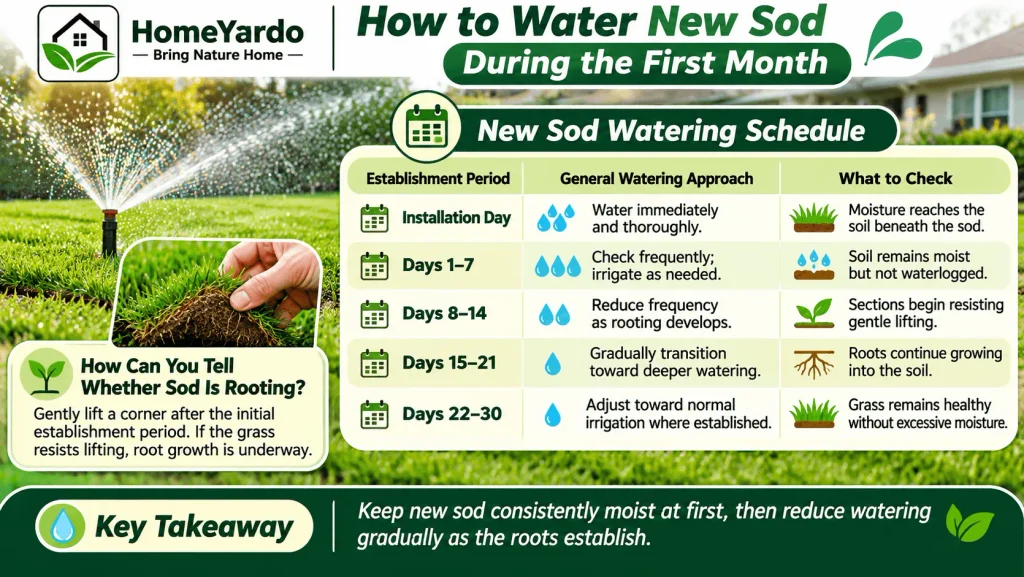
New sod needs frequent moisture at the beginning because its roots have not yet developed fully into the underlying soil.
As roots establish, watering can become less frequent and gradually reach deeper into the ground.
The correct schedule varies with temperature, rainfall, soil texture, grass type, and drainage.
New Sod Watering Schedule
| Establishment period | General watering approach | What to check |
|---|---|---|
| Installation day | Water immediately and thoroughly | Moisture reaches the soil beneath the sod |
| Days 1–7 | Check frequently; irrigate as needed | Soil remains moist but not waterlogged |
| Days 8–14 | Reduce frequency as rooting develops | Sections begin resisting gentle lifting |
| Days 15–21 | Gradually transition toward deeper watering | Roots continue growing into the soil |
| Days 22–30 | Adjust toward normal irrigation where established | Grass remains healthy without excessive moisture |
This schedule is a general guide, not a fixed watering requirement.
Hot weather or sandy soil may require more frequent watering. Cool, wet conditions may require significantly less.
Lift a corner gently to inspect soil moisture. If the soil is dry beneath the sod, watering may be insufficient. If water collects on the surface or the ground stays saturated, irrigation may be excessive.
How Can You Tell Whether Sod Is Rooting?
New sod begins establishing when roots grow through its original soil layer into the ground beneath it.
Gently lift a corner after the initial establishment period. If the grass resists lifting, root growth is underway.
Some lawns begin taking hold within a week under favorable conditions, while others require several weeks.
Do not repeatedly pull up sections to test them. Check carefully in one or two locations and allow the lawn to continue growing.
When Can You Mow, Fertilize, and Walk on New Sod?
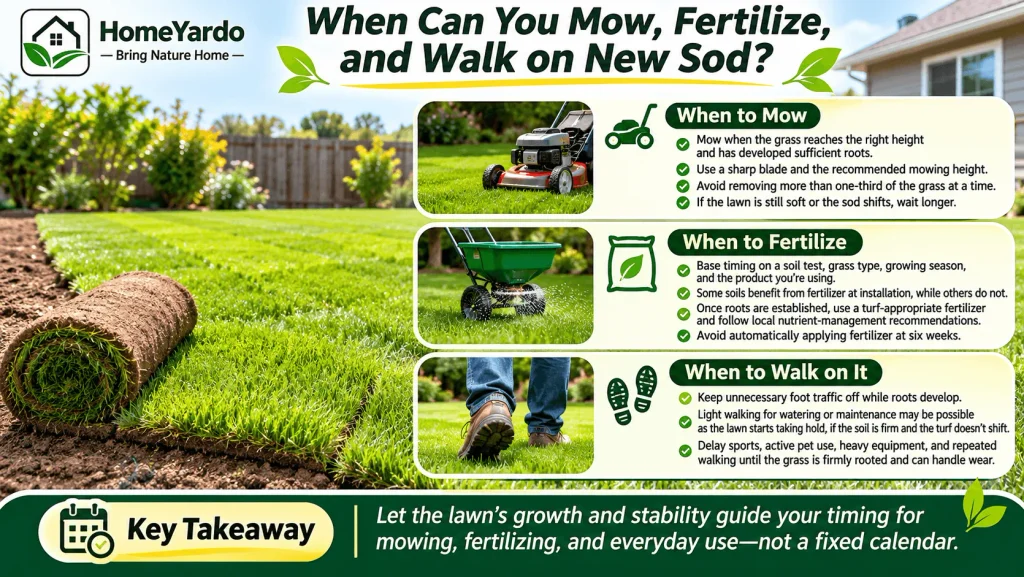
A newly installed lawn may appear ready for use long before its roots can support normal activity.
Foot traffic, mowing equipment, and fertilizer should be introduced according to the lawn’s condition rather than a rigid calendar.
When to Mow New Sod
Mow when the grass reaches an appropriate height, has developed sufficient rooting, and the soil is firm enough to support the mower without leaving tracks.
Use a sharp blade and follow the recommended mowing height for your grass type.
Avoid removing more than one-third of the grass blade during a single mowing.
If the lawn is still soft or the sod shifts underfoot, delay mowing until conditions improve.
When to Apply Fertilizer
Fertilizer timing depends on the soil test, grass species, growing season, and products being used.
Some soil conditions benefit from fertilizer at installation, while others do not require immediate feeding.
Once roots are established, use a fertilizer suitable for the selected turfgrass and follow local nutrient-management recommendations.
Avoid automatically applying fertilizer at six weeks without checking the lawn’s needs.
When Is New Sod Ready for Foot Traffic?
Keep unnecessary foot traffic off newly installed sod while roots develop.
Light walking for essential watering or maintenance may become possible as the lawn starts taking hold, provided the soil is firm and the turf does not shift.
Delay sports, active pet use, heavy equipment, and repeated walking until the grass is firmly rooted and can tolerate wear.
Common Sod Installation Problems and How to Avoid Them
Most early problems are connected to insufficient soil contact, poor moisture management, unsuitable grass selection, or damaged sod.
Checking these issues promptly can prevent small patches from becoming larger failures.
| Problem | Possible cause | What to do |
|---|---|---|
| Brown edges or seams | Drying, gaps, or poor soil contact | Check moisture and ensure edges touch the soil |
| Yellowing grass | Heat stress, moisture imbalance, or other turf stress | Inspect roots and soil before changing care |
| Sod lifts easily | Slow rooting, poor contact, or unsuitable conditions | Maintain appropriate moisture and limit traffic |
| Standing water | Overwatering, compaction, or drainage problems | Reduce excess watering and correct drainage |
| Uneven lawn surface | Poor grading or overlapping sections | Correct installation problems before roots establish firmly |
Do not assume every brown patch needs more water. Too much moisture can also damage young roots and encourage disease.
If the lawn continues declining despite suitable watering, consult a local turfgrass professional or Cooperative Extension service for advice suited to the grass and climate.
Final Takeaway
Choosing and installing sod successfully begins long before the first roll reaches your yard.
Select grass that matches your climate, sunlight, and daily use. Prepare the soil carefully, arrange delivery once the site is ready, and lay the sod while it is fresh.
During the first few weeks, concentrate on maintaining appropriate soil moisture, protecting new roots, and watching for signs of stress.
A lawn that looks green on installation day is only the beginning. Healthy root growth, proper mowing, and suitable long-term maintenance are what turn fresh sod into a lasting lawn.
Frequently Asked Questions
The best time depends on grass type and local climate. Warm-season grasses generally establish most readily during active growth, while cool-season grasses often benefit from cooler establishment weather. Dormant sod installation may also be possible under suitable conditions.
It is generally not recommended. Existing grass creates an uneven layer that limits soil contact and may interfere with rooting. Remove or properly control old turf before laying new sod.
New sod may begin developing roots within the first week under favorable conditions. More secure rooting often takes several weeks, depending on grass type, moisture, temperature, and soil preparation.
Check moisture frequently during the first week and water whenever necessary to keep the sod and underlying soil appropriately moist. Gradually reduce frequency as roots establish. Avoid following a rigid schedule without considering weather and drainage.
Avoid unnecessary traffic until the sod is securely rooted and the soil is firm. Light maintenance access may be possible sooner, while active play and heavy traffic should wait until the lawn is adequately established.
Fertilizer requirements depend on a soil test, grass type, and local growing conditions. Some lawns benefit from appropriate fertilizer during soil preparation, while others can wait until rooting develops.
Yes, but high temperatures and rapid moisture loss make establishment more demanding. Fresh sod, immediate irrigation, and careful monitoring are particularly important during hot weather.
Sod provides immediate coverage and can help protect exposed soil, while seed usually costs less and offers broader choices in some situations. The better option depends on your budget, timing, grass type, and site conditions.